Sri Lankan Butter Cake with Passionfruit Frosting, Fresh Mango, and Lemon Curd

I’ve never tried to write up a complicated cake recipe like this, so please let me know if any of the steps are confusing!

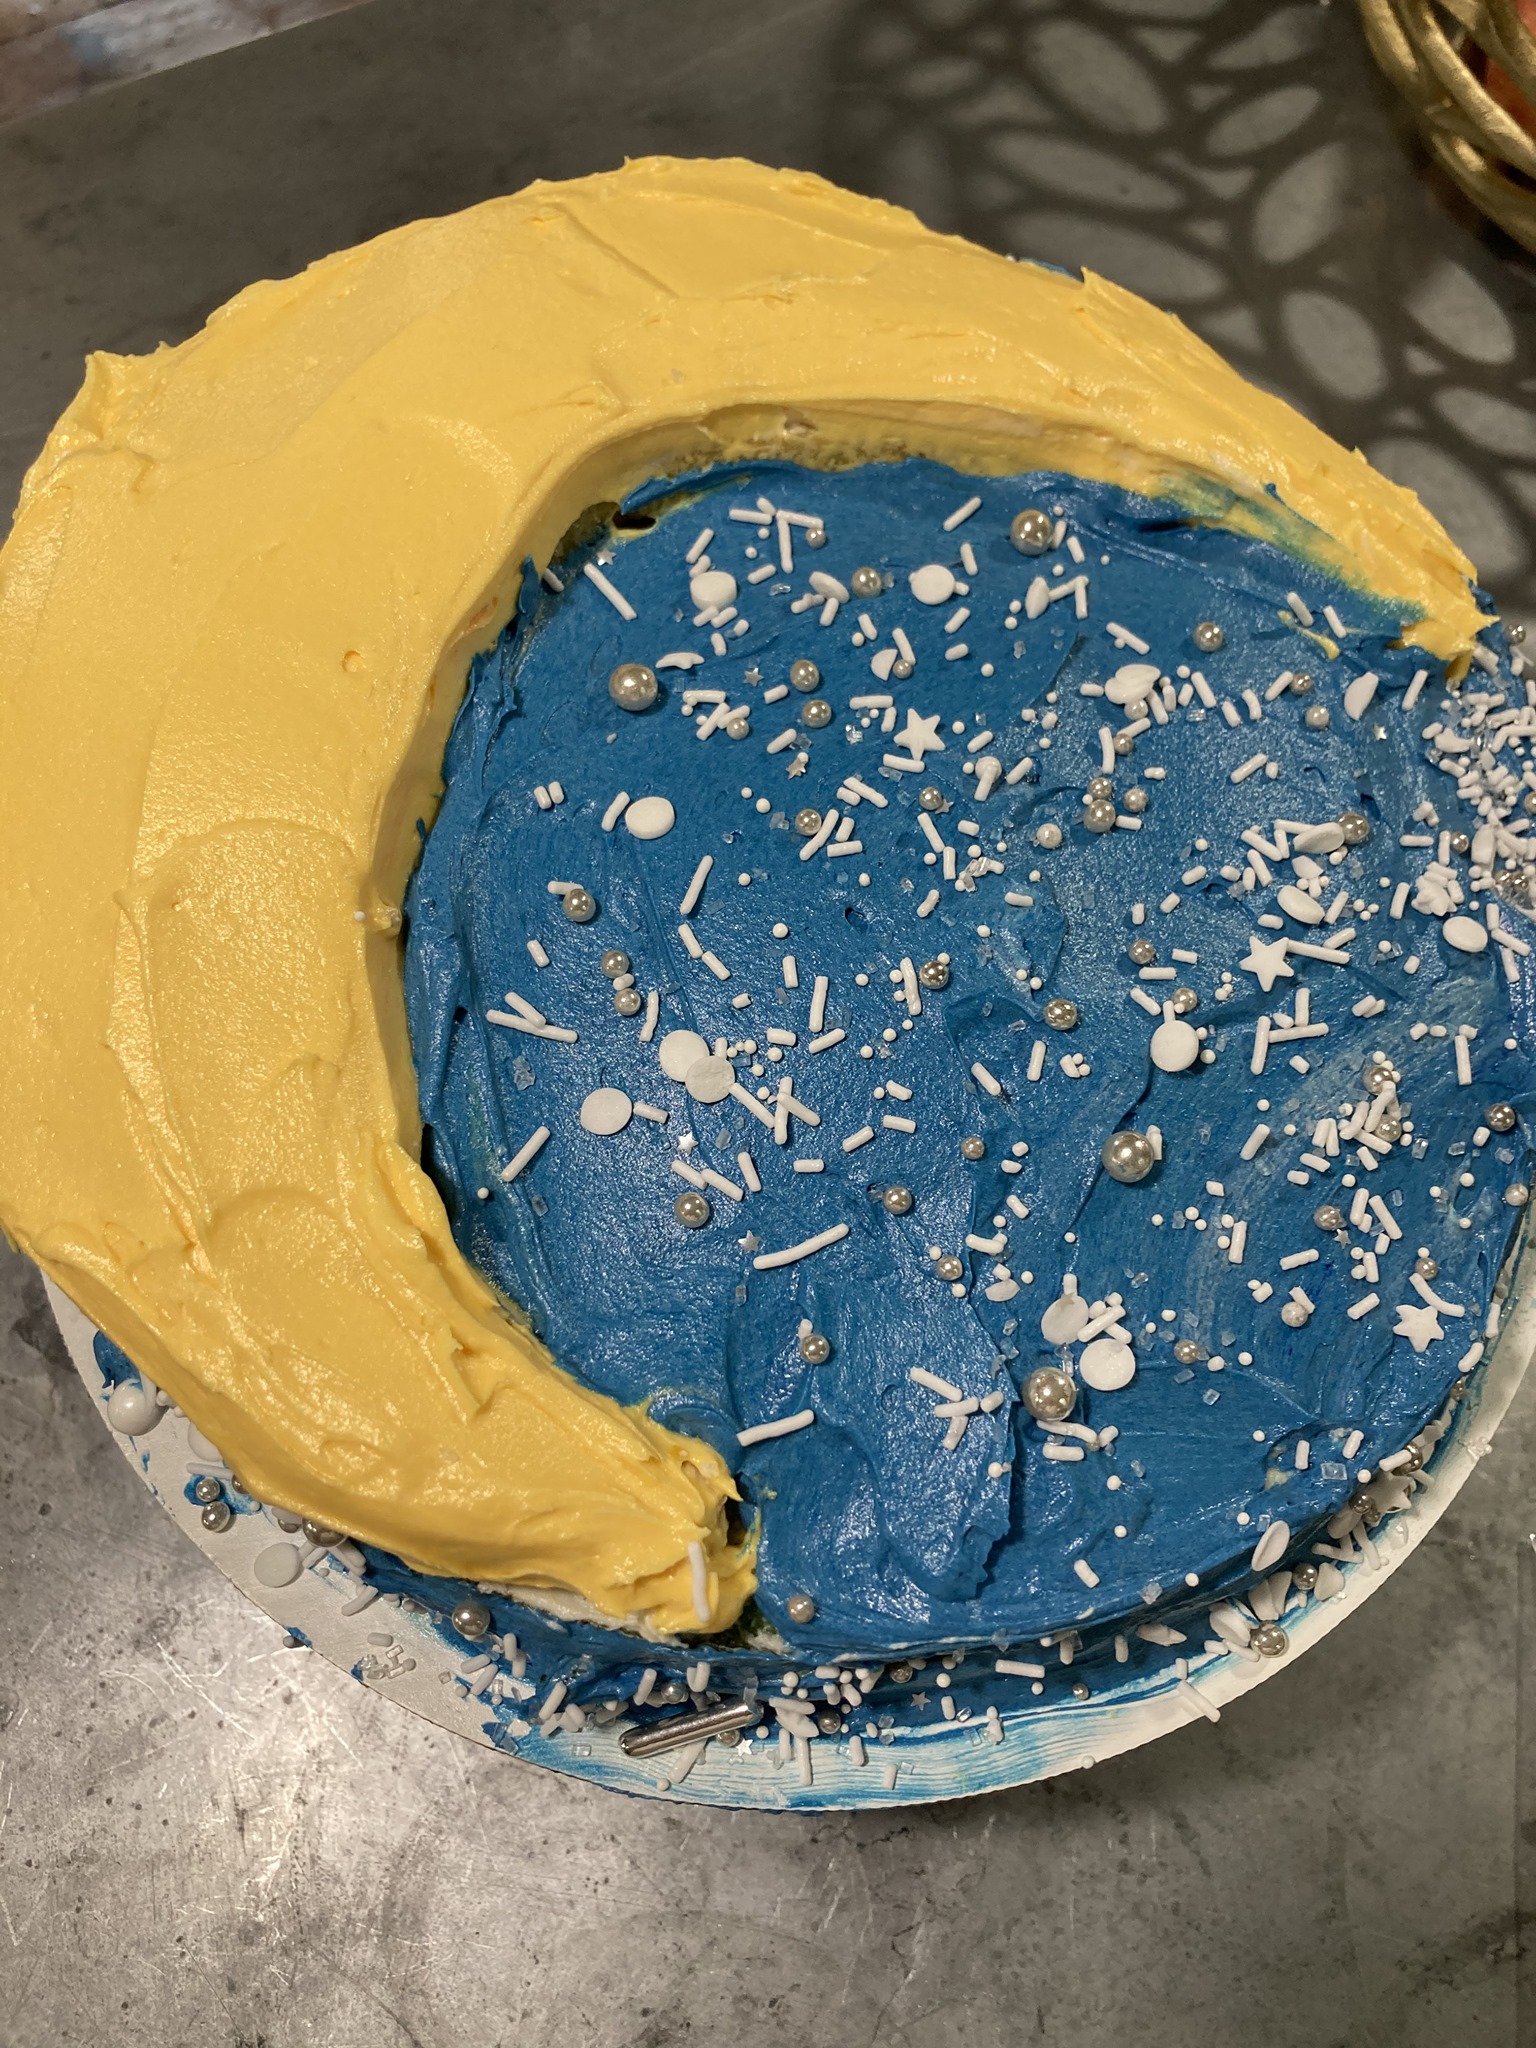
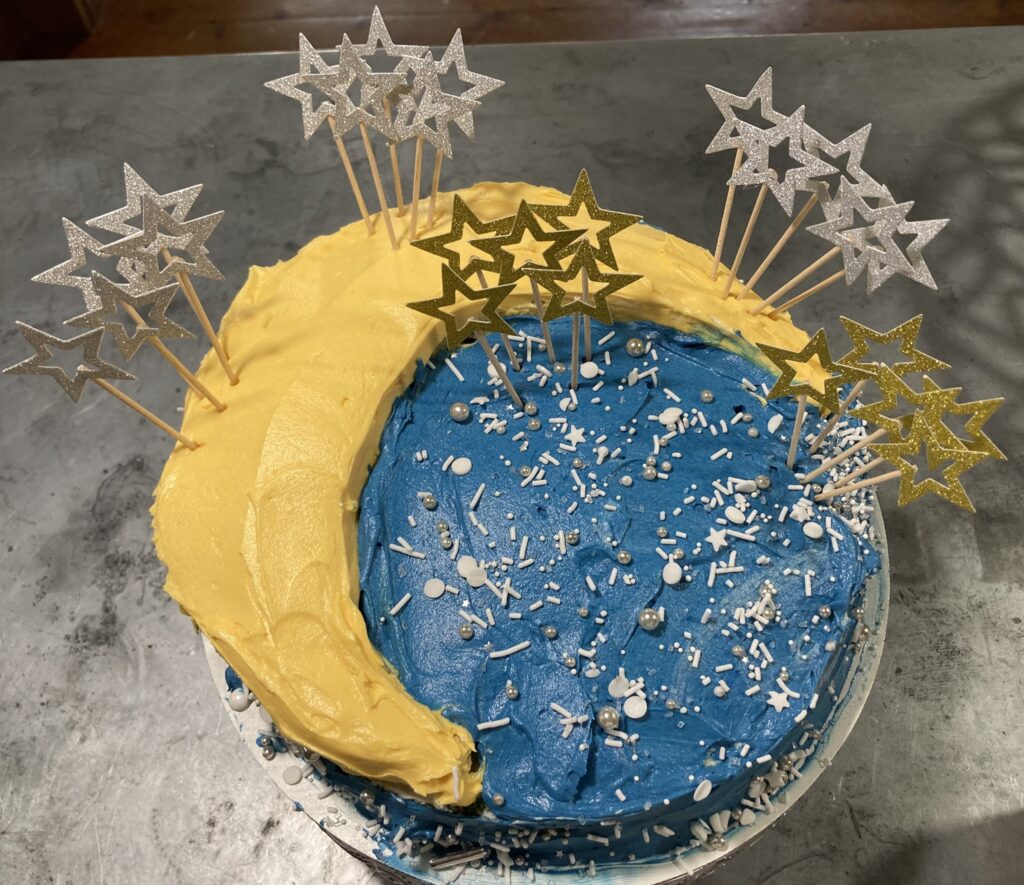
(I feel like it was a good choice to put 25 stars on my 50th birthday cake, and just 1 candle. 🙂 I thought about 50 stars, but it was getting crowded…)

*****

Sri Lankan Butter Cake with Passionfruit Frosting, Fresh Mango, and Lemon Curd

I’m always a little disappointed by American birthday cakes, because I grew up with Sri Lankan butter cake, which I much prefer. It’s a slight variation on the classic British pound cake, and a legacy of colonization. Historically in Sri Lanka, margarine would often be used instead of butter, due to cost, but butter tastes better. This is a somewhat dry cake, which makes it work beautifully with tea if served plain, and pairs well with your choice of fruit filling and frosting for a celebration cake.

NOTE: This recipe is designed for either a square or round cake cooked in a single 8″ or 9″ pan. If you plan to use different sizes of pan, adjust cooking times accordingly. For a classic ribbon cake, you’ll want to cook in separate batches or in multiple pans at the same time, so you can color each layer of cake differently. For 3-4 thin layers cooked separately, bake for roughly 15-20 minutes.

Butter Cake:
2 c. all-purpose flour
2 t. baking powder
1/4 t. salt
1 1/4 c. butter, room temperature
1 1/4 c. sugar
4 eggs + 1 egg yolk
1/3 c. milk, room temperature
1 T rosewater (or a few drops rose essence)
2 t. vanilla extract

zest of one lime (or lemon)

Passionfruit Frosting:
2 c. unsalted butter, room temperature
5 c. powdered sugar
6 T passionfruit puree

food coloring (optional)
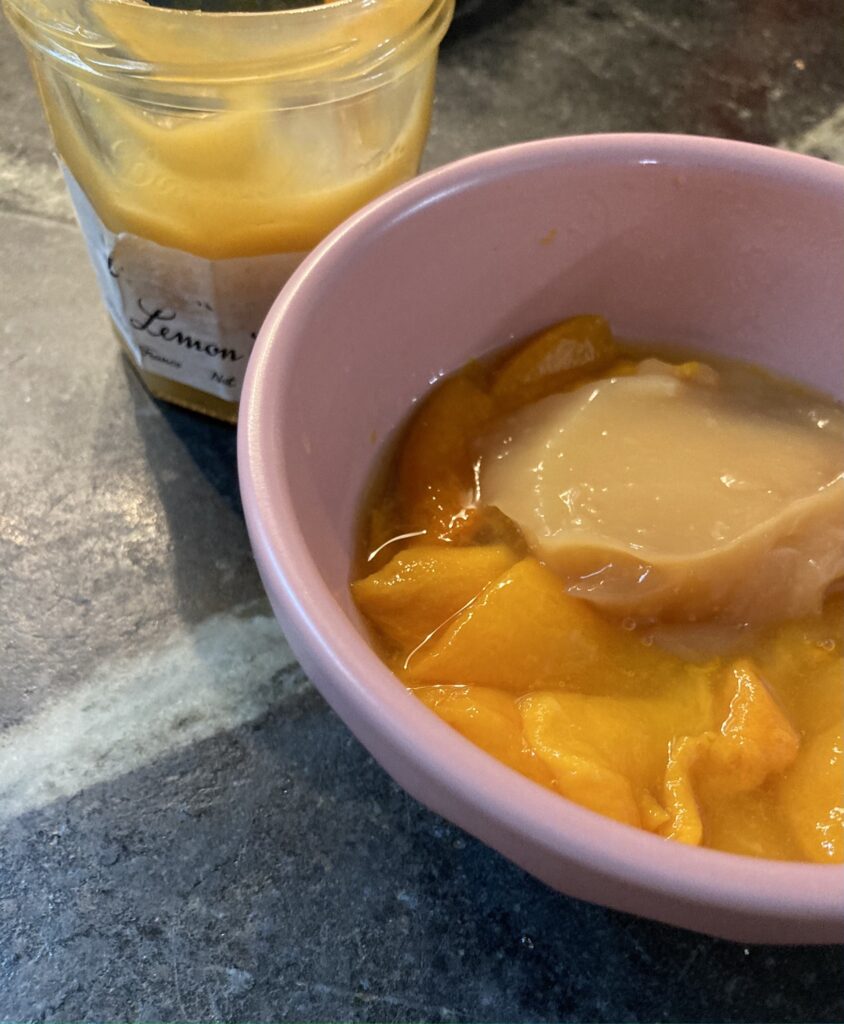
Mango & Lemon Curd Filling:
2 c. chopped fresh mango (thawed from frozen works fine)

1/4 c. lemon curd

*****

MAKE CAKE:
1. Preheat oven to 325. Sift flour, baking powder, and salt into a bowl; set aside. Butter and flour the pan(s) (baking spray with a mixture makes this easy).
2. Cream butter and sugar until light and fluffy, scraping down sides a few times.
3. Beat in eggs and egg yolk one at a time, then add vanilla, rose, and lime or lemon zest.
4. Fold in milk and flour mixture alternately. (If adding food color, divide as desired and color at this stage.)

5. Add finished cake batter to a round 9″ pan and bake for 30-40 minutes (adjust as needed for your pans), until a toothpick comes out clean; turn out onto wire rack and let cool. Serve as is with a nice cup of tea, or add frosting for birthday cake.

NOTE: Cake may be made and refrigerated a day or two ahead (wrap tightly in plastic wrap once cooled), and then frosted, if desired.

MAKE FROSTING:
1. Beat butter until pale and fluffy, scraping down sides a few times (about 5 minutes).
2. Add half of the powdered sugar, beat on low until mostly incorporated, then scrape sides, turn up to high, and beat until light and airy. Add remaining sugar and repeat process.

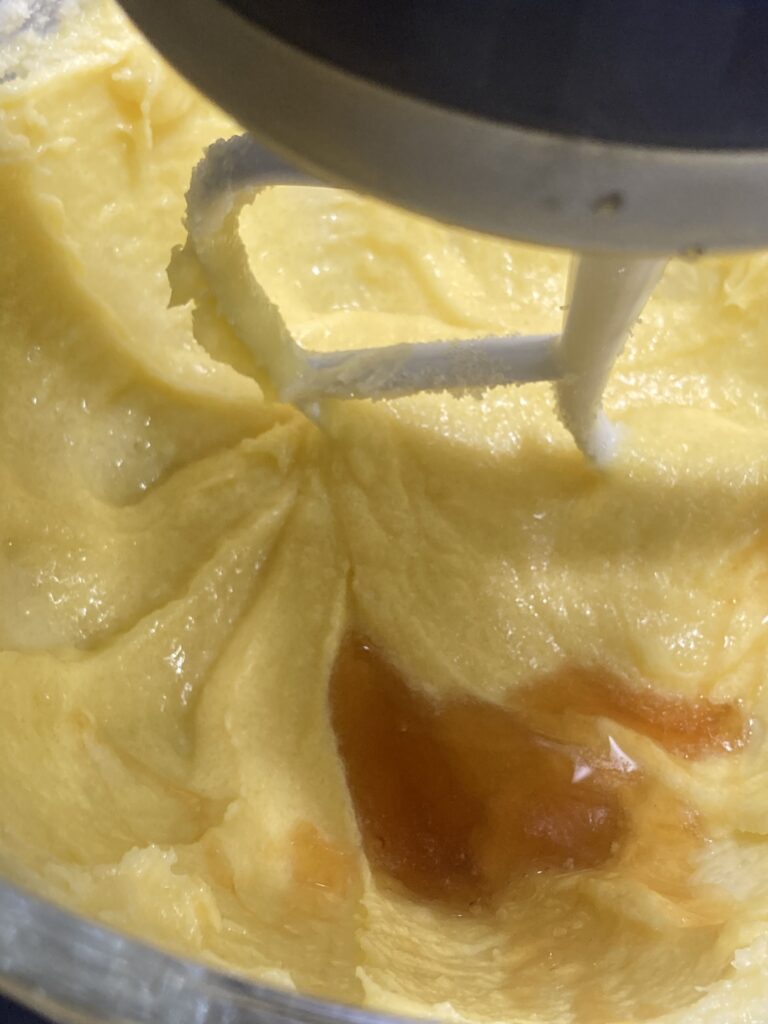
3. Slowly add in passionfruit puree; add food coloring if desired. Your frosting is ready to spread on a cake (or eat straight from the bowl).

MAKE FILLING:

1. Combine mango and lemon curd.

ASSEMBLE 4-LAYER CAKE:

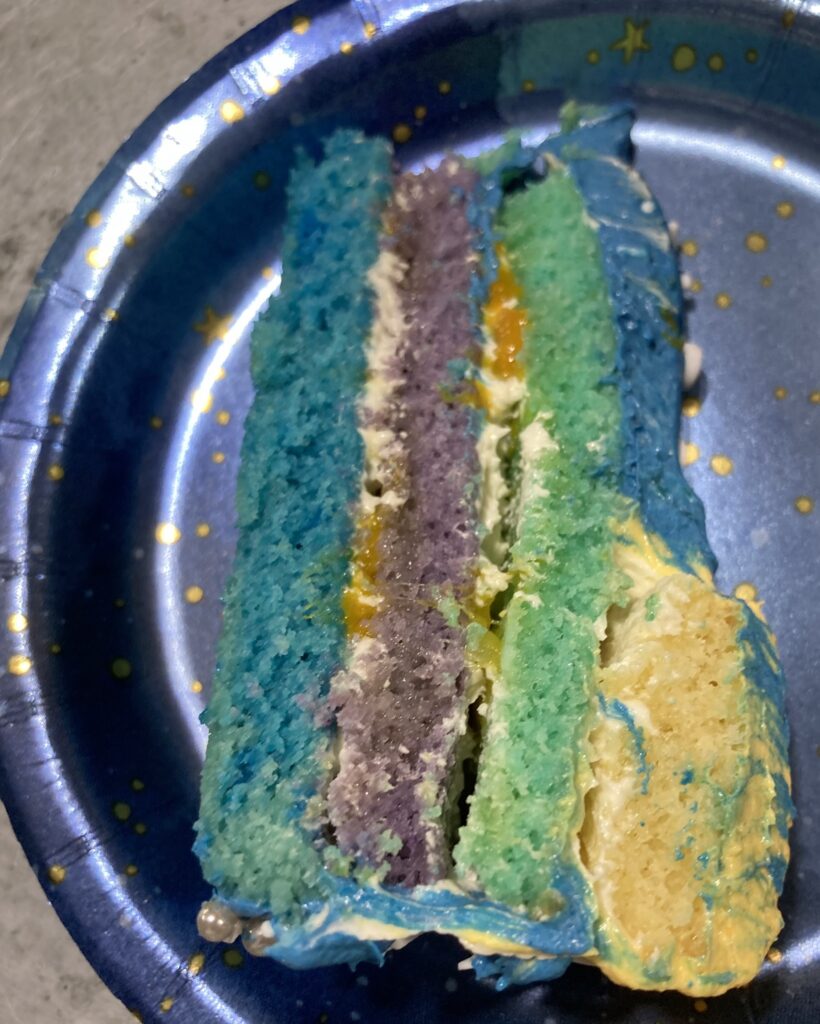
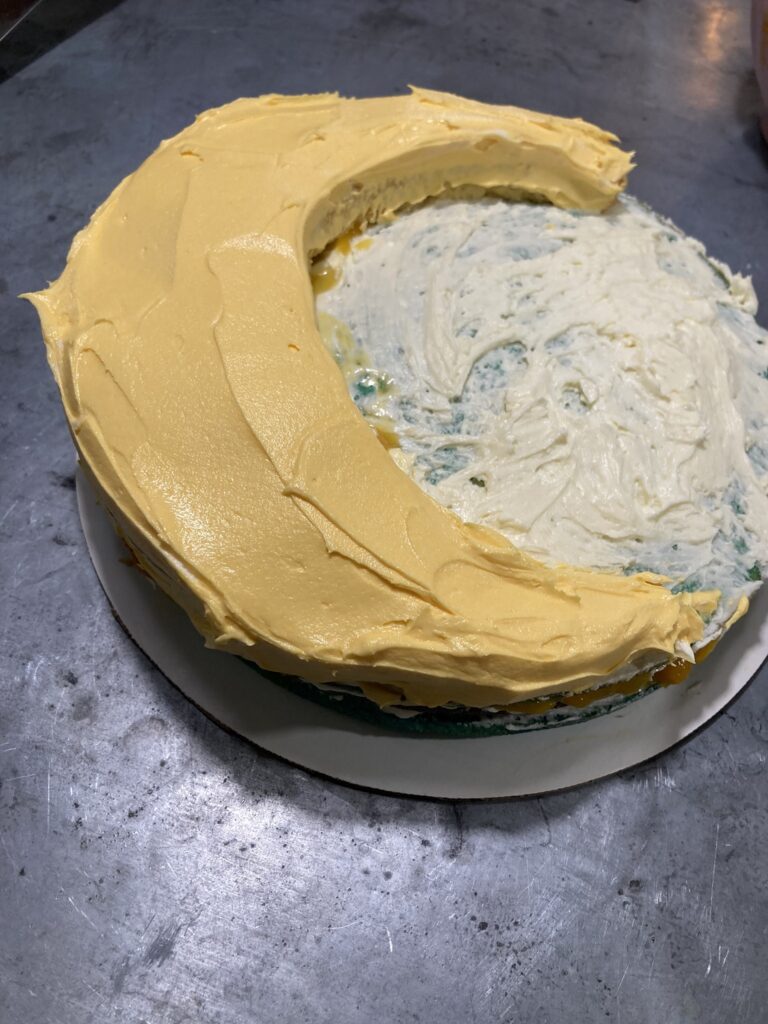
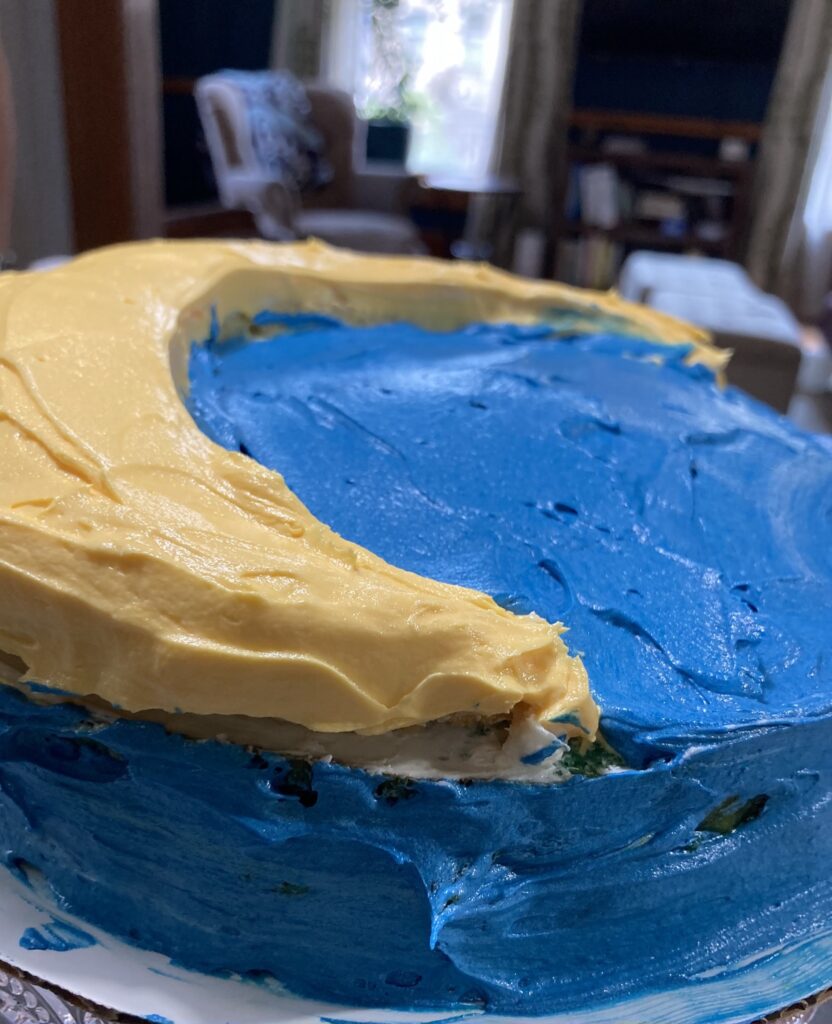
1. Layer cake, a thin layer of frosting, filling; repeat twice. (You may not use all the filling.)

2. Add the final layer and frost entire cake. Chill to set. Serve with any extra mango & lemon curd filling on the side, to add as desired.

NOTE: Americans often ask me where to find passionfruit puree. I’ve tried several, and so far, like Funkin Pro the best for strong passionfruit flavor, available online. It can also sometimes be found in the Mexican section of the grocery, in the frozen fruit section.

Not the Neatest Cake Froster

I am not the neatest cake froster, so you have to be a little forgiving here. Someday I’ll learn how to do a better job with it, maybe. 🙂 Kesar mango (from frozen works just fine) with lemon curd for the filling, Sri Lankan butter cake for the cake. Recipe in next post.

I Have My Incentive Now

I have been trying to get to outdoor morning yoga at least once a week (a little interrupted by travelling) because I feel so much better the rest of the day if I do. Ideally, I’d like to have a daily yoga practice, but it’s likely going to take me a little while to work up to it. 7 a.m. classes!

But I just today realized that the outdoor yoga space for my studio (And then there was well), held in someone’s backyard, is only a block away from The Daly Bagel — I think I have my incentive now. 🙂

Cardamom & Honey Snickerdoodles

I really didn’t feel like working today, so while I managed to pull myself together for an hour-long SLF monthly meeting (we have three interns right now! three!), I have given myself permission to goof off for the rest of the day.

Which apparently means watching Leverage: Redemption (three episodes in so far, v. good) and baking snickerdoodles for the summer Patreon treat boxes, which I suppose does qualify as working, but is also just lovely, with a cool rainy day outside and the kitchen smelling so yummy. (The kids are excited.)

I took a base snickerdoodle recipe, replaced some sugar with a little honey, which makes them just a touch moister and more complex in flavor, and added some cardamom to the traditional cinnamon inside and out, which makes them beautifully aromatic. Happy with the result.

*****

Cardamom & Honey Snickerdoodles

(30 minutes, makes about 36 cookies)

1 3/4 cups all-purpose flour
1 1/2 t. baking powder
1/4 t. salt
1/2 t. + 1/2 t. ground cinnamon
1/4 t. + 1/4 t. ground cardamom
1/2 cup unsalted butter
1 cup + 3 tablespoons sugar
1 egg
1 1/2 t. honey

1 t. vanilla

1. Preheat oven to 375F. Either grease or use parchment paper on baking sheets; set aside.

2. In a bowl, whisk together flour, baking powder, salt, 1/2 t. cinnamon, 1/4 t. cardamom; set flour mixture aside.

3. In a large bowl, cream the butter and 1 c. of sugar together until fluffy. Beat in the egg, honey, and vanilla, then slowly beat in the flour mixture.

4. In a small bowl, combine the remaining 3 T sugar, 1/2 t. cinnamon, and 1/4 t. cardamom.

5. Form dough into small (roughly 3/4-inch) balls. Roll the balls in the sugar-cinnamon-cardmom mixture, then place the balls 2 inches apart on prepared baking sheets.

6. Bake for 10-12 minutes, until golden brown and slightly cracked on the top; transfer cookies to a wire rack to cool.

Lime Pickle

(makes about 1 quart jar; 15 minutes + a few weeks of preserving time)

Tart, spicy, and salty, with a hint of aromatic spices, lime pickle is a wonderful complement to your meal. I first encountered a simple version of preserved limes in Little Women, where the schoolgirls had been banned from eating them. I had to learn more about why pickled limes might be banned:

“…they were sold from glass jars on top of candy-store counters, and some families even bought them by the barrel. Because the import tariff for pickled limes was quite low – importers fought to keep them classed as neither fresh fruit nor pickle – children could buy them cheaply, often for a penny apiece. Kids chewed, sucked, and traded pickled limes at school (and not just at recess) for decades, making the limes the perennial bane of New England schoolteachers. Doctors tended to disapprove of the limes…in 1869 a Boston physician wrote that pickled limes were among the “unnatural and abominable” substances consumed by children with nutritional deficiencies.” Parents, however, seemed generally content for children to indulge themselves in the pickled-lime habit.” – Pickling, Linda Ziedrich

Since pickled limes are quite salty, be sure to pair them with curries that are less so, for a beautifully balanced meal.

8 limes
1/4 c. kosher salt
1/4 c. vegetable oil
1 t. black mustard seed
1 t. fennel seed
1 t. fenugreek seed
2 stalks curry leaves (about two dozen leaves)
1 t. cayenne (optional)
1 t. turmeric
1/4 c. lime juice (plus more as needed)

1. Quarter limes. Rub salt into limes, then transfer limes to sterilised glass jars. Seal and let sit for three days; once a day, open the jars and press the limes down, squeezing juice out. At the end of three days, the rinds should have yellowed, and the limes should be submerged in juice; if not fully submerged, add more lime juice to cover.

NOTE: At this point, you have preserved limes, and you can eat them as is. If you let them sit for a few more weeks, the flavors will mellow and blend harmoniously. Many cuisines use preserved limes; it’s common in that case to remove the flesh of the lime (which will be very salty), and only retain the rind / pith, which may be sliced and used in various dishes. Or, continue on with your entire limes to make lime pickle.

2. In a sauté pan, heat oil on high, add mustard seeds, and cook until they start to pop.

3. Turn down heat to medium and add remaining spices (if you’d prefer a smoother result, you may roughly grind spices before adding), preserved limes, and lime juice. Cook 10-15 minutes, stirring occasionally. (If you’d prefer a brighter, more fresh-fruit flavor, you may omit cooking the limes here, and simply pour the tempered spice mix over the limes in a bowl, combining well.)

4. Turn seasoned limes into sterilized glass jars, pressing down to compress. Set aside for 2 weeks to develop flavors; once a day, invert the jars so the seasoned liquid may permeate all the limes. Serve as an accompaniment to rice and curries.

NOTE: Once opened, store in the fridge for up to six months, or follow proper canning procedures for long-term pantry storage. When storing, a layer of oil on top of the limes will aid in preservation.

Ocean Cookies

All done with my ocean cookies. 🙂 I love how the silvery bits look like light glinting off the water.

Beetroot Cocktail

(Yes, I bought myself the cutest little mushroom glass on the planet for this recipe. I wasn’t sure I was up for a mushroom cocktail (which are apparently a thing), but beets are nice and earthy…)

*****

Beetroot Cocktail

Delicious, yet also full of healthy nutrients. This will make enough for several cocktails.

Juice:
2 c. beets, peeled and roughly chopped
2 c. coconut milk
1/4 c. sugar or jaggery
1/4 c. lime juice
1 t. ground cardamom

Arrack

1. Combine juice ingredients in blender and liquefy. (For a thinner cocktail, add up to 2 c. water.)

2. For each serving, stir 1-2 oz. arrack into 3/4 c. juice. Serve cold.

Optional spicy variation: Some chopped green chili would go nicely with this!

A Little Tricky

It can be a little tricky working with embossed rolling pins, because if the dough is too chilled and hard, it’s tough to press enough for a good impression, but if it’s too soft and warm, it just smooshes and tears. With my shortbread dough, I usually find that 15 minutes in the fridge is about right:

– make dough & preheat oven
– put a sheet of parchment paper on a large cutting board
– pat out half the dough
– add a second sheet of parchment paper and roll flat to desired thickness
– chill 15 minutes in fridge
– remove top sheet of parchment paper and roll with embossing pin
– cut into squares (or as desired)
– slide parchment paper with embossed cookies to baking sheet (I like the insulated ones for even baking) and
– put baking sheet in fridge for another 15 minutes — don’t skip this, or the dough will spread too much and you’ll lose a lot of definition
– bake 12-15 minutes

Making cookies this way is a bit of a process; I did a batch last night, and I think it took about 2 hours total. But I was reading a great book, so it was mostly do a thing, set a timer, read for a while, do a thing, set a timer, read for a while, repeat. Pleasant and peaceful way to spend an evening. With a nice big cookie as reward when I was done. 🙂