
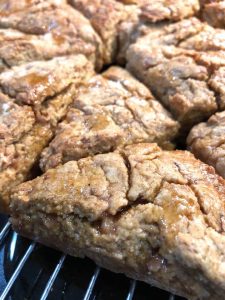
Pumpkin-Toffee Scones with Jaggery Drizzle
These little bites of heaven were designed to appeal to my daughter, who can be quite resistant to trying new foods. When I brought one upstairs for her to try, she initially refused. I broke off a small piece and asked her to please try it, that I’d designed it especially for her, with flavors I thought she’d love. Kavya hesitated, but unwilling to disappoint her mother entirely, eventually took it. A few minutes later, she asked for the rest, please.

Kavi then admitted that she hadn’t wanted to admit that I was right, but it was too good, so she had to give in. She’s twelve-and-a-half now; the tween years are…interesting. Two strong-willed women in one house. 🙂
This is another scone where I was aiming for autumnal + South Asian. My pumpkin spices are a little punchier than you might find in most American recipes, with cardamom and ginger added to the classic cinnamon, nutmeg, and cloves. The jaggery drizzle adds a molasses-like complexity; Kavi and I like our drizzle with some lime, because we are all about the tang. The brightness of the lime highlights the pumpkin in beautiful ways; I love this scone with a cup of chai.
But straight up sweetness (Anand’s preference) works here too, pairing with the toffee bits; if you were going to have this with black coffee, for example, you might be just fine with a pure jaggery drizzle. Feel free to also skip the drizzle entirely; the pumpkin-toffee scone will still be delicious, especially warm, slathered with butter.
2 3/4 cups flour
1/3 cup sugar
1/2 teaspoon salt
1 tablespoon baking powder
1/2 cup cold butter
1/2 c. toffee bits
1/2 c. pumpkin puree (blot with paper towel if watery)
1 large egg
1 teaspoon vanilla
1 teaspoon cinnamon
1/2 teaspoon ground ginger
1/4 teaspoon ground cardamom
1/4 teaspoon nutmeg
1/4 teaspoon of cloves
1/2 cup milk
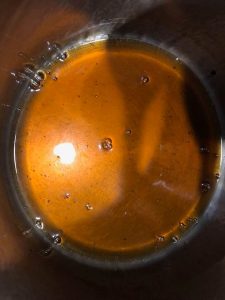
Jaggery Drizzle:
1/4 c. jaggery, dissolved in 1/4 c. boiling water
1 T lime juice (optional)
1. Preheat oven to 375F. Spray mini scone pan with Baker’s Joy (or butter and flour pan, which will be kind of a pain). Alternately, cut and shape these by hand, and bake on a regular baking sheet, placing them quite close together. If you pop them in the freezer for 30 minute before baking, they’ll hold shape better.
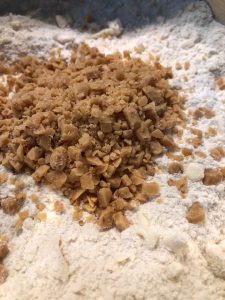
2. Mix dry ingredients in a large bowl. Chop butter in small pieces and cut into flour with a pastry cutter (or with your fingers) until mixture resembles coarse meal. (It’s fine to have small lumps.) Stir in toffee bits.
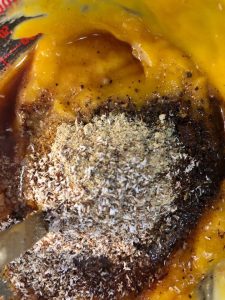
3. In a medium bowl, beat eggs lightly and combine with remaining 9 scone ingredients. Pour into dry mixture and stir with a fork until a soft dough forms.
4. Turn out onto a lightly floured board and knead a few times. Cut into 16 equal pieces and press into the cavities of the pan.
5. Bake 20-25 or until medium brown. Let cool 20 minutes in pan, then remove from pan to wire rack and cool completely. Serve warm, with coffee or tea.
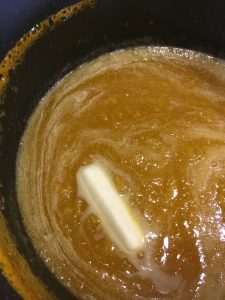
6. Optional: Jaggery drizzle. Dissolve jaggery in boiling water, add lime juice if desired, and pour over scones.
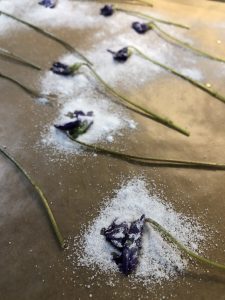
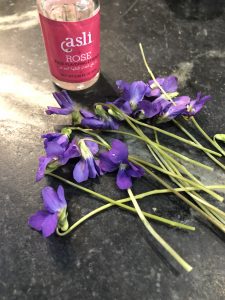 Hm. This batch of sugared violets did not work great. I picked a bunch of lawn violets — all I had, which wasn’t very many. And then I tried the dip in sugar syrup, put on wax paper, sprinkle with caster sugar method of sugaring them.
 (90 minutes, serves 8)


 Peppermint marshmallows, two ways. I asked Kavi which she liked better, and she couldn’t decide — the peppermint swirl ones are more intensely peppermint; the chocolate-peppermint ones actually have more peppermint (same marshmallows, plus bits on top), but the dark chocolate has a strong enough presence that the overall effect is less peppermint-y.

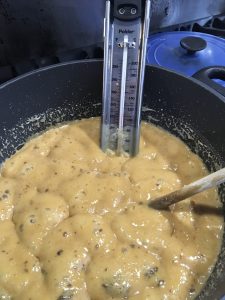

 Usually I make exactly what I write in the recipe, but the truth is, I find cutting caramels labor-intensive enough that it’s something I only plan to do once a year or so. So I’m not going to make these again anytime soon, even though they’re quite delicious, and even though I think they would be just the tiniest bit tastier with the proportions I’m going to write down below. I made these with 3/4 c. mango pulp and 1/4 c. passionfruit pulp, because that’s what I had on hand, but I think they would be even better with 1/2 and 1/2, so that the tartness of the passionfruit would better balance the mango. But honestly, I think any ratio of those two would be delicious, as long as you ended up with 1 c. fruit pulp total.
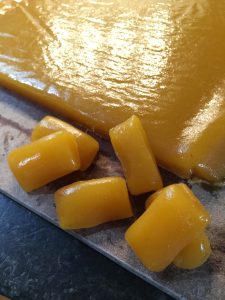


 Passionfruit Brittle
 Rich passionfruit flavor and a hint of rose scent. This delicate cake is lovely with a very light tea. Passionfruit puree can be ordered online, or is often found in Mexican grocers, sometimes frozen. If you have are lucky enough to have actual passionfruit on hand, you can, of course, pulp and puree them yourself; strain out the hard seeds if you do.
