I Could Do This All Day

Taught Kavi how to make marshmallows today. (Video in a week or two.) She said she really likes cutting marshmallows and finds it very peaceful — “I could have a shop where I did this all the time!”

Of course, cutting one tray of marshmallows isn’t exactly the same as spending all day doing it every day. 🙂

Lime, Rosewater, and Candied Ginger Shortbread, decorated with Pansies and Violas

When you find yourself going back into the kitchen to see if there are any crumbs left on the plate, you know you have a winning recipe; I think this is now my absolute favorite shortbread. Adding in some citric acid gives a seriously tangy punch to these buttery-rich bites.

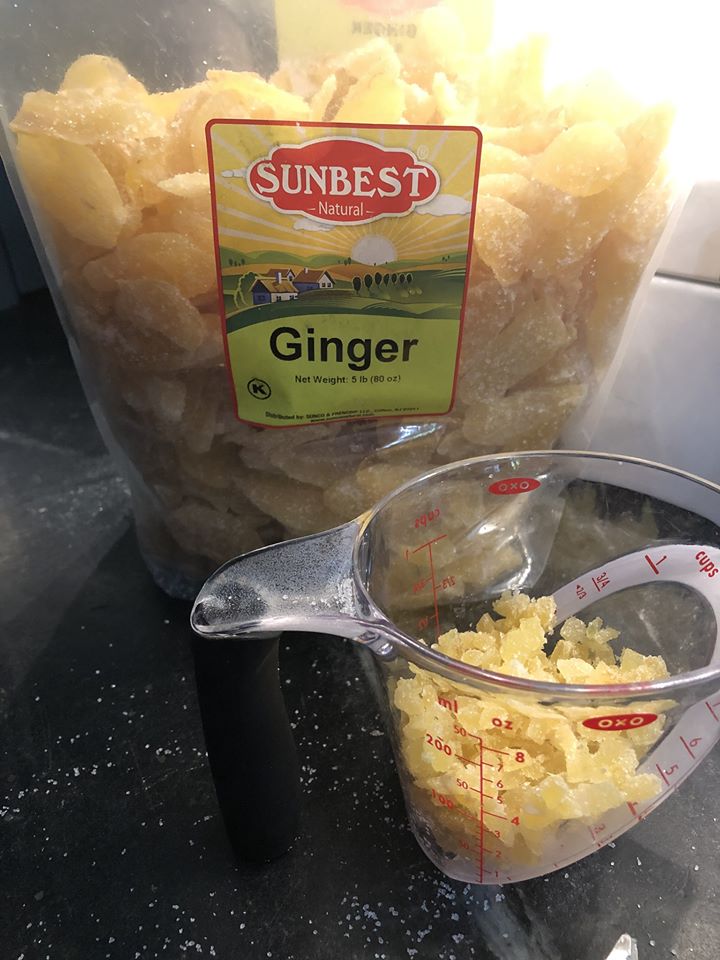
Note: I find that a pair of kitchen shears is much easier to work with than a knife for cutting up sticky crystallized ginger.

Ingredients:

3/4 pound unsalted butter at room temperature

1 c. sugar

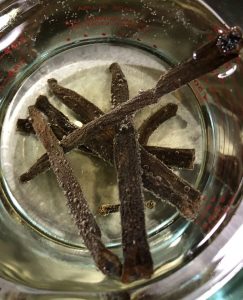
2 scraped vanilla beans or 2 t. pure vanilla extract

3/4 t. salt

1 lime, zest and juice

1 t. citric acid (optional)

1 T rosewater

3 1/2 cups flour

1/2 c. crystallized ginger, chopped fine

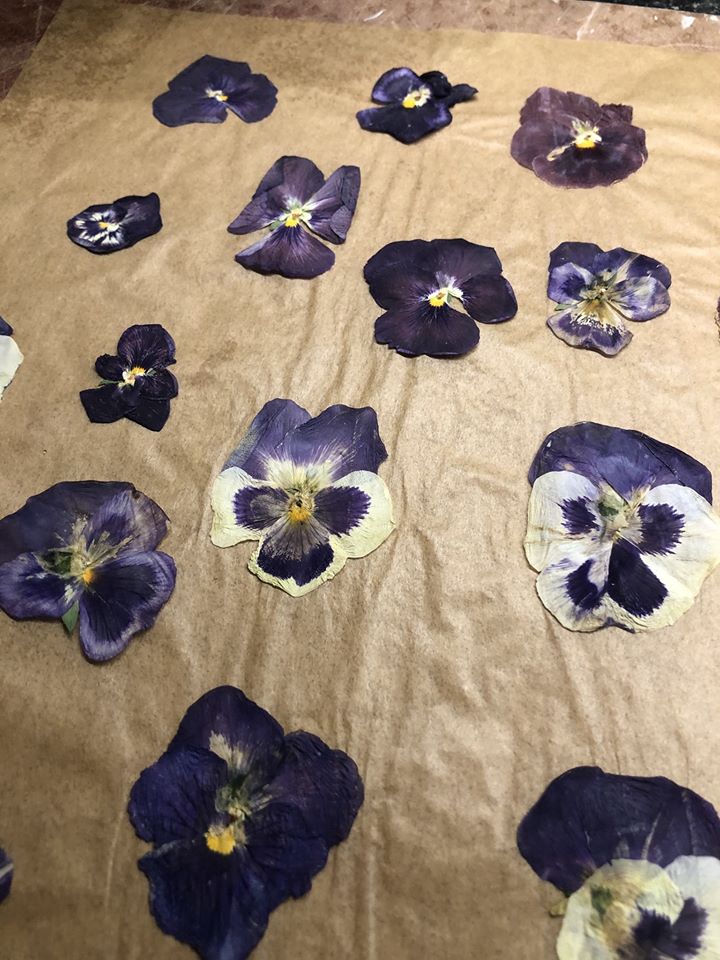
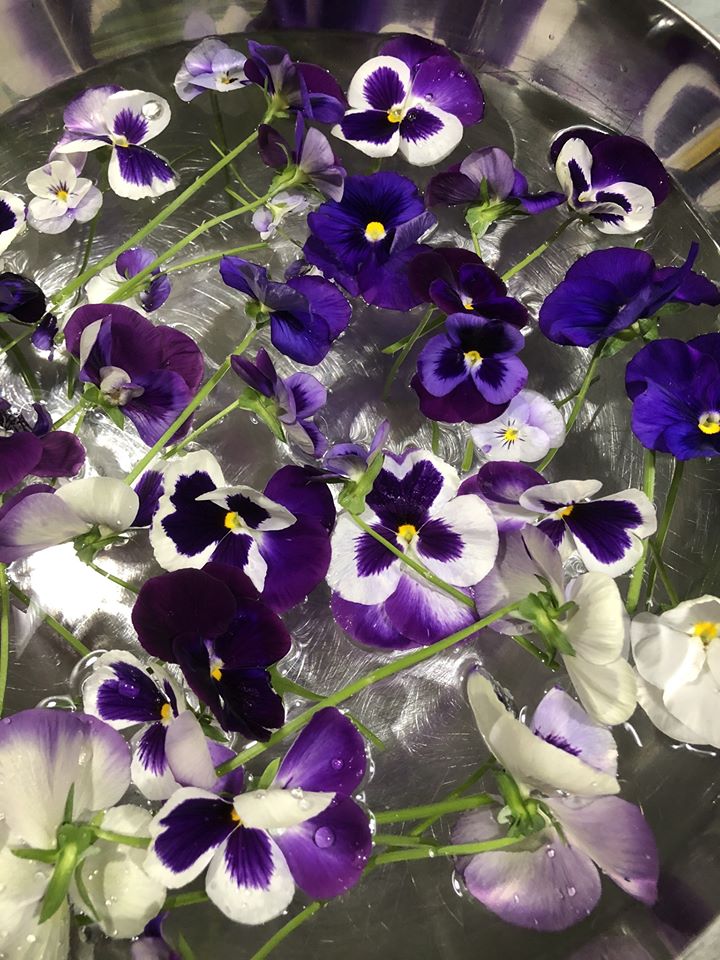
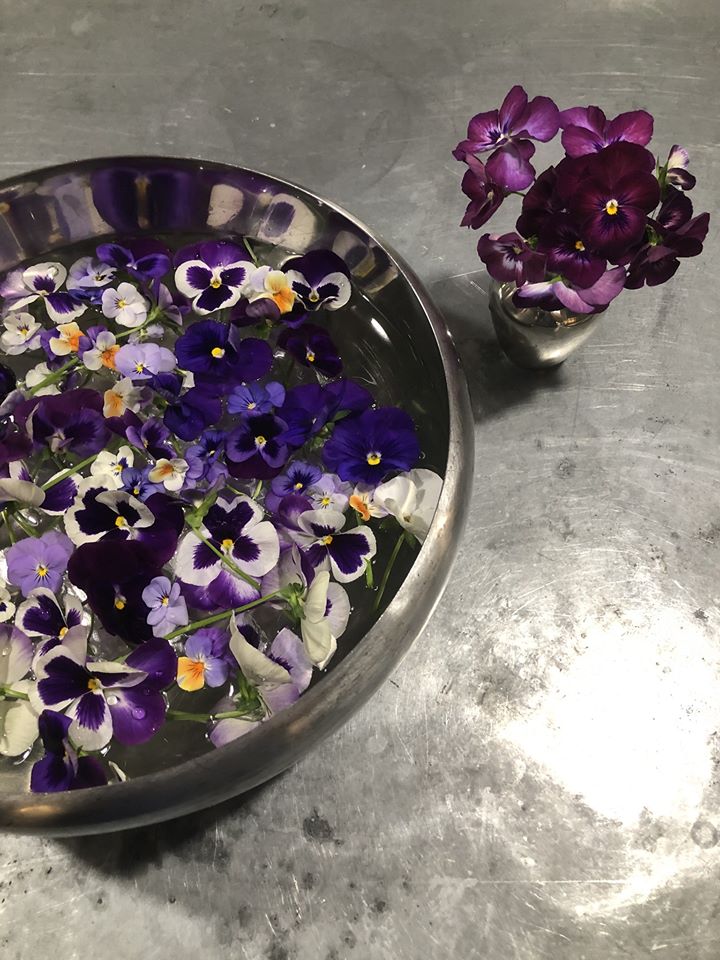
edible flowers, pressed flat (this can be done over a few weeks in the pages of a book, or done quickly in a microwave or with an iron — google for instructions on those processes)

1. Preheat the oven to 350F.

2. Cream together the butter and sugar; add the vanilla and salt, citric acid, lime juice, lime zest, and rosewater. Then add flour and mix on low until dough forms. Stir in ginger.

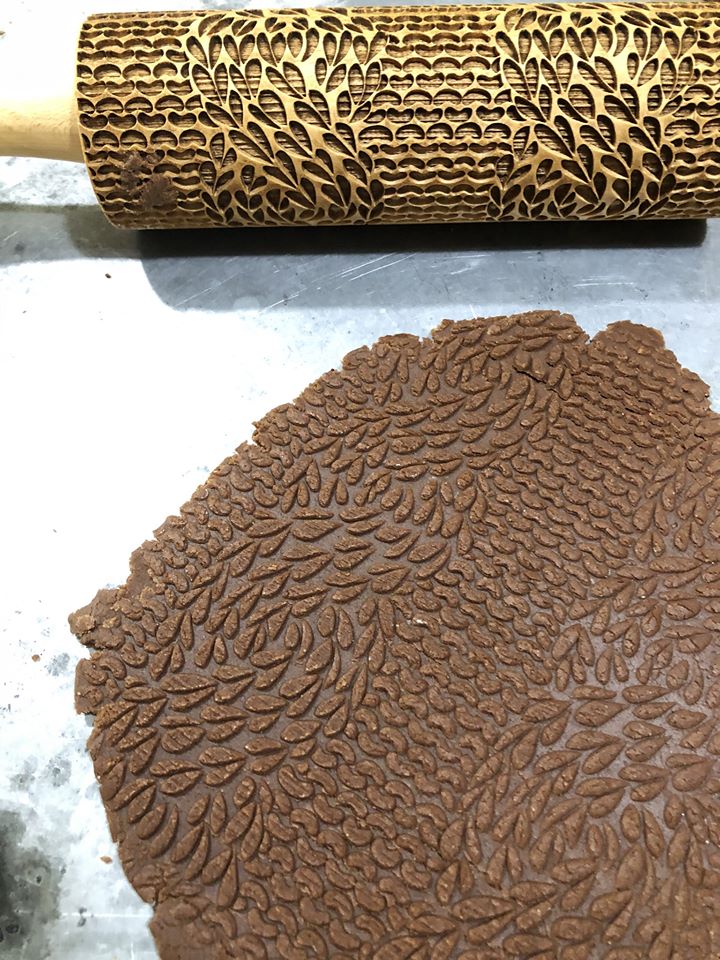
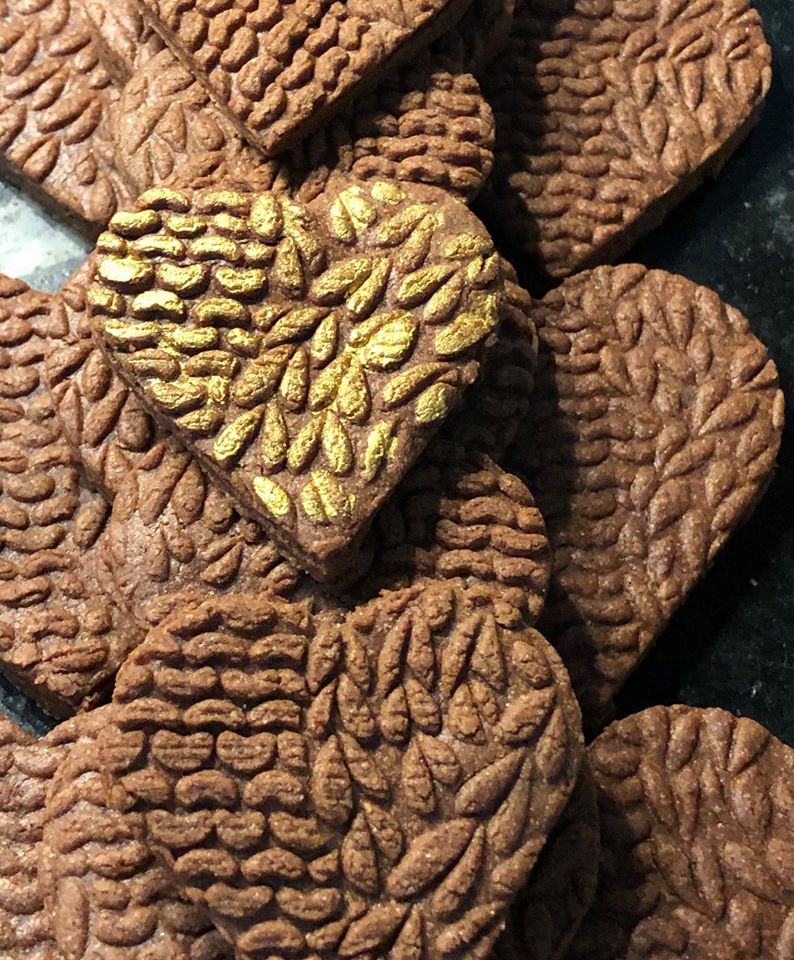
3. Turn out dough onto floured board. (If it’s not coming together into a dough, the heat of your hands will help.) Firmly pat flat (to desired cookie height, usually about 1/2 inch). If using cookie cutters, cut out shapes, place on parchment-covered baking sheet, and chill for 15 minutes (to help hold shape).

NOTE: Can be kept chilled at this point for several days, covered in plastic wrap, and then rolled, cut, and baked fresh.

Alternately, press into baking pan or shortbread mold, prick with fork. You can also cut shapes out after baking — shortbread is very forgiving that way — but then the individual cookie edges won’t be browned.

4. Remove from fridge and bake for 15 to 20 minutes, until the edges begin to brown, then remove to wire rack to cool.

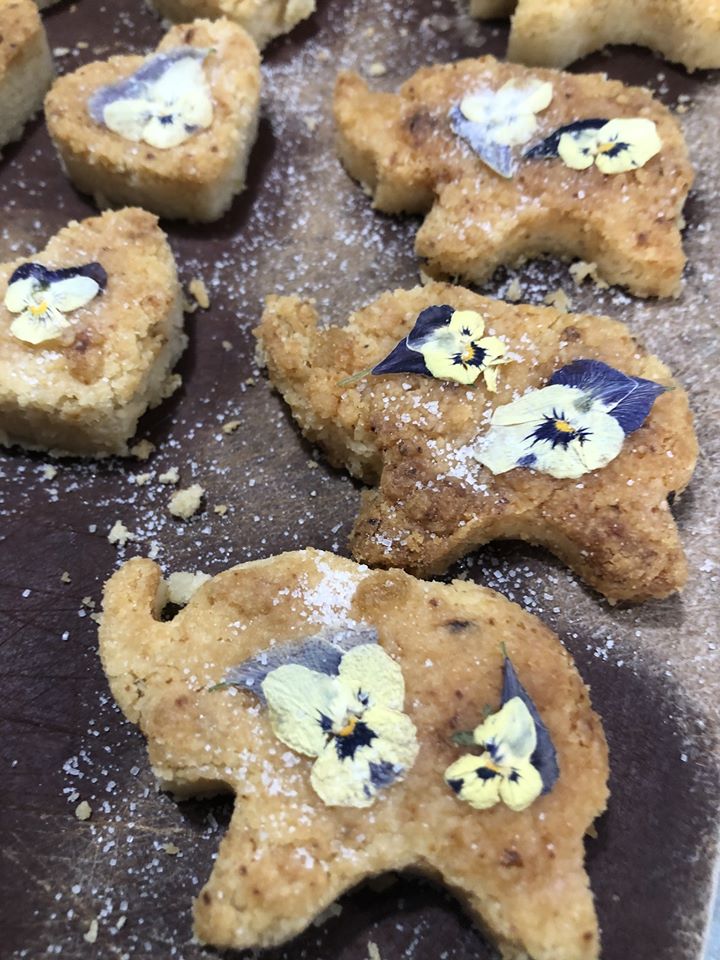
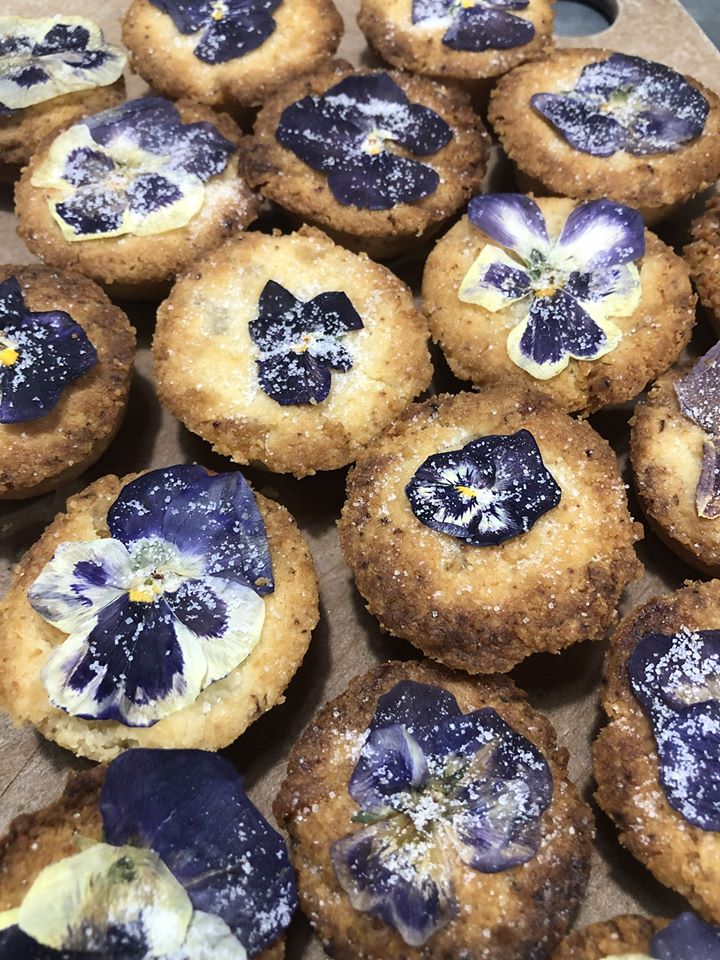
5. Gently press flowers into the tops of cookies while still warm; the moist heat should help it adhere. If any don’t stick, a little fondant dissolved in warm water makes an excellent edible glue.  Sprinkle with a little sugar.

*****

(I appear to have graduated to the BIG bags of candied ginger. The Patreon treat boxes will be getting one each of the large rounds and little hearts. The elephants, it turns out, are very tricky to un-mold, so getting sixteen of them without broken trunks was quite beyond me. I’m just not that patient, I think…we’ll just have to eat those.)

Now that Roses are Blooming

Now that the roses are blooming, we can start making all the edible rose things. I used a bit of rose extract, lemon extract, and lemon oil in these lollipops, then sprinkled in dried rose petals and luster dust. Fit for a princess. 

Now, I really don’t know how you’re supposed to work fast enough to make a whole batch of lollipops before the sugar cools too much. I got about halfway through, and then I needed to reheat, which of course caramelizes the sugar more. So the second batch of lollipops is distinctly caramel in flavor, which isn’t a bad thing in itself, but the rose & lemon notes do get lost. I think I’m just not fast enough, and should work in half-batches.

I mean, not that I’m planning to make a ton of lollipops, these were just for the June treat boxes, but still, good to know. Maybe we’ll put them in a Serendib Confections cookbook someday.

Playing with Sugar Syrup

More playing with sugar syrup. Now I have to make a cake so I can use some of this to decorate it. Apparently sugar art doesn’t keep very long, tending to melt (you can store it in an airtight container with desiccant to help it last a little while longer, but still), but maybe I can manage some cake for Sunday dinner this weekend.

That third photo is all one piece. It reminds me of Gallifreyan Time Lords. 

Sugar Art

I had some sugar syrup left, so I thought I would try to do sugar art for the first time. I’m here to tell you, it’s not as simple as they make it look on GBBO!  I’m honestly not sure how you’re supposed to get the sugar traceries out of the bowls without breaking them.

The bowls are greased, but the sugar seemed to cling anyway — maybe I should’ve been more careful to grease the rim too?

The sugar also collected at the base, which is okay, but not the tracery I was hoping for. I think that might be because it was still a little too hot and liquid, though — this was at 300-degrees F (for the lollipops), and maybe sugar art should be at a slightly lower temp?

An Ode to the Pansy

Harvested pansies and violas today after doing the morning’s hour of weeding. We’re getting to the end of the season for them, though they’ll come back in the coolness of fall, so if you pull them out of planters to do summer annuals, do stick them in the ground somewhere if you can. Now is the perfect time to cut some for:

– candying (egg whites and superfine sugar, perfect for the top of a cake or cupcakes)
– pressing (to make botanical art — bookmarks, cards, etc.)
– adding them to cookies (look for pansy shortbread)
– making flower lollipops
– adding them to a Vietnamese spring roll wrap
– just tossing them into salads

I harvested all the pretty ones, cut off all the fading ones, and will probably get at least one more flush before it gets too hot, fingers crossed.

If you didn’t plant pansies or violas or violets this year, do think about them for the fall, or next spring. You can plant them very early, since they can tolerate a little frost, so they really give months and months and months of pleasure. One of the most hard-working flowers in my garden, and so cheery. Now I want to write an ode to the pansy…

Ruby Chocolate with Pear

Ruby chocolate with pear and a drizzle of white chocolate. Tasty. And you know how it’s satisfying to unwrap a piece of foil, especially if you spread it out really flat? It’s also sort of satisfying to wrap one, it turns out. Odd that it’s nice, but it is.

Embossed Spiced Chocolate Cookies

Embossed Spiced Chocolate Cookies
(makes about 50 medium size cookes)

This is a good base chocolate cookie for embossing, with a little spicing for interest, and a touch of cayenne for warmth and to enhance the chocolatey-ness — but not enough to make it actually taste spicy. Do remember to chill for at least 10 minutes after molding / cutting, so the cookies don’t spread.

5 c. flour
1 c. cocoa powder
1 t. salt
2 t. cinnamon
1/2 t. cayenne
1/2 t. ground cloves
1 lb. butter, softened
2 c. granulated sugar
2 large eggs
2 vanilla bean pods, scraped (or 2 teaspoons vanilla)
for decorating: embossing pin, cookie cutter, embossing dust, vodka (optional)

1. Preheat oven to 350 F. Combine flour, cocoa powder, salt, and spices.

2. In a large mixing bowl, cream butter and sugar until light and fluffy. Add eggs and vanilla and continue to beat until well-combined.

3. Slowly add the flour mixture at low speed, pausing and scraping down sides of bowl as needed, until the dough is well combined.

4. Dust the surface of your cutting board and rolling pin; roll out the dough to about 1/2 inch thick.

5. If embossing, roll the embossing pin across the dough, creating an impression. Then cut out cookies in the shapes desired. Place on a parchment-lined cookie sheet.

6. Chill for at least 10 minutes in the fridge, then immediately bake in a preheated oven, approximately 10-12 minutes. Cool on a rack and enjoy. (If desired, mix luster dust with a bit of vodka and brush on to highlight embossing effects.)

Sugar Cookies for the ICU Staff

I haven’t made sugar cookies in quite a while, and oh, when you don’t do things for a bit, you forget all the little technique tricks — or maybe that’s just me. I got pretty frustrated trying to ice these cookies — first the icing was too thick and wouldn’t come out cleanly, then I added too much hot water and made it too thin, which made a big mess. Sigh.

Finally I got it just right, and it was so easy after that, though it means my end results are very far from professional in neatness. I should’ve taken a few minutes to get the consistency right before trying to ice! But in the end, happy enough with how they came out, and hopefully the ICU staff will appreciate them.

At least this way, it’s clear they’re homemade, right? 

Thanks, healthcare workers. I wish I could feed you all cookies.

Sugar cookie recipe from Sweetopia (and yes, use the real vanilla bean, it makes a difference), royal icing recipe from Alton Brown.