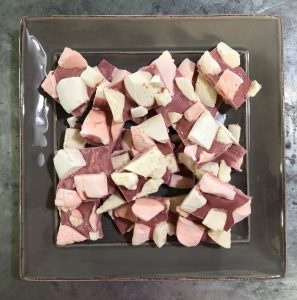
Ruby and white chocolate, with passionfruit marshmallow bits.


with Mary Anne Mohanraj
Ruby and white chocolate, with passionfruit marshmallow bits.
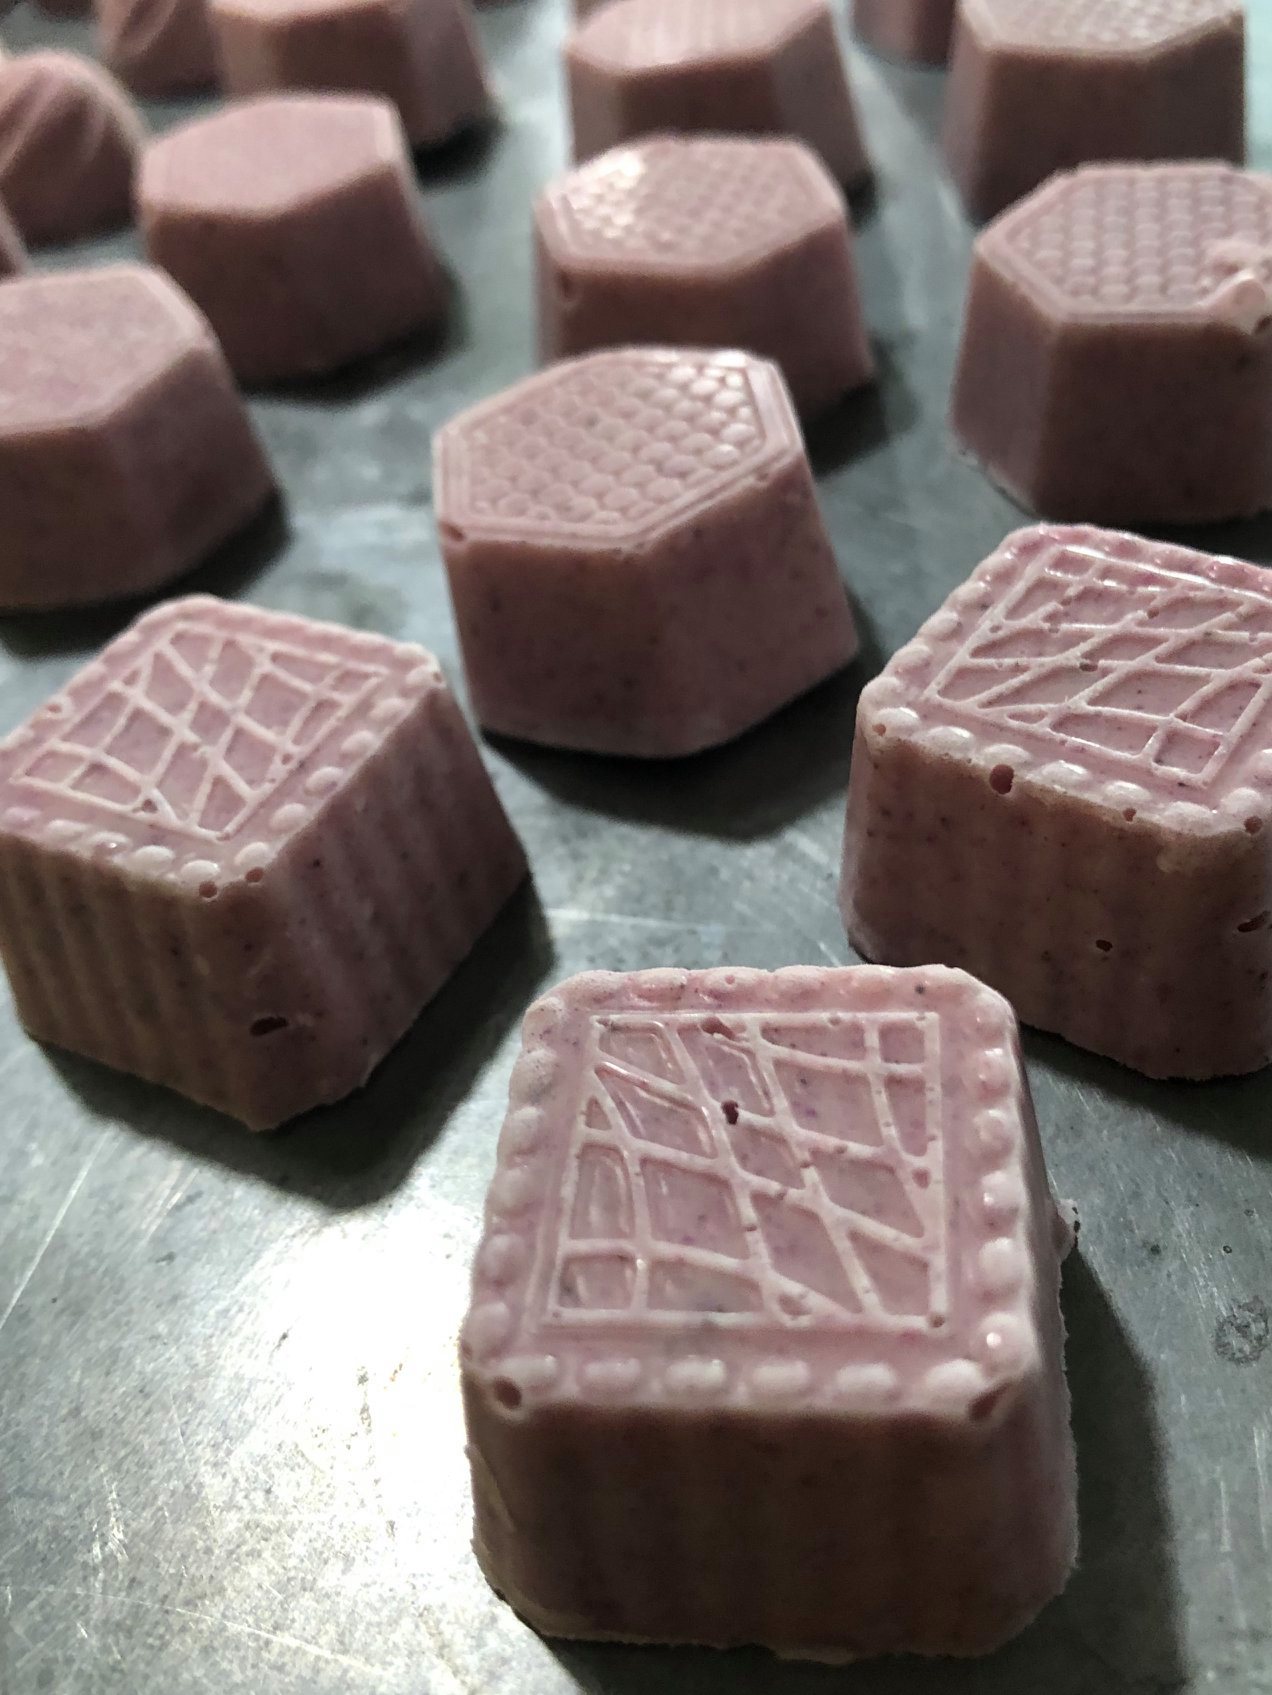
Ruby and white chocolate blended, with passionfruit marshmallow bits. I made passionfruit marshmallows to send out to some ICU staff, and that involves cutting off the edges (to leave neat squares), and I can’t stand wasting food, so I end up doing silly things like this with the leftover bits.
The flavor of the dragonfruit comes through more strongly in marshmallows than in chocolate, so it’s a little startling if you’re not used to that flavor! Honestly, I will pick passionfruit over dragonfruit any day.
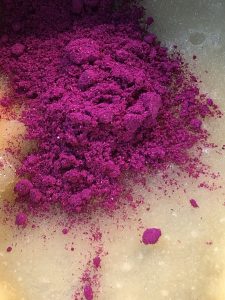
But that said, it’s interesting and fruity, I’ll happily eat a few in a row, and if you’re looking to make a pretty dessert without using food coloring, this is a great option — it’s just colored with pure dehydrated dragonfruit powder.
I’m going to try dipping in chocolate and sprinkling more dragonfruit powder on the top — will report back with more photos, next week, probably. ![]()
*****
Dragonfruit Marshmallows, with Honey, Lime, and White Pepper
1/2 c. lime juice
1/4 t. white pepper
3 packages unflavored gelatin
1 T dragonfruit powder
1/2 c. water
1 1/2 cups granulated sugar
1 cup honey
1/4 teaspoon salt
powdered (confectioner’s) sugar
butter (for greasing the pan)
1. Add lime juice, white pepper, gelatin and dragonfruit powder to the bowl of stand mixer (whisk attachment). Stir briefly to combine.
(NOTE: If you don’t have a stand mixer, you can make marshmallows in a large bowl with a hand mixer — you just have to be willing to hold and beat it for 12 minutes. Prep the pan and spatula for the marshmallows ahead of time.)
2. In a small saucepan (a bigger one will be heavy and hard to hold steadily at a later stage) combine water, granulated sugar, honey, and salt. Cover and cook over medium high heat for 4 minutes. Uncover and cook until the mixture reaches soft ball stage (240 degrees if you have a candy thermometer), approximately 8 minutes. Once the mixture reaches this temperature, immediately remove from heat; if it continues, it will swiftly turn into hard candy.
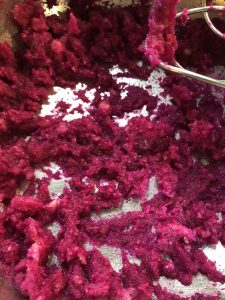
3. Turn mixer on low speed and, while running, slowly pour the sugar syrup down the side of the bowl into the gelatin mixture. (Be very careful with the sugar syrup, as it is scaldingly hot and will burn you badly if it gets on your skin.) Once you’ve added all of the syrup, increase the speed to high.

4. Continue to whip until the mixture becomes very thick and is lukewarm, approximately 12 minutes.
5. While it’s whipping, butter a large 9 x 12 pan and dust with powdered sugar. Prepare an oiled spatula.
6. Pour the mixture into the prepared pan, spreading it evenly (and swiftly) with an oiled spatula.

7. Dust the top with enough of the remaining powdered sugar to lightly cover. Reserve the rest for later. Allow the marshmallows to sit uncovered for at least 4 hours and up to overnight.
8. Turn onto a board, cut into squares and dust all sides of each marshmallow with the remaining powdered sugar, using additional if necessary. May be stored in an airtight container for up to 3 weeks, or frozen.

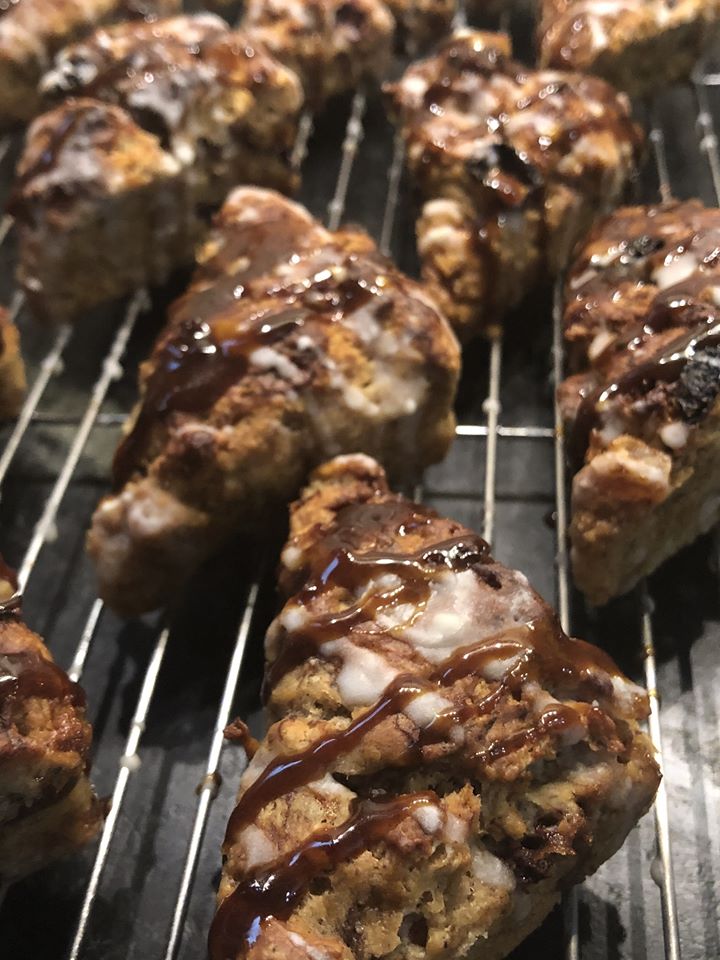
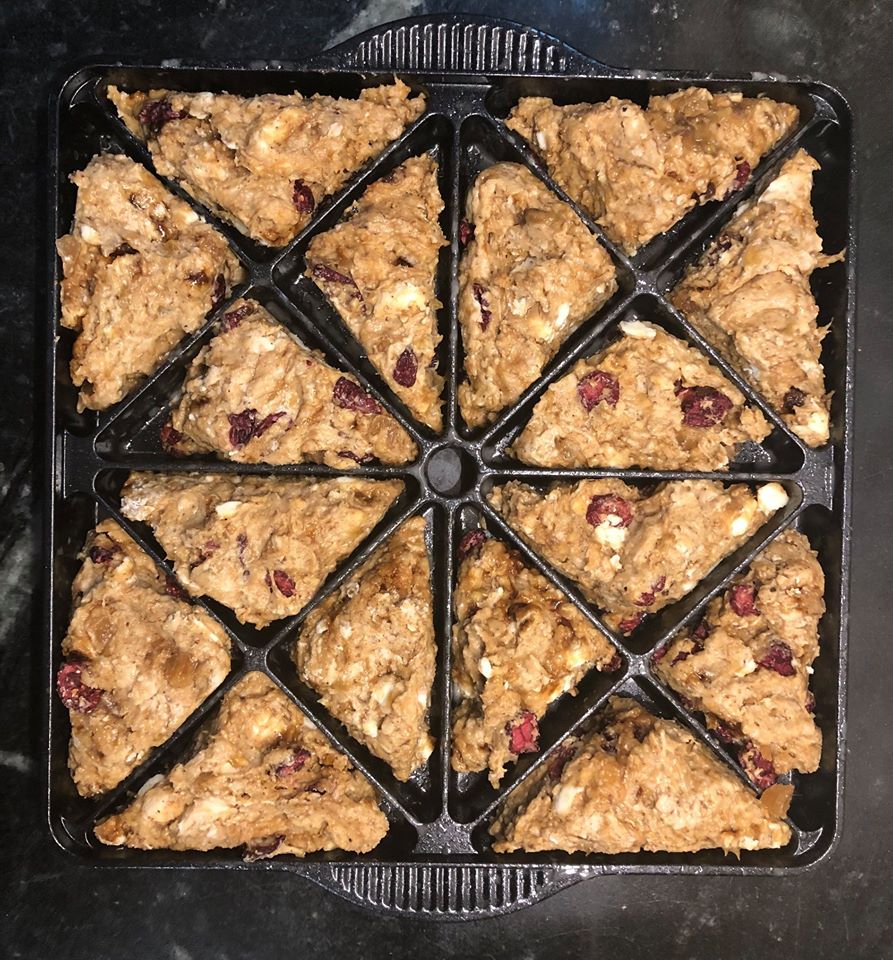
Okay, so the banana scones I’d made, I realized, were actually pretty darn good, especially with candied ginger and dried cranberry stirred in, but they still needed SOMETHING. Maybe a glaze would be the answer? Usually I don’t necessarily want a glaze on scones, but a lot of the time that’s because I find store-bought scones in America too sweet already. But this batch was more like the scones I had in Dublin, not very sweet at all, and so a drizzle of glaze over the top might be just the thing.
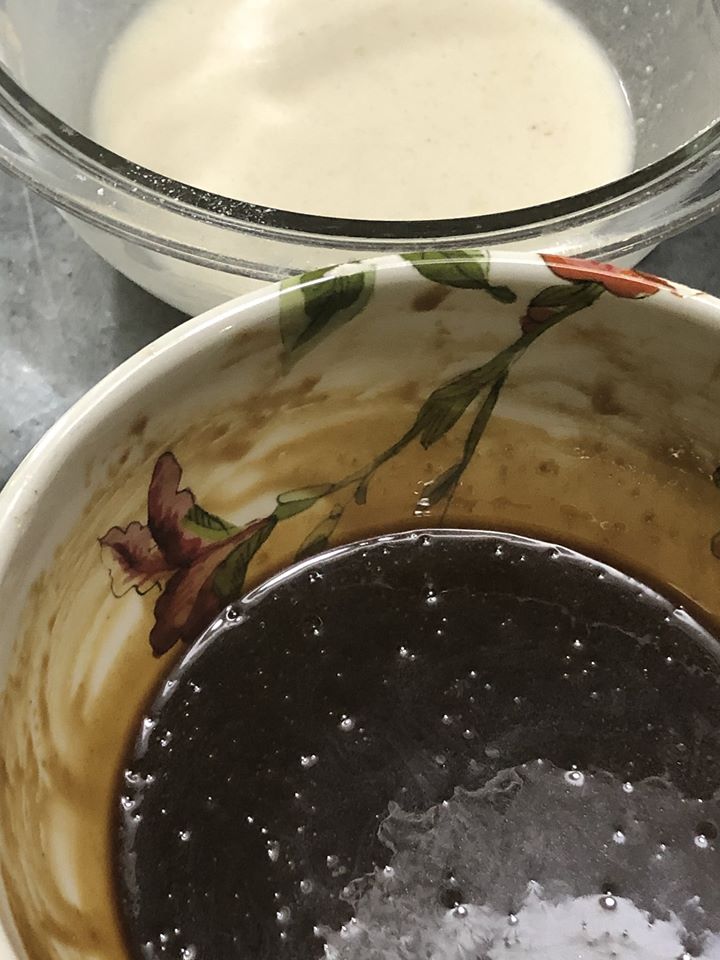
But what kind of glaze? Some people do a maple glaze on banana scones, and that’d be fine, but I was craving something different. Maybe a brown butter glaze? Oh yes, that would work. So I made a little brown butter (more than I needed, but y’know, there are many ways to enjoy brown butter, so having a little extra in the fridge is not a bad thing). And then I made a brown butter glaze with powdered sugar, etc., and put it on a scone, and yes, that was good. Very good. I could have stopped there. But I wanted more. MORE.
I wanted a jaggery & brown butter glaze. I’d never seen such a thing, but surely it would be good? The dark, complex notes of jaggery — like brown sugar, but more so. Mmm… But glazes are typically made with powdered sugar — would jaggery actually powder? It has more moisture than white table sugar…
…and though I ran it through a food processor, my assumption was correct — it didn’t actually want to powder. Well. I tried making the glaze anyway, with the fine-ground jaggery (after food-processing, it was pretty much the same as what came out of the package, so no need for that step). And the flavor — SO YUM. But there was still a little graininess, which made me sad. But you know what, people? I have a microwave.
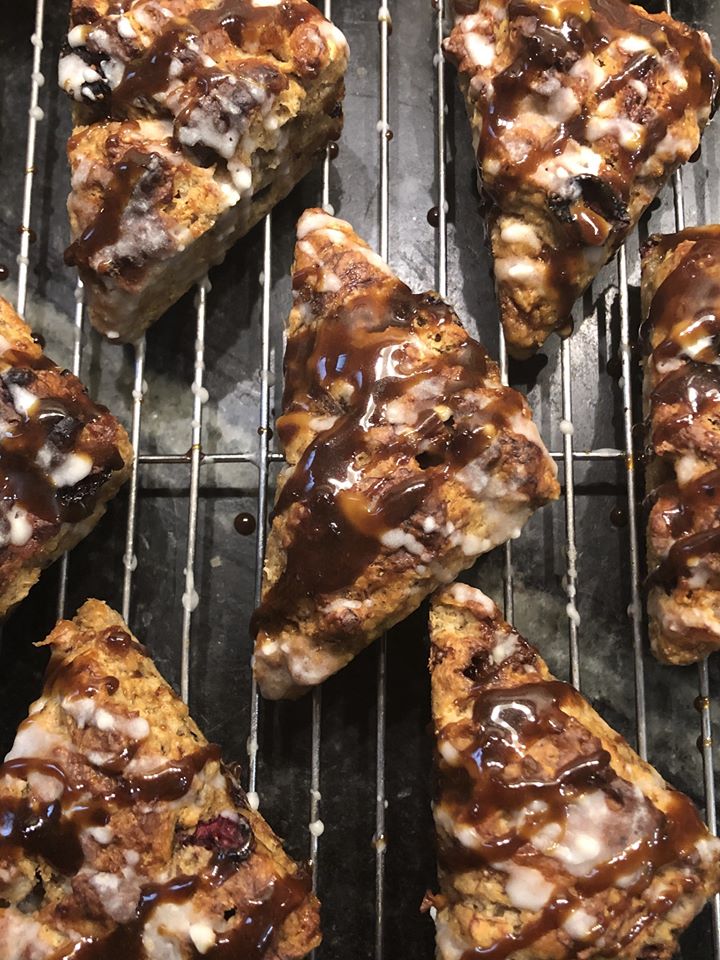
Thirty seconds in the microwave, and that was the answer. The last of the jaggery dissolved into the brown butter mixture, and I was left with a liquid dark deliciousness that was PERFECT for drizzling on a banana scone. I ended up doing a criss-cross pattern, actually — first the regular brown butter glaze, crossed with the jaggery brown butter glaze. And it is so, so tasty.
*****
Banana Scones with Cranberry & Crystallized Ginger,
Glazed with Jaggery & Brown Butter
This makes two standard batches, so approximately 32 mini scones or 16 traditional. Once the batter is made, any portion of it can be wrapped in plastic and frozen for another day; scones are best made fresh, if possible!
INGREDIENTS FOR BANANA SCONES:
1 cup very ripe banana, about 3 bananas (I usually frozen ones that I’ve thawed; we toss them in the freezer when they start to go, so we always have plenty on hand for scones and bread)
1 extra-large, extra-ripe banana, mashed (1/2 cup)
2/3 c. heavy cream
2 eggs, lightly beaten
2 t. vanilla
4 c. all-purpose flour
2/3 cup packed jaggery (or dark brown sugar)
5 t. baking powder
1 t. salt
1 c. cold unsalted butter, cut into pieces (it’s important that it be cold)
1 c. chopped cranberries (unsweetened is ideal)
1 c. chopped crystallized ginger
1. Preheat the oven to 425°F. In a medium bowl, blend the banana, cream, beaten egg, and vanilla.
2. In a large bowl, combine the flour, jaggery, baking powder, and salt. Add the cold sliced butter — you can use a pastry blender, two knives, or your fingers (but you have to work fast, so the butter stays in little chunks and doesn’t start to melt from the heat of your hands). Alton Brown uses a food processor for this, which also works fine. You’re aiming to break up the butter into lots of little pieces distributed all through the dough.
3. Combine with the banana mixture and the cranberries and ginger, stirring with a wooden spoon until all the dough has been moistened and it’s well-blended.
4. At this point, you can either spoon it into a scone mold (spray first with some Baker’s Joy to guarantee a smooth release, although the butter in the scones usually is sufficient here), or place the dough on a parchment-lined baking sheet. If the latter, pat it into a circle, and then cut the circle into eight equal triangles.
5. Bake until golden brown and cooked through (about 16-22 minutes, depending on the size of your scones). Turn scones out on to a wire rack to cool.
You could just eat them straight up, sliced in half and slathered with butter, which would be quite good. OR, you can let them cool completely, and then glaze:
INGREDIENTS FOR JAGGERY GLAZE
3/4 c. ground jaggery
1 T + 2 t. whole milk
1 T brown butter, melted
1/8 t. vanilla
pinch of salt
1. Whisk together the jaggery, milk, brown butter, vanilla, and salt. If the resulting mixture is a little grainy, microwave for about 30 seconds and stir; it should dissolve nicely.
2. Let it cool a little, so it thickens slightly — maybe 10 minutes? Then drizzle the tops of the cooled scones with the jaggery glaze. (If you want to do what I did, make a second batch of glaze with powdered sugar instead of jaggery, and then you can criss-cross the glazes; let the white glaze set before drizzling with the jaggery glaze.)
Slather with butter, if you like. Fabulous with hot tea.


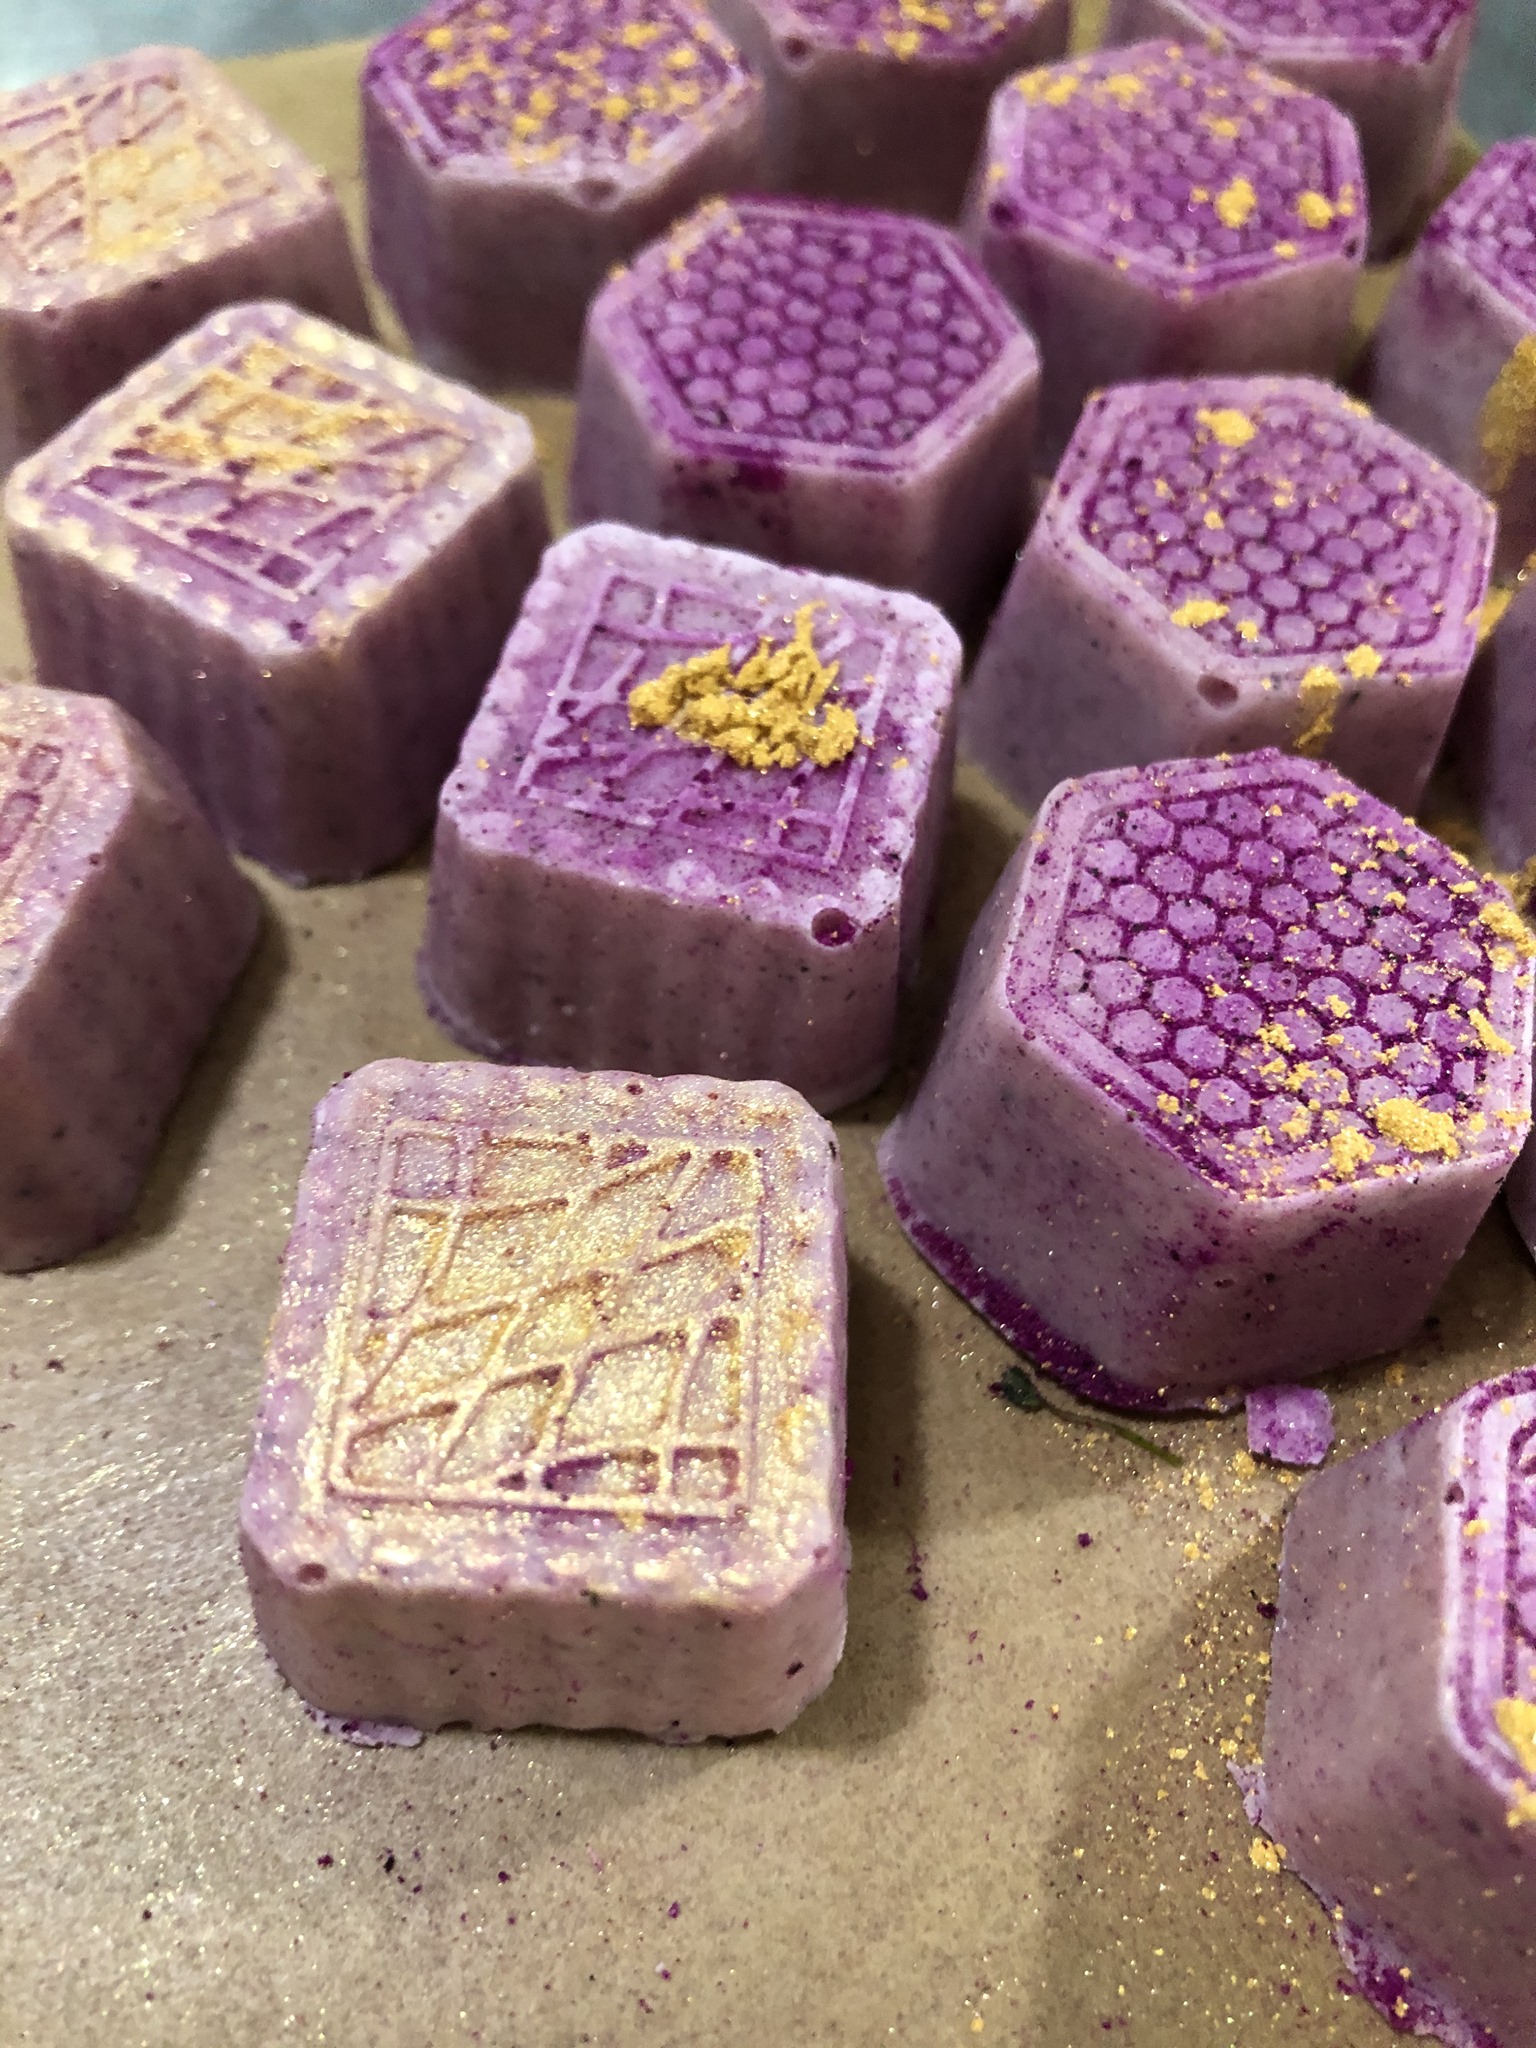
Recipe below. But first: In the far reaches of the galaxy, the Dragonfruit Nebulae lie. Amid rocky crags, the gilded dragons guard their gemstone horde. Sparks of citrus and pepper dance in dark caverns. Once you taste their seductive wiles, you may find yourself unable to resist returning, again and again.

Heh. If I were going to work with dragonfruit, I knew I wanted to do a diamondscale bar (along with a scattering of gemstones), and gild it — I love how the combo of dragonfruit powder and edible gold came out. Gorgeous.
But what about the taste? Dragonfruit itself has a surprisingly delicate flavor, and while the concentrated powder is lovely to the tongue, once you mix that powder with white chocolate, it fades to just a hint of fruitiness. It needed something more.
A dragon-themed bar had to have some kind of heat, and while I do cayenne chocolates, cayenne would overpower the dragonfruit here. White pepper is perfect, a subtle heat that lingers on the tongue. And the citric acid doesn’t dissolve into the melted chocolate — instead, it dances on the tongue, little pinpricks of tang amidst the sea of fruity sweetness.
My test for a sweet, deciding whether it deserves a name, is whether it’s sufficiently ‘more-ish’. Do I find myself coming back to my island counter, breaking off another little bit to pop in my mouth again and again? This one definitely qualifies. ![]()
*****
Dragonfruit Nebulae Chocolate
(makes two bars)
2 c. white chocolate, melted (1/2 power in microwave, 3-4 minutes, stirring once or twice)
2 t. dragonfruit powder
1/2 t. white pepper
1/2 t. citric acid
additional dragonfruit powder and edible gold dust for decoration, optional
1. Combine ingredients, stirring. Pour into mold and let set for a few hours, until firm.
2. Unmold, and if desired, gild with dragonfruit powder and edible gold dust. Eat and enjoy!
Dragonfruit Nebulae chocolates: Details of gilding process. Pretty pretty. Dragon pleased.
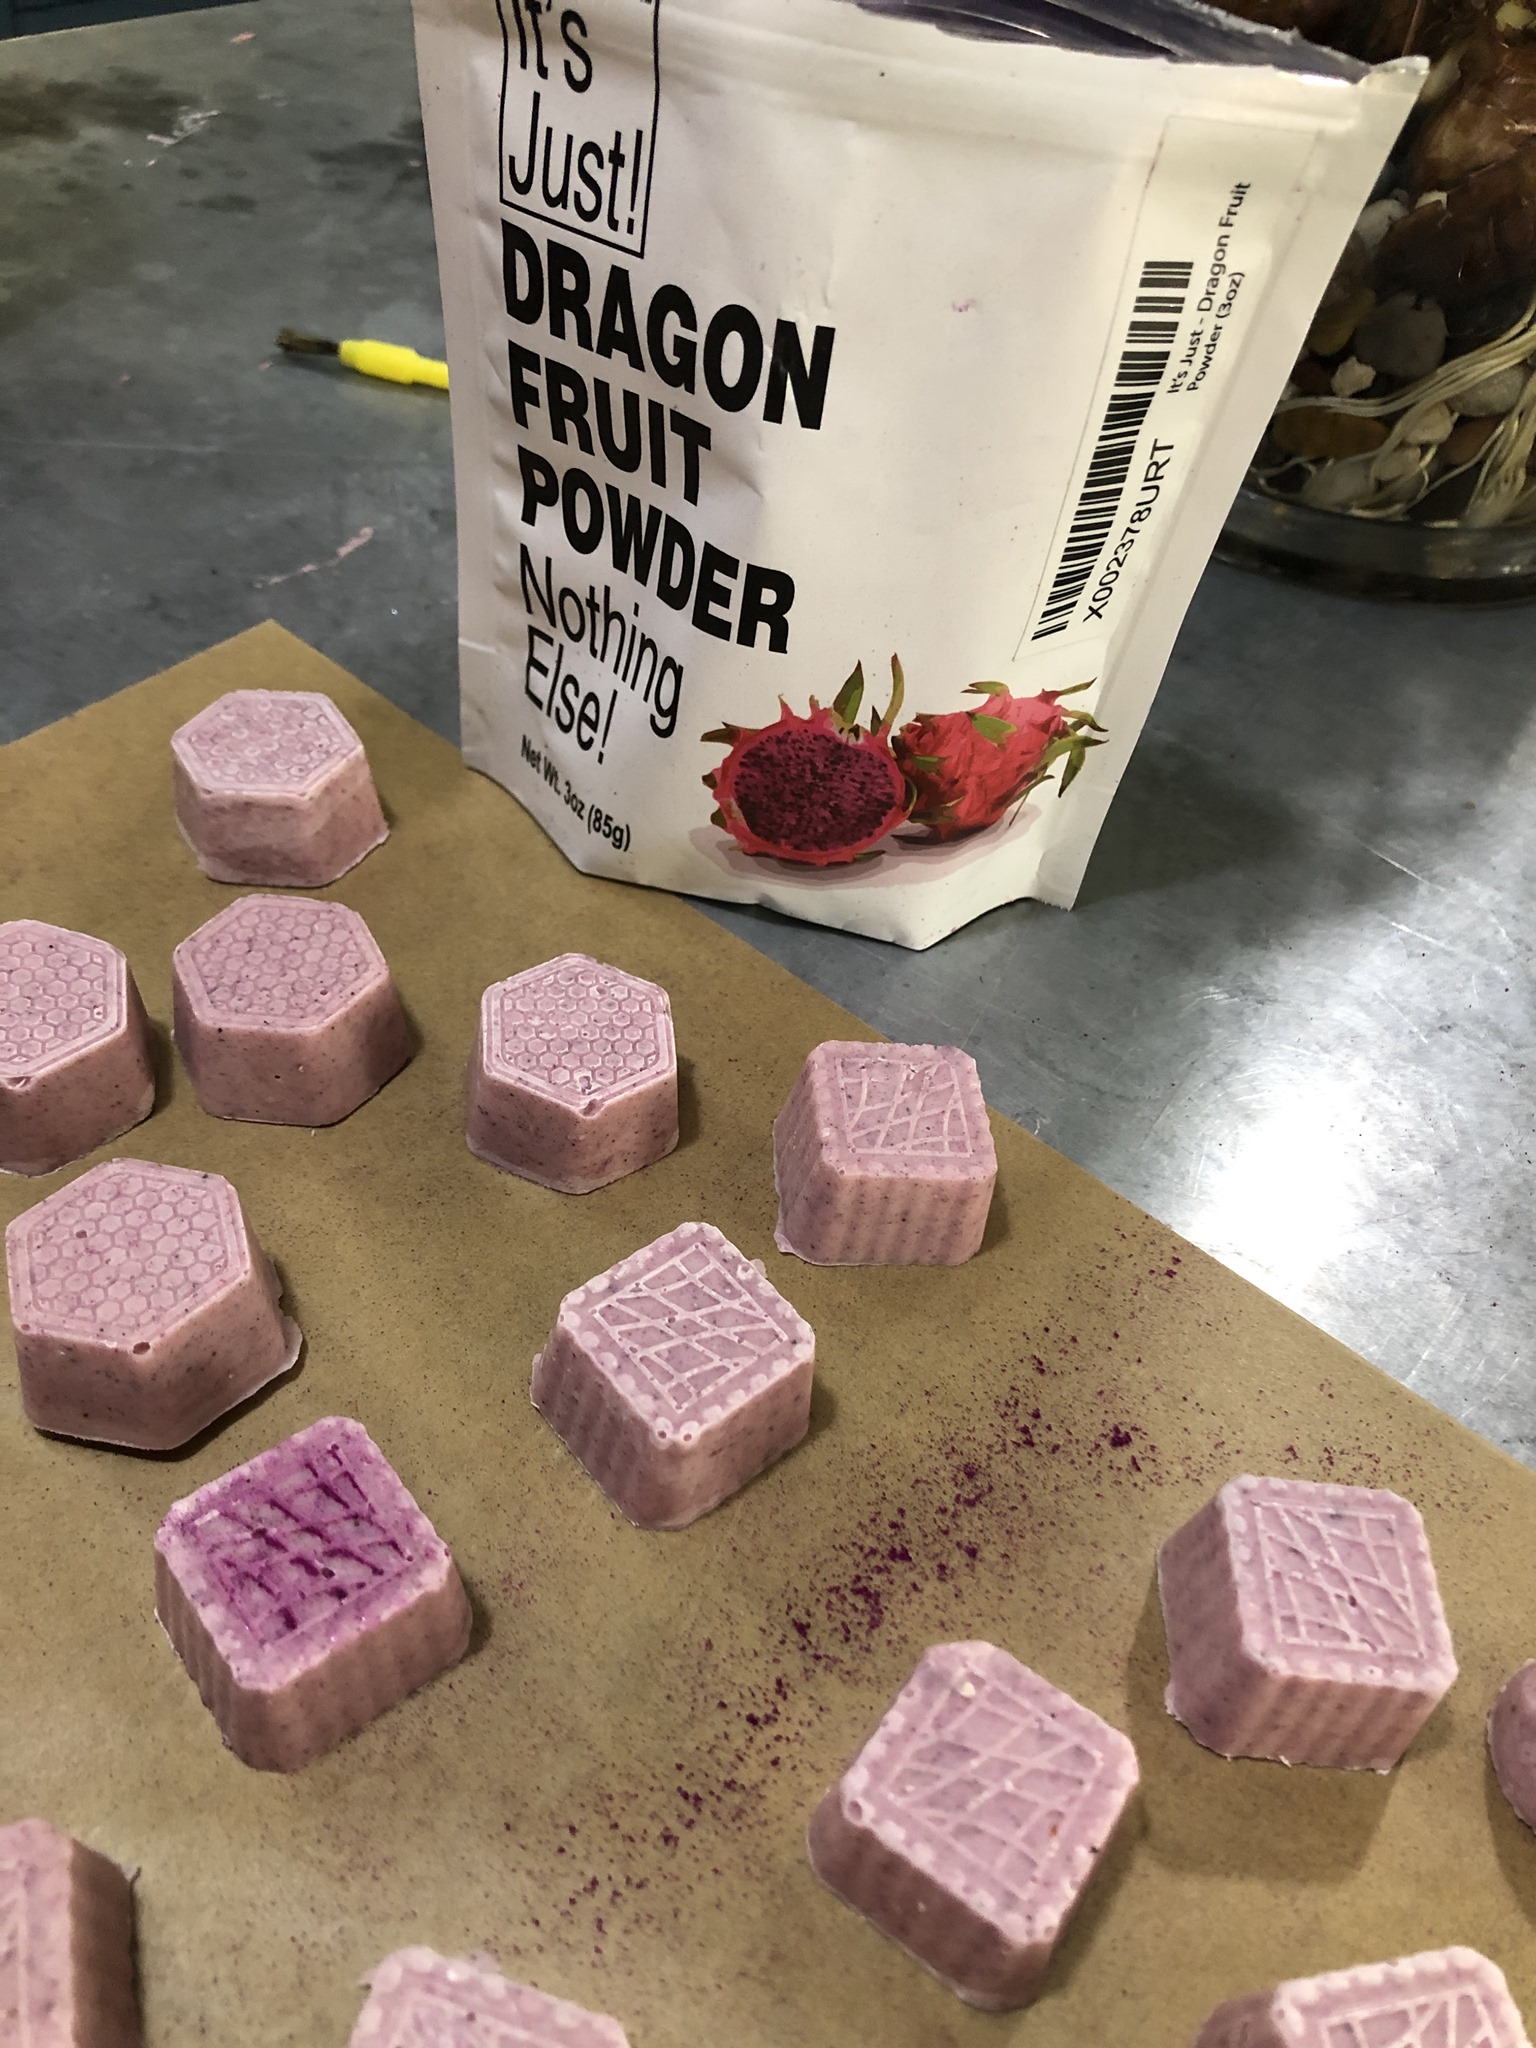

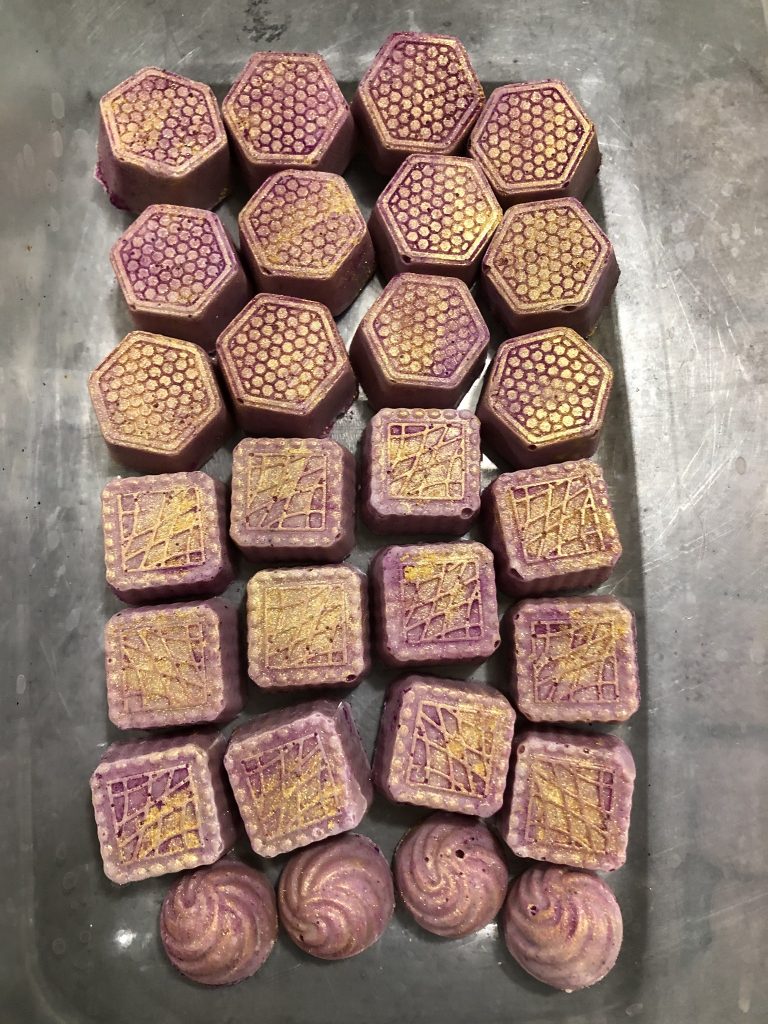
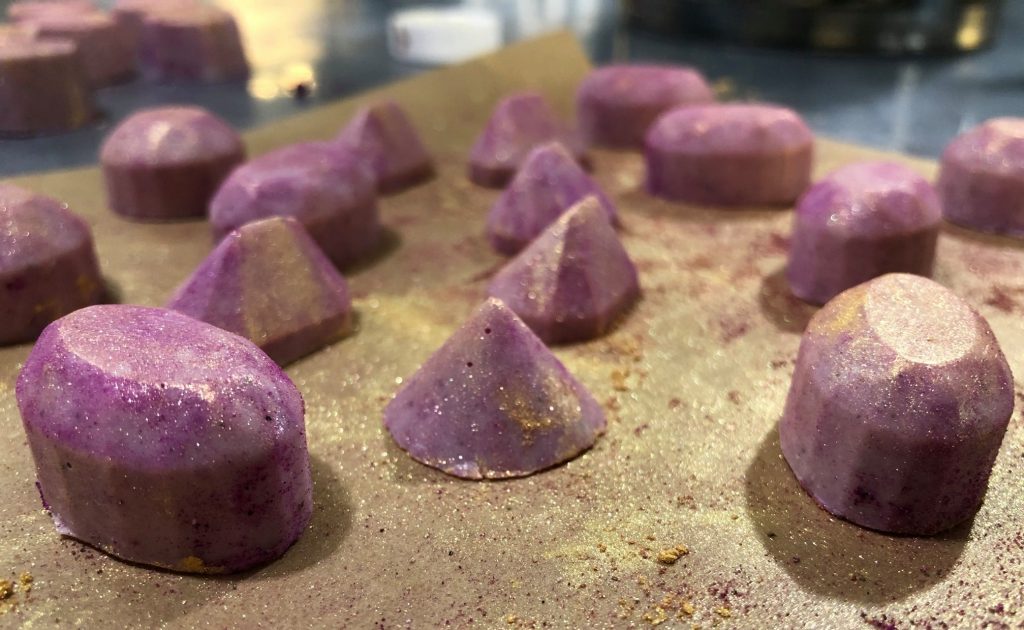
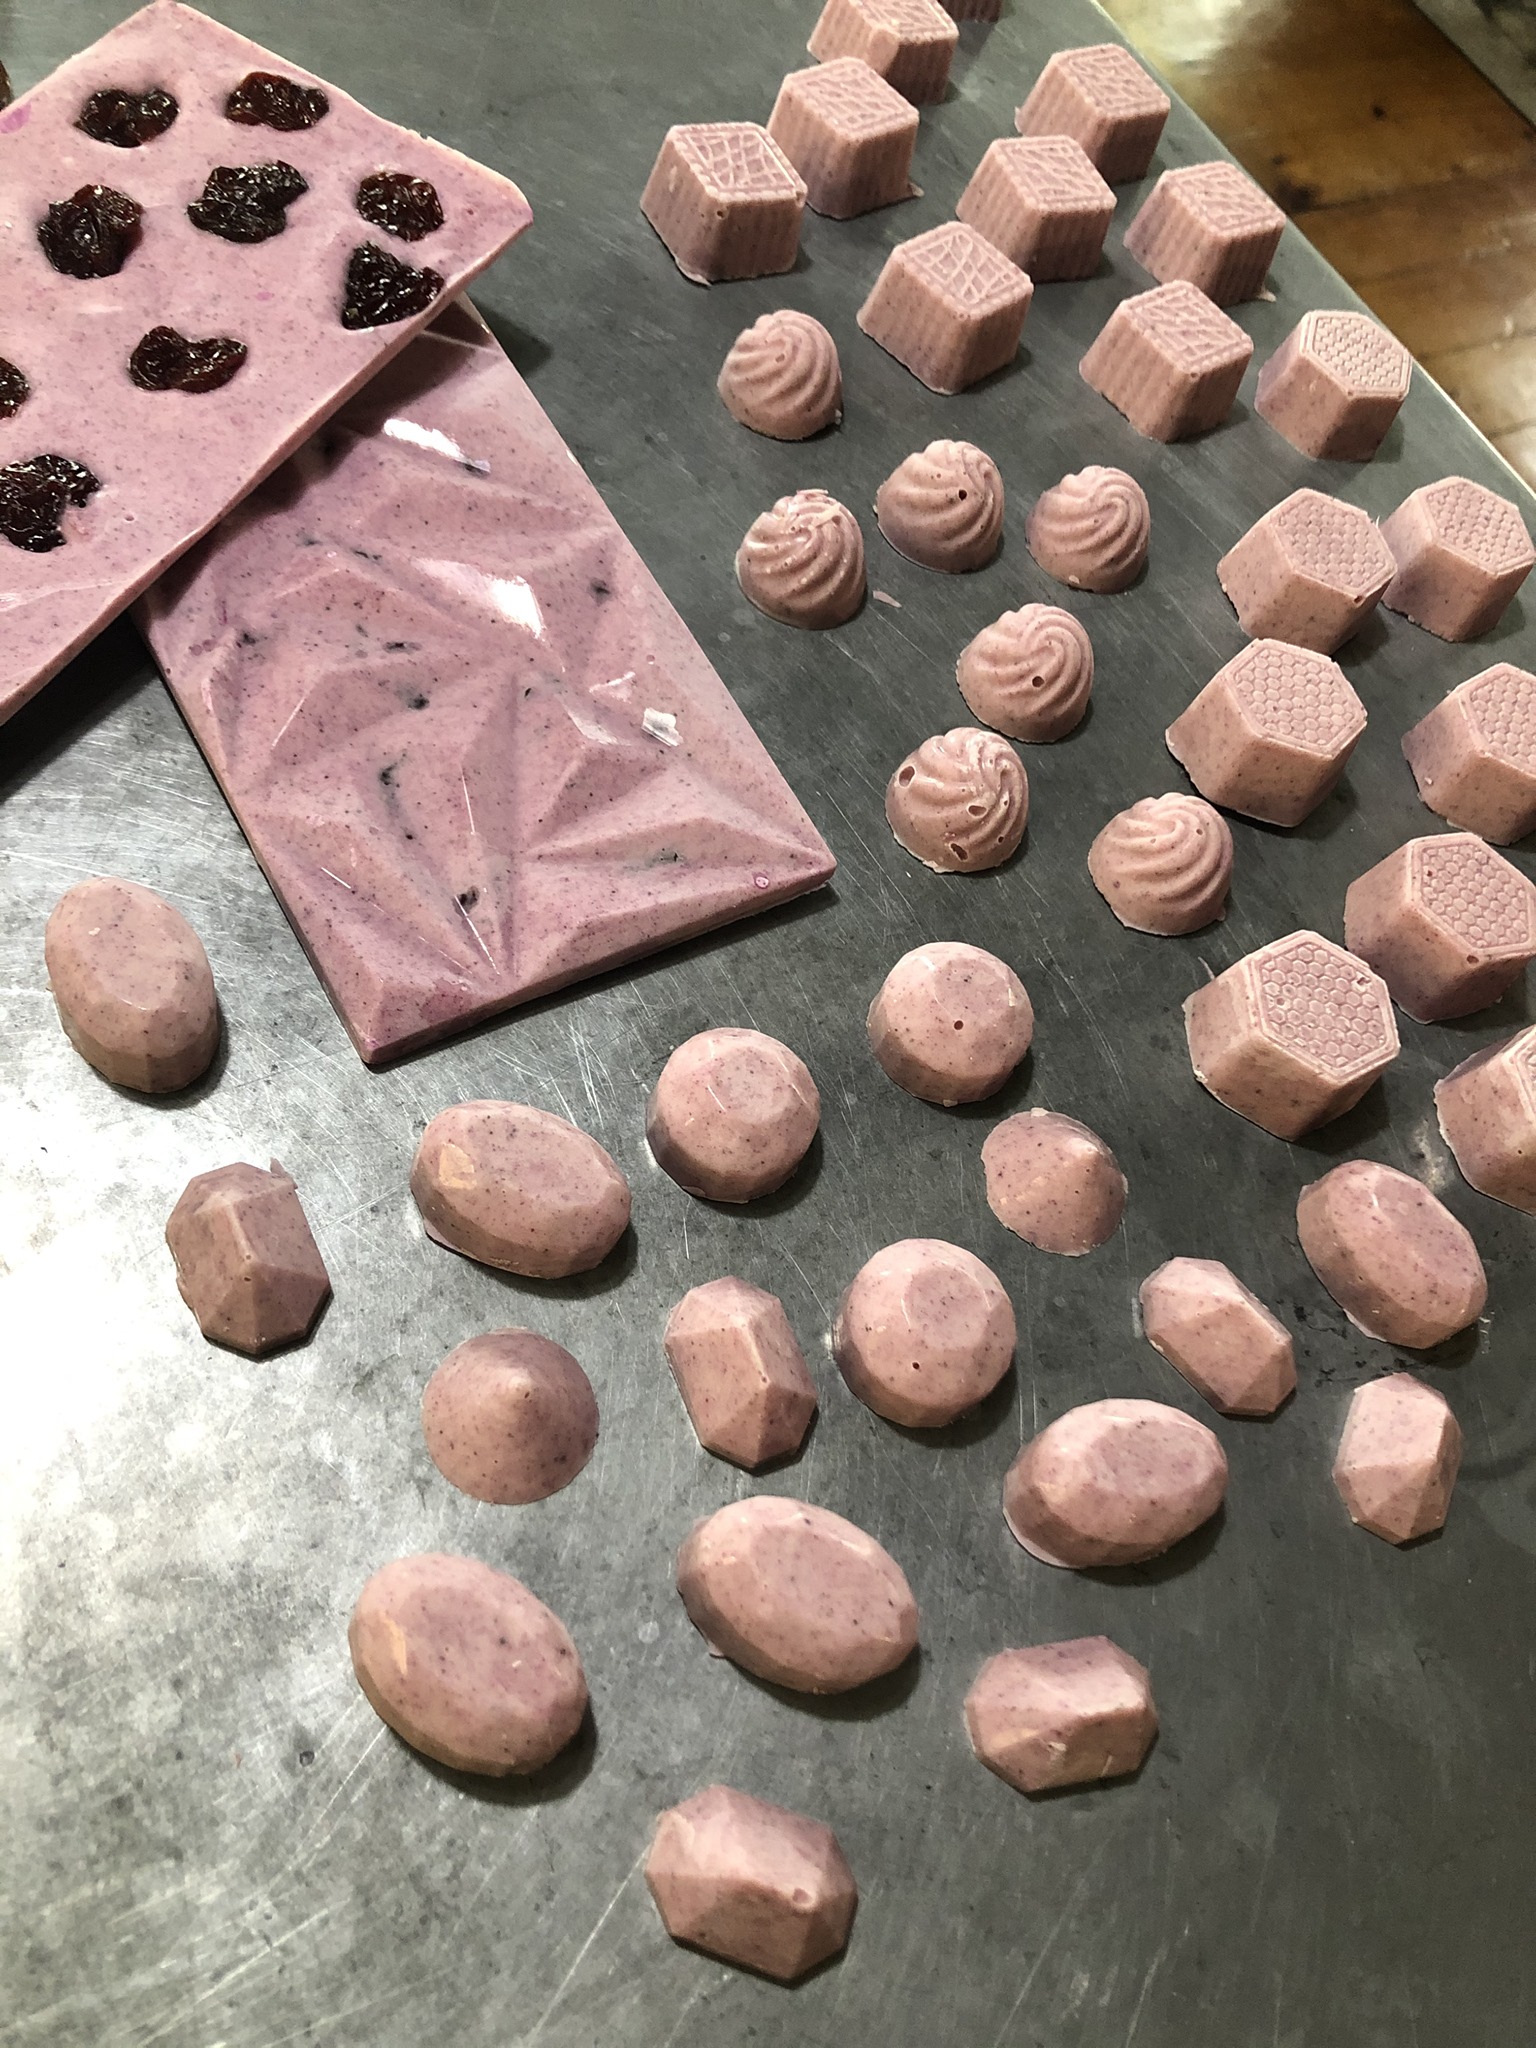
Dragonfruit Nebulae chocolates: They are still very pretty without gilding, especially when poured into cool molds. While I love the dragon scale effect of the bars, I did do a bunch of little individual chocolates; those will be better for parties and tasting events. One set in gemstone shapes (so dragon!), and the other with intricate detailing on the tops.
 Fairy food! I had a redbud for a few years, but I didn’t realize the flowers were edible. Once someone told me they were, I had to try experimenting. (We’ve kept our garden pesticide-free for ten years now, which makes it much easier to eat out of it!)
To be honest, I find that the flowers, like most, have almost no flavor — if I eat them on their own, I can taste a very faint sweetness, slightly nutty. But put them in a cucumber sandwich, and you have a teatime treat to brighten any fairy’s heart!

My daughter was a little suspicious — ‘flowers aren’t for eating!’ But I convinced her to try, and she admitted that the cucumber sandwiches were quite yummy. Of course, I think she mostly likes the butter…

With the New Year, I’m trying to more consciously eat plenty of fish (and serve it to my kids). I’ve been eating lox and bagels for years, but only recently have I discovered whitefish salad. I think it was at my friends Ellen and Delia’s apartment in New York, where we had a weekend writing workshop and they laid out a beautiful bagel spread with lox and multiple fish spreads, along with everything else you might want. SO GOOD.
 Next up in the queue is figuring out how to make my own whitefish salad (please do feel free to point me to your favorite recipes!), but for right now, I’m very happy that my local Whole Foods carries ‘whitefish paté’ in their seafood case. Toast a bagel, layer it up with lettuce, tomato, capers, red onion (not pictured, because I was out, but trust me, that makes it even better), and you have yourself a delicious breakfast.
(And for those counting calories, if you pile this all on a mini bagel, it’s still only about 200 calories, which is kind of amazing. Have two!)

I have a friend whose daughter is allergic to eggs, which led me to wonder about the classic egg wash, used to add lovely color to breads. I did a little research, and learned that you can do a wash with egg whites only, with heavy cream, even just with milk (done when funds are tight).
In this first photo, the curry buns on the left were baked with no wash at all; the ones on the right with a traditional egg wash. Interestingly, the bottom left one did brown a little, but certainly you got a more consistent, richer result from the egg wash.

Then I tried using just whites, and just heavy cream. The whites browned almost as well as the traditional egg wash; the heavy cream gave a little color, but I’m not sure it’s enough that I’d bother with it, honestly.

No real conclusions here — but it was fun experimenting!