Taunting You Forever

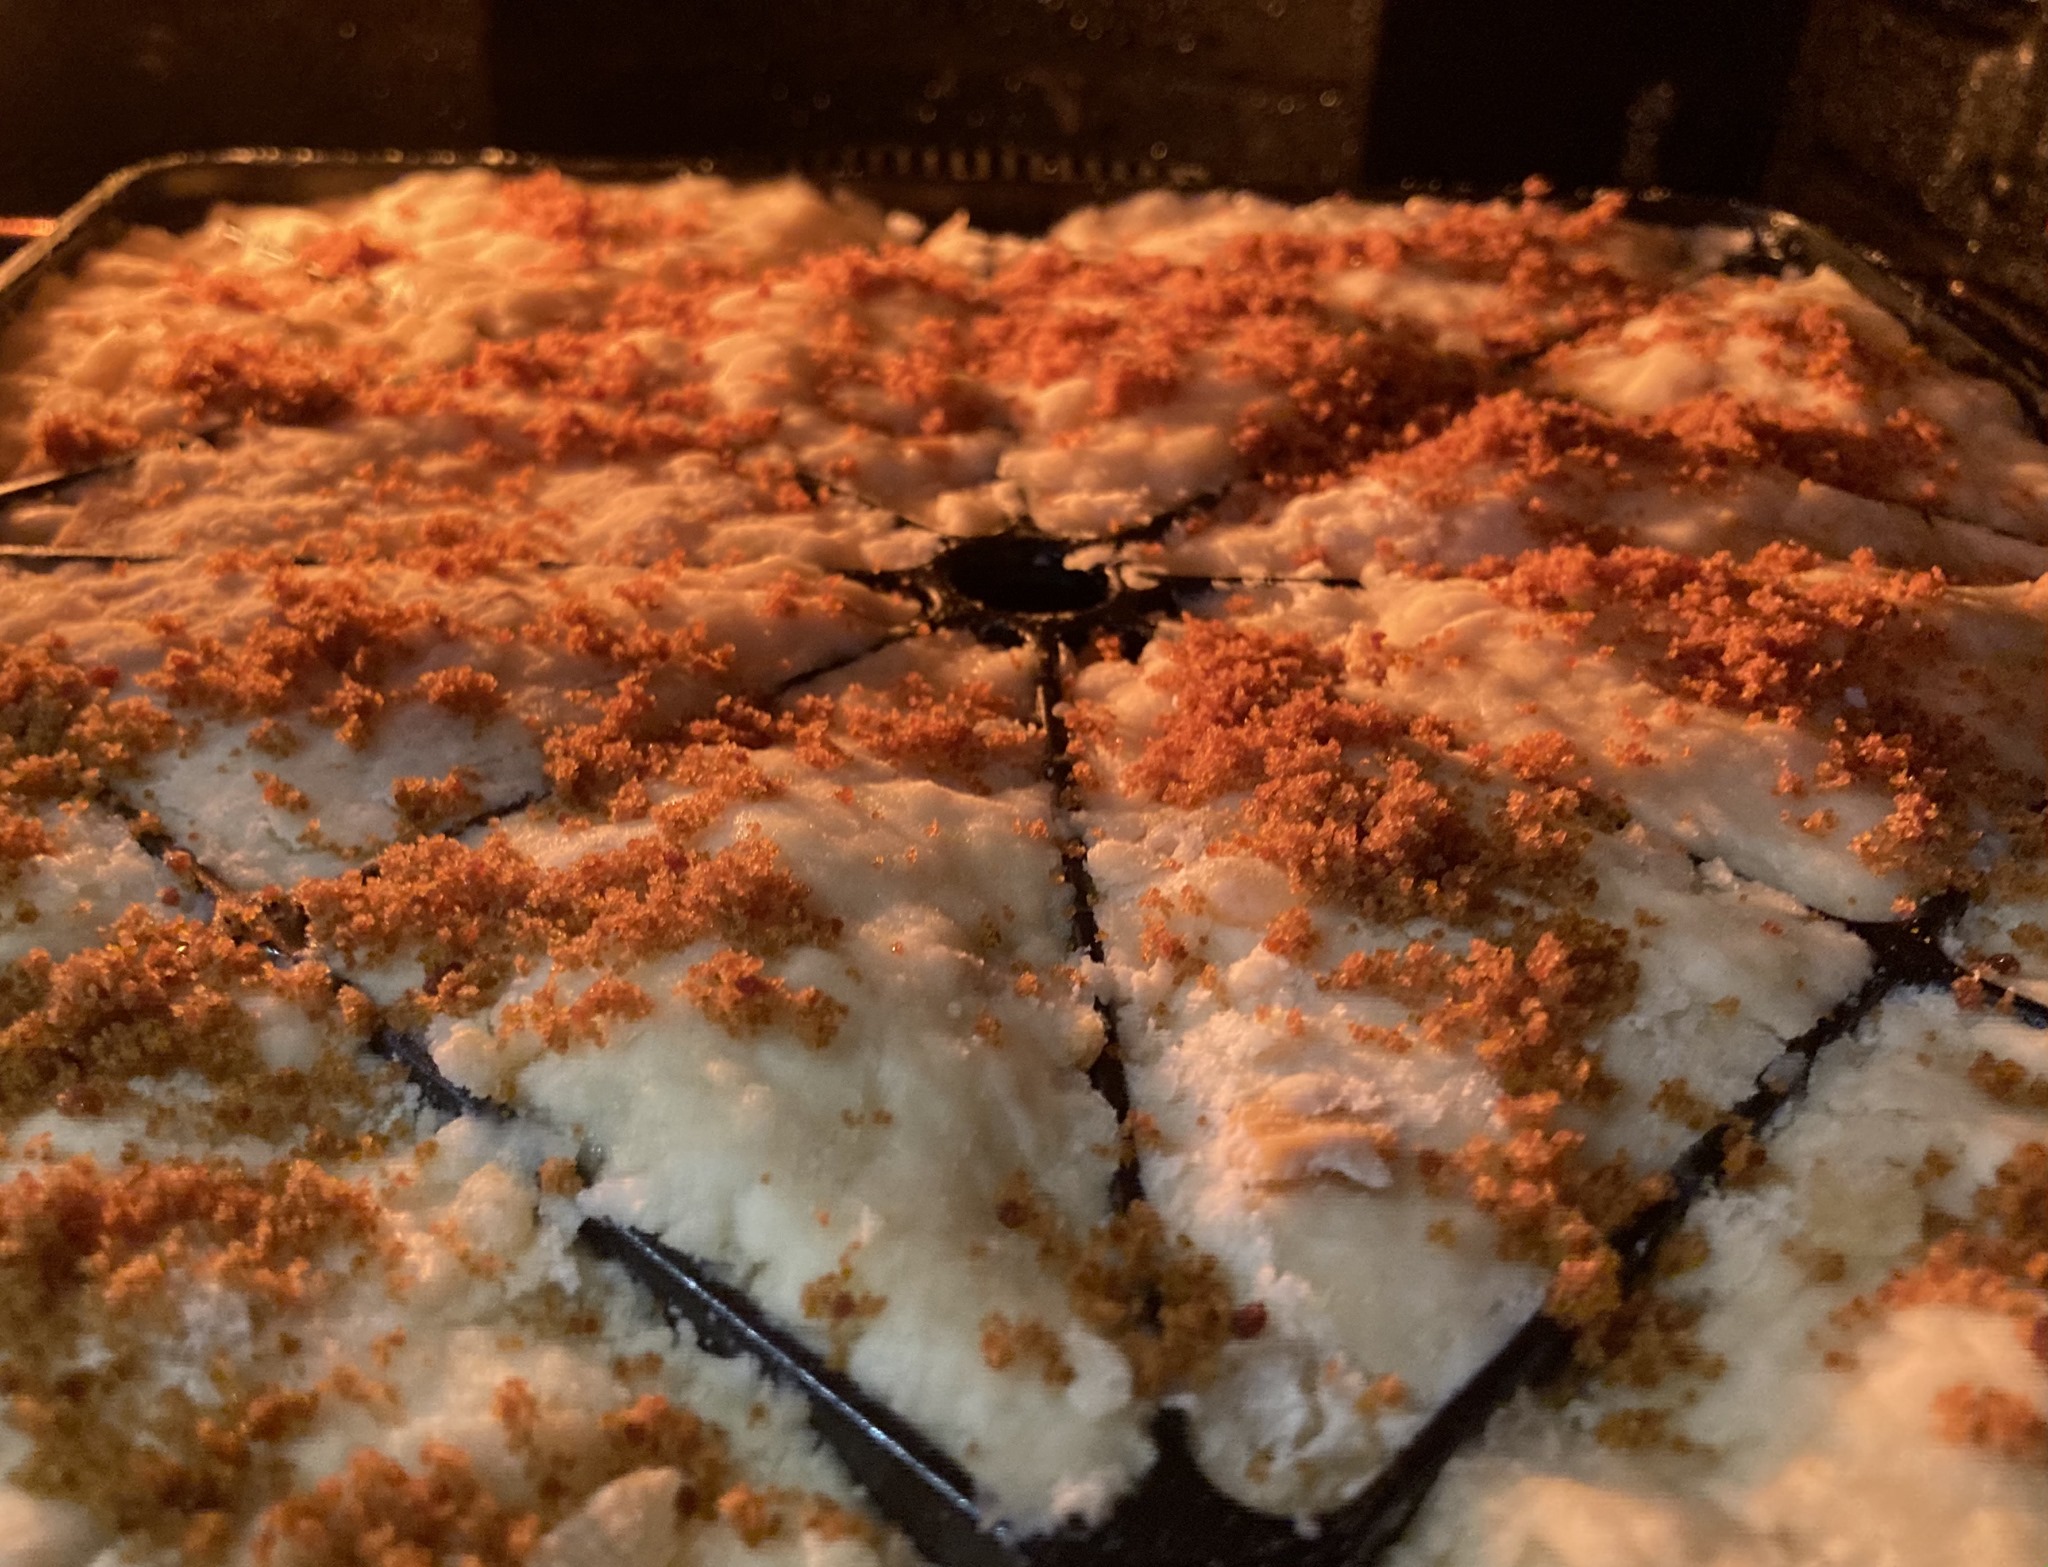
I think I may have ruined the pot I usually make milk toffee in, using it for candle making — I’m having a hard time getting all the bits of candle spatter completely off, so it may be a dedicated candle pot now. Which is okay, but I had to make milk toffee, and I was a little worried that my 6 qt. all-Clad, which has notably lower sides, would not contain it. The results could have been bad.
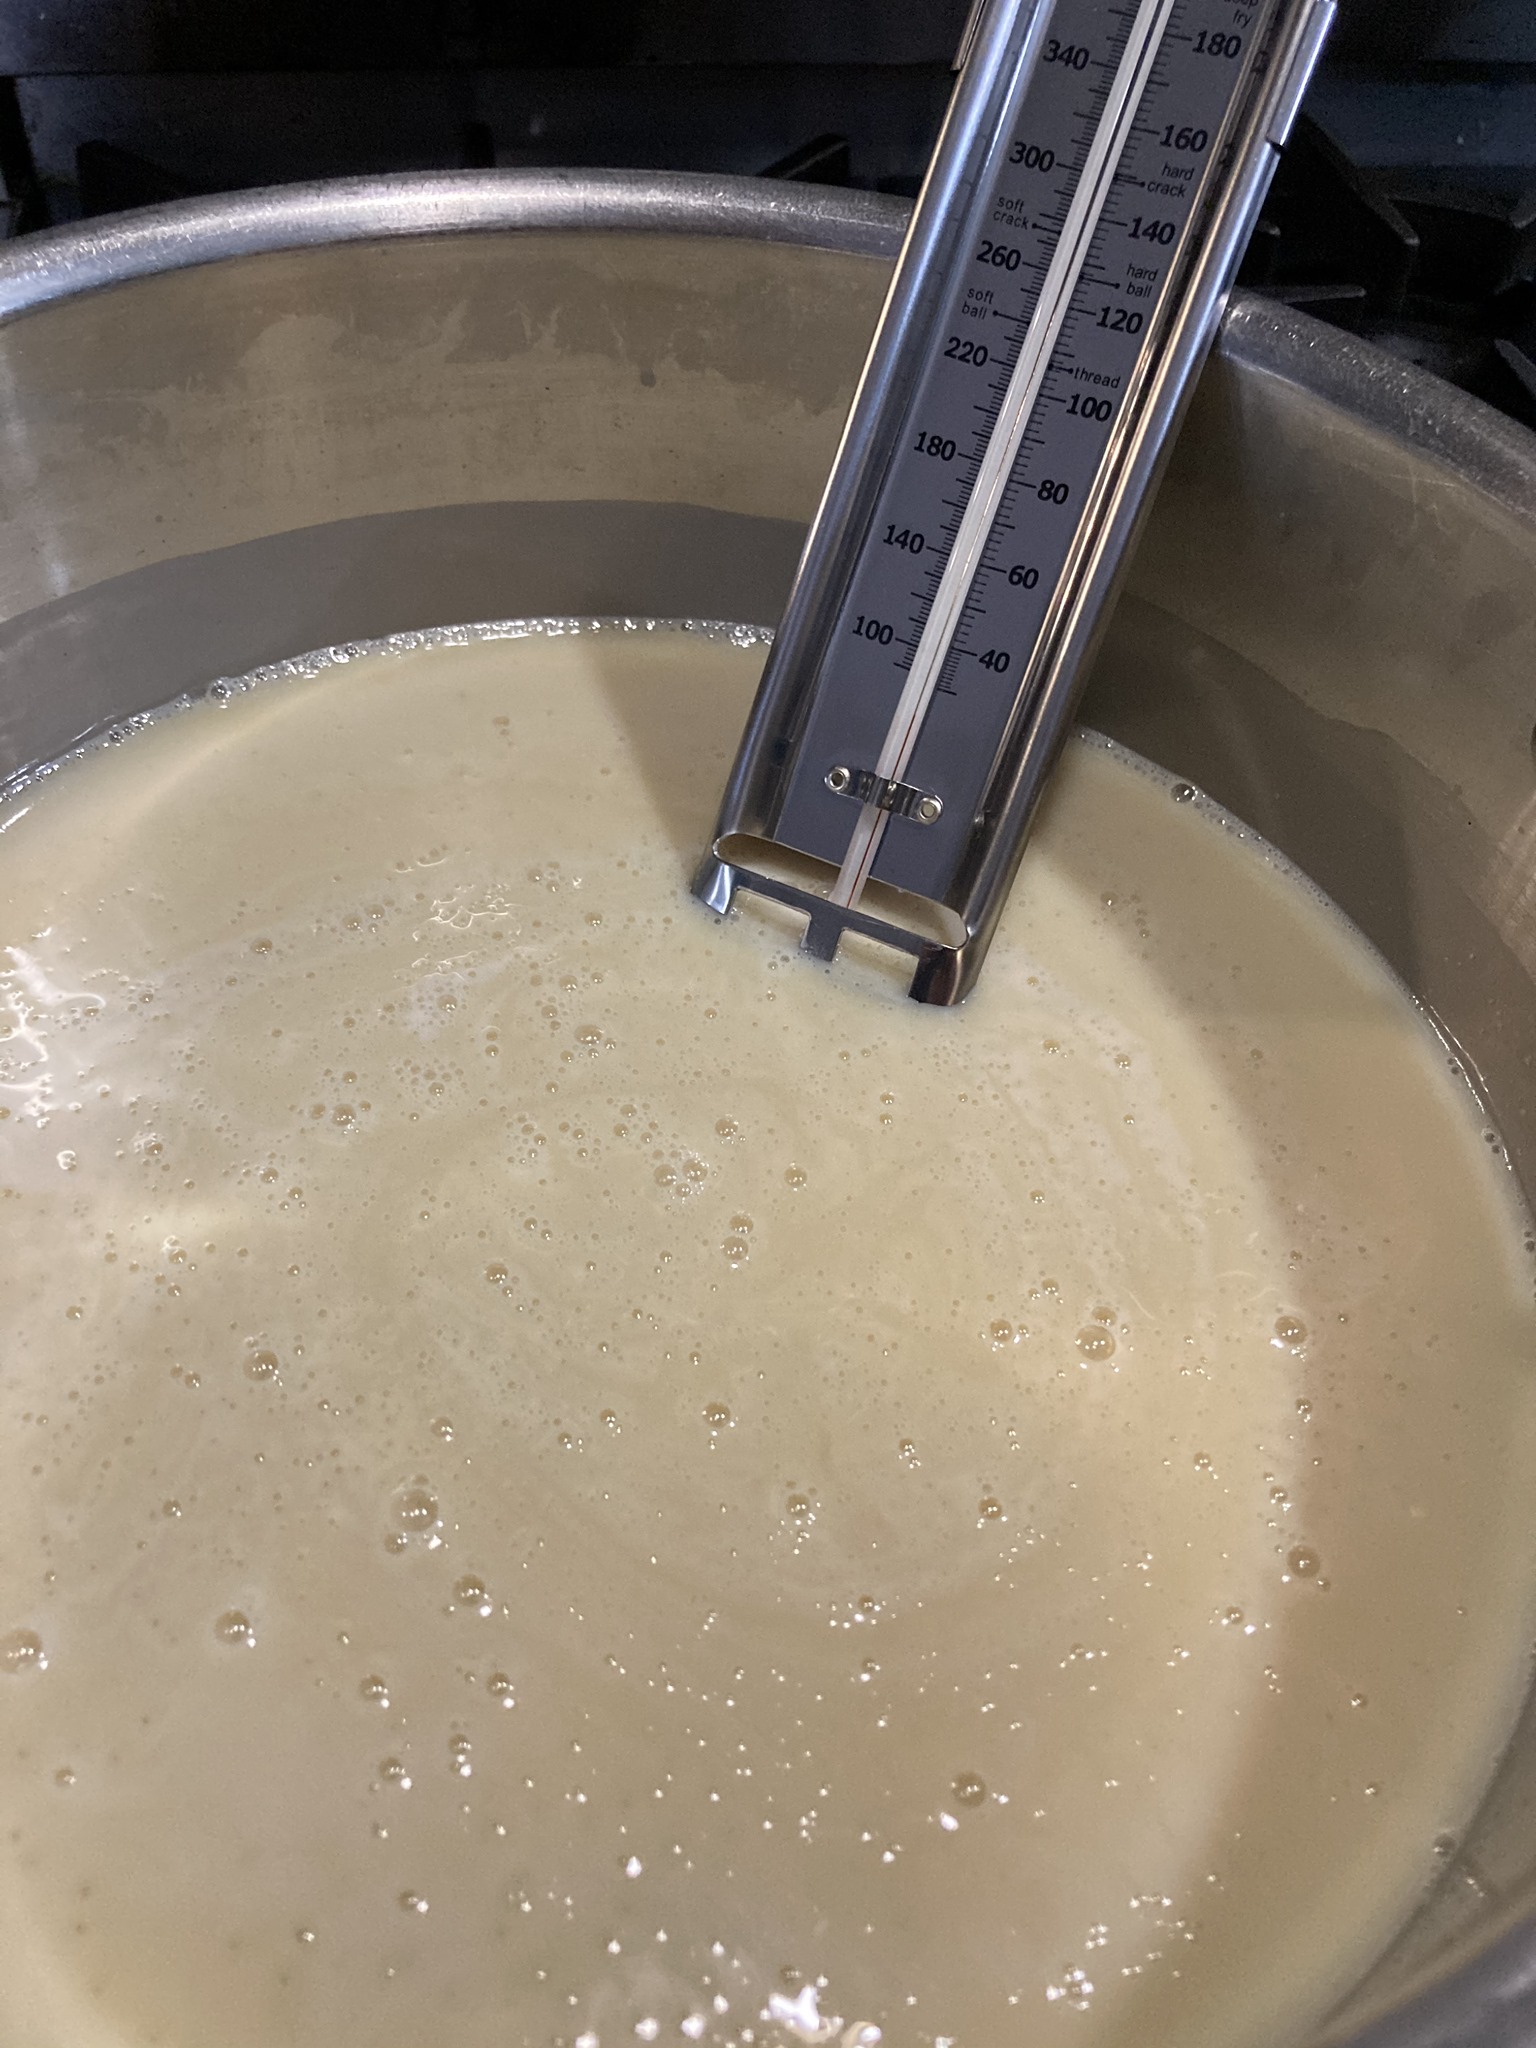
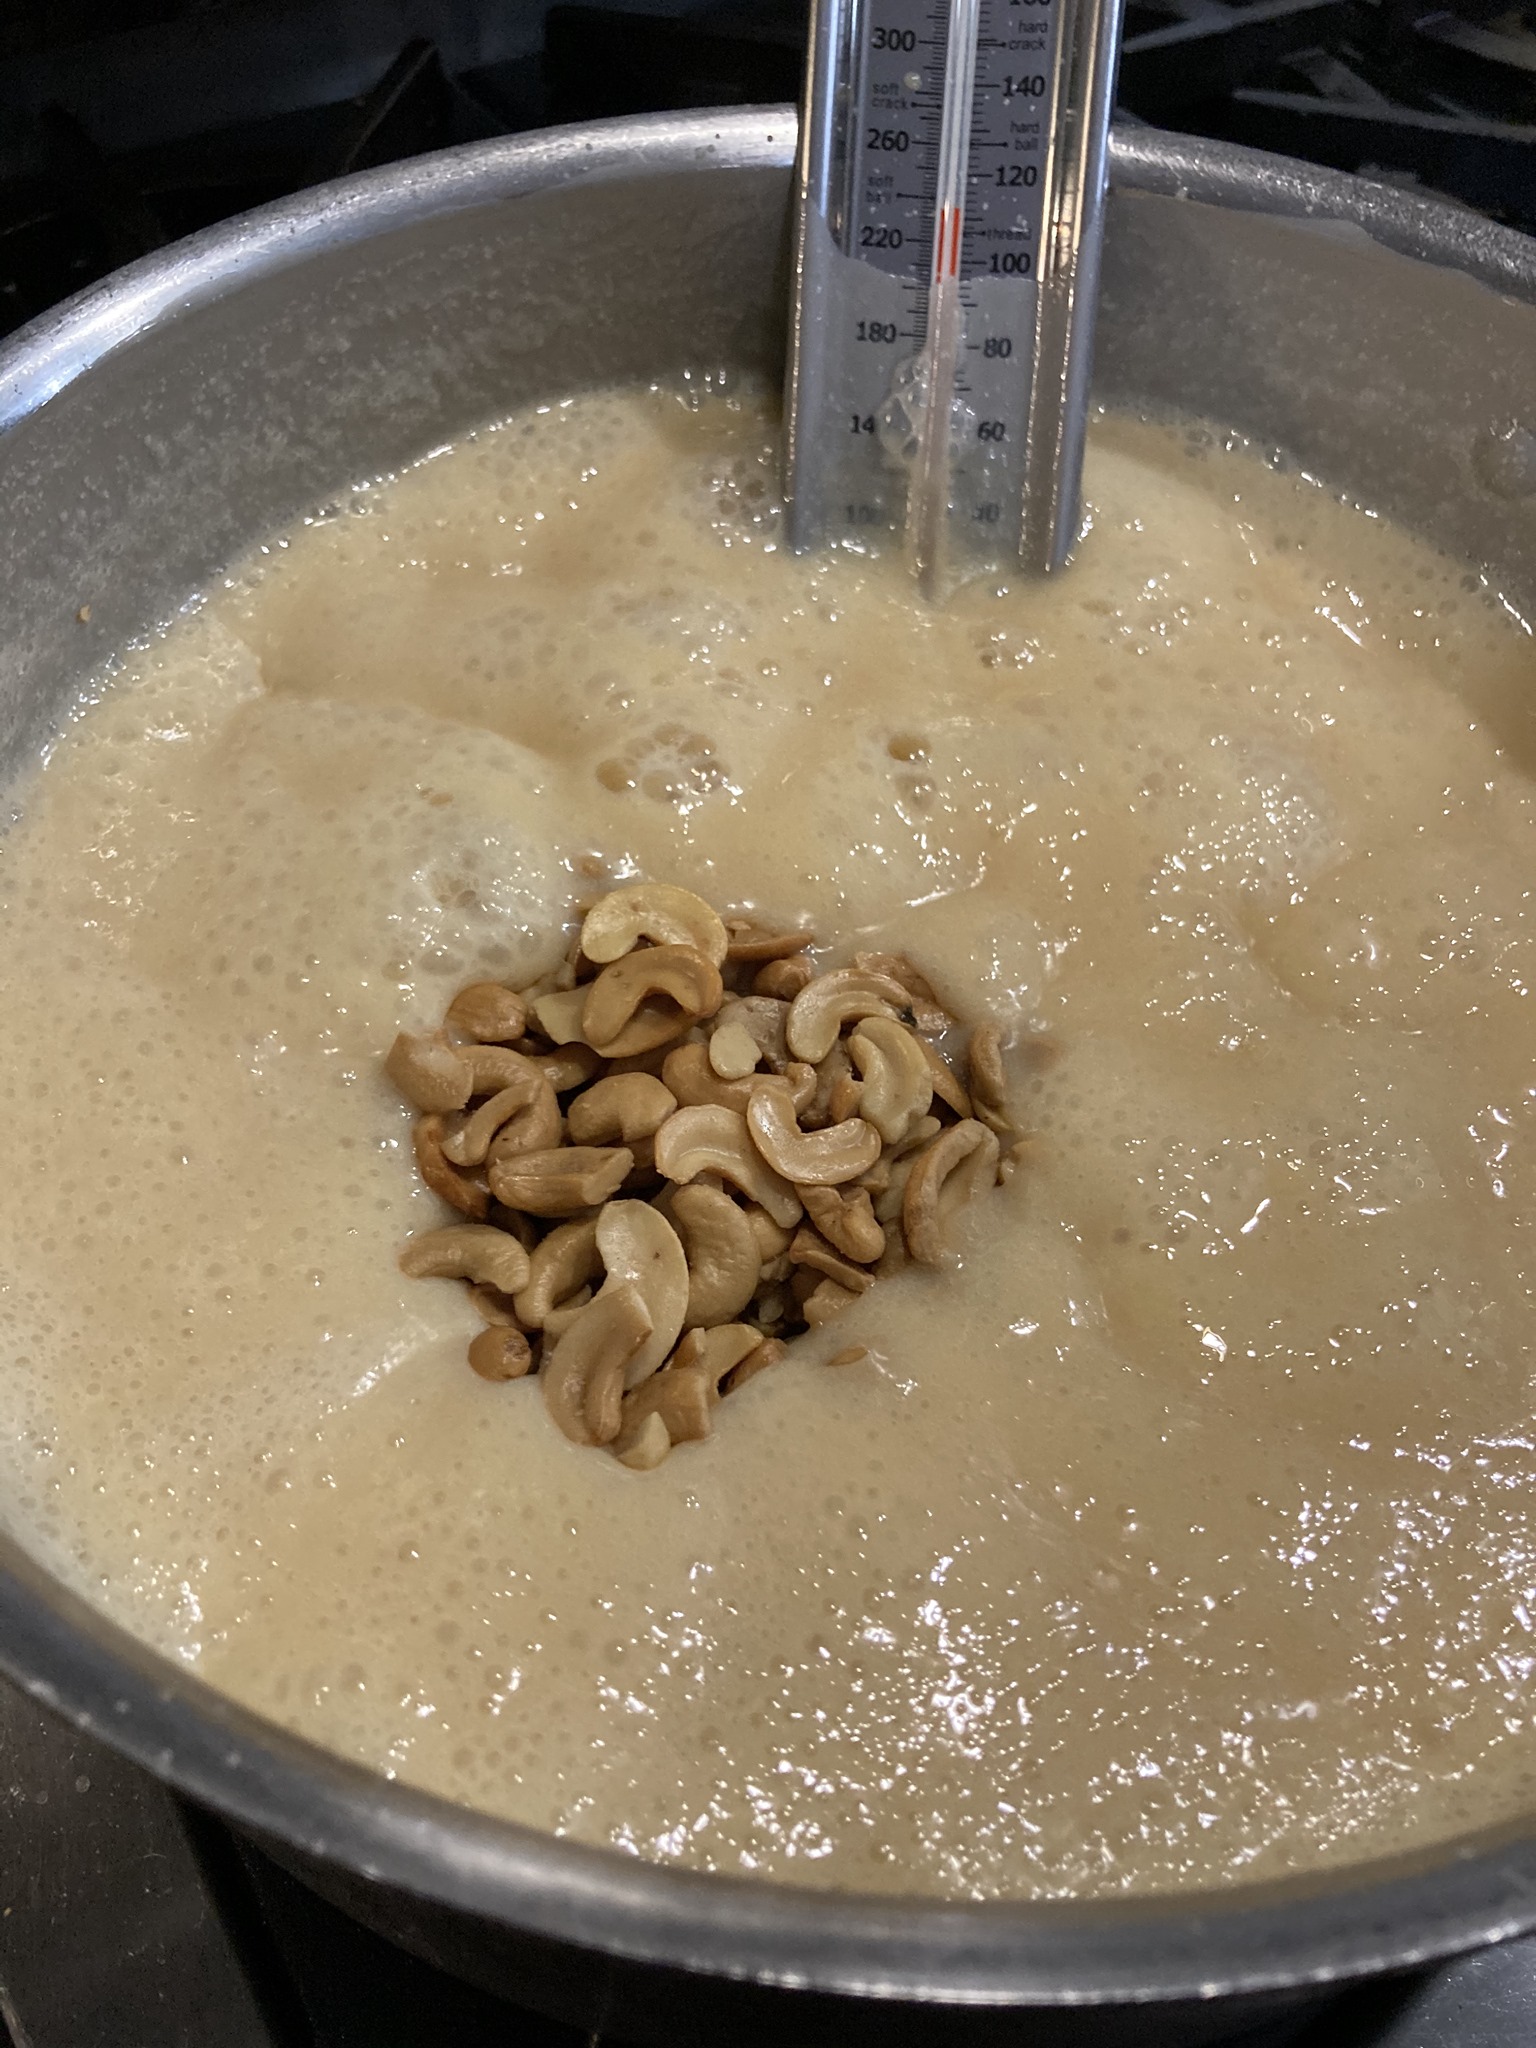
Thankfully, it JUST fits. 🙂 The first photo shows the level of liquid at start; the second shows it when it’s boiling up (and you do need to watch it then, so you can turn down the heat — might have been a disaster otherwise).

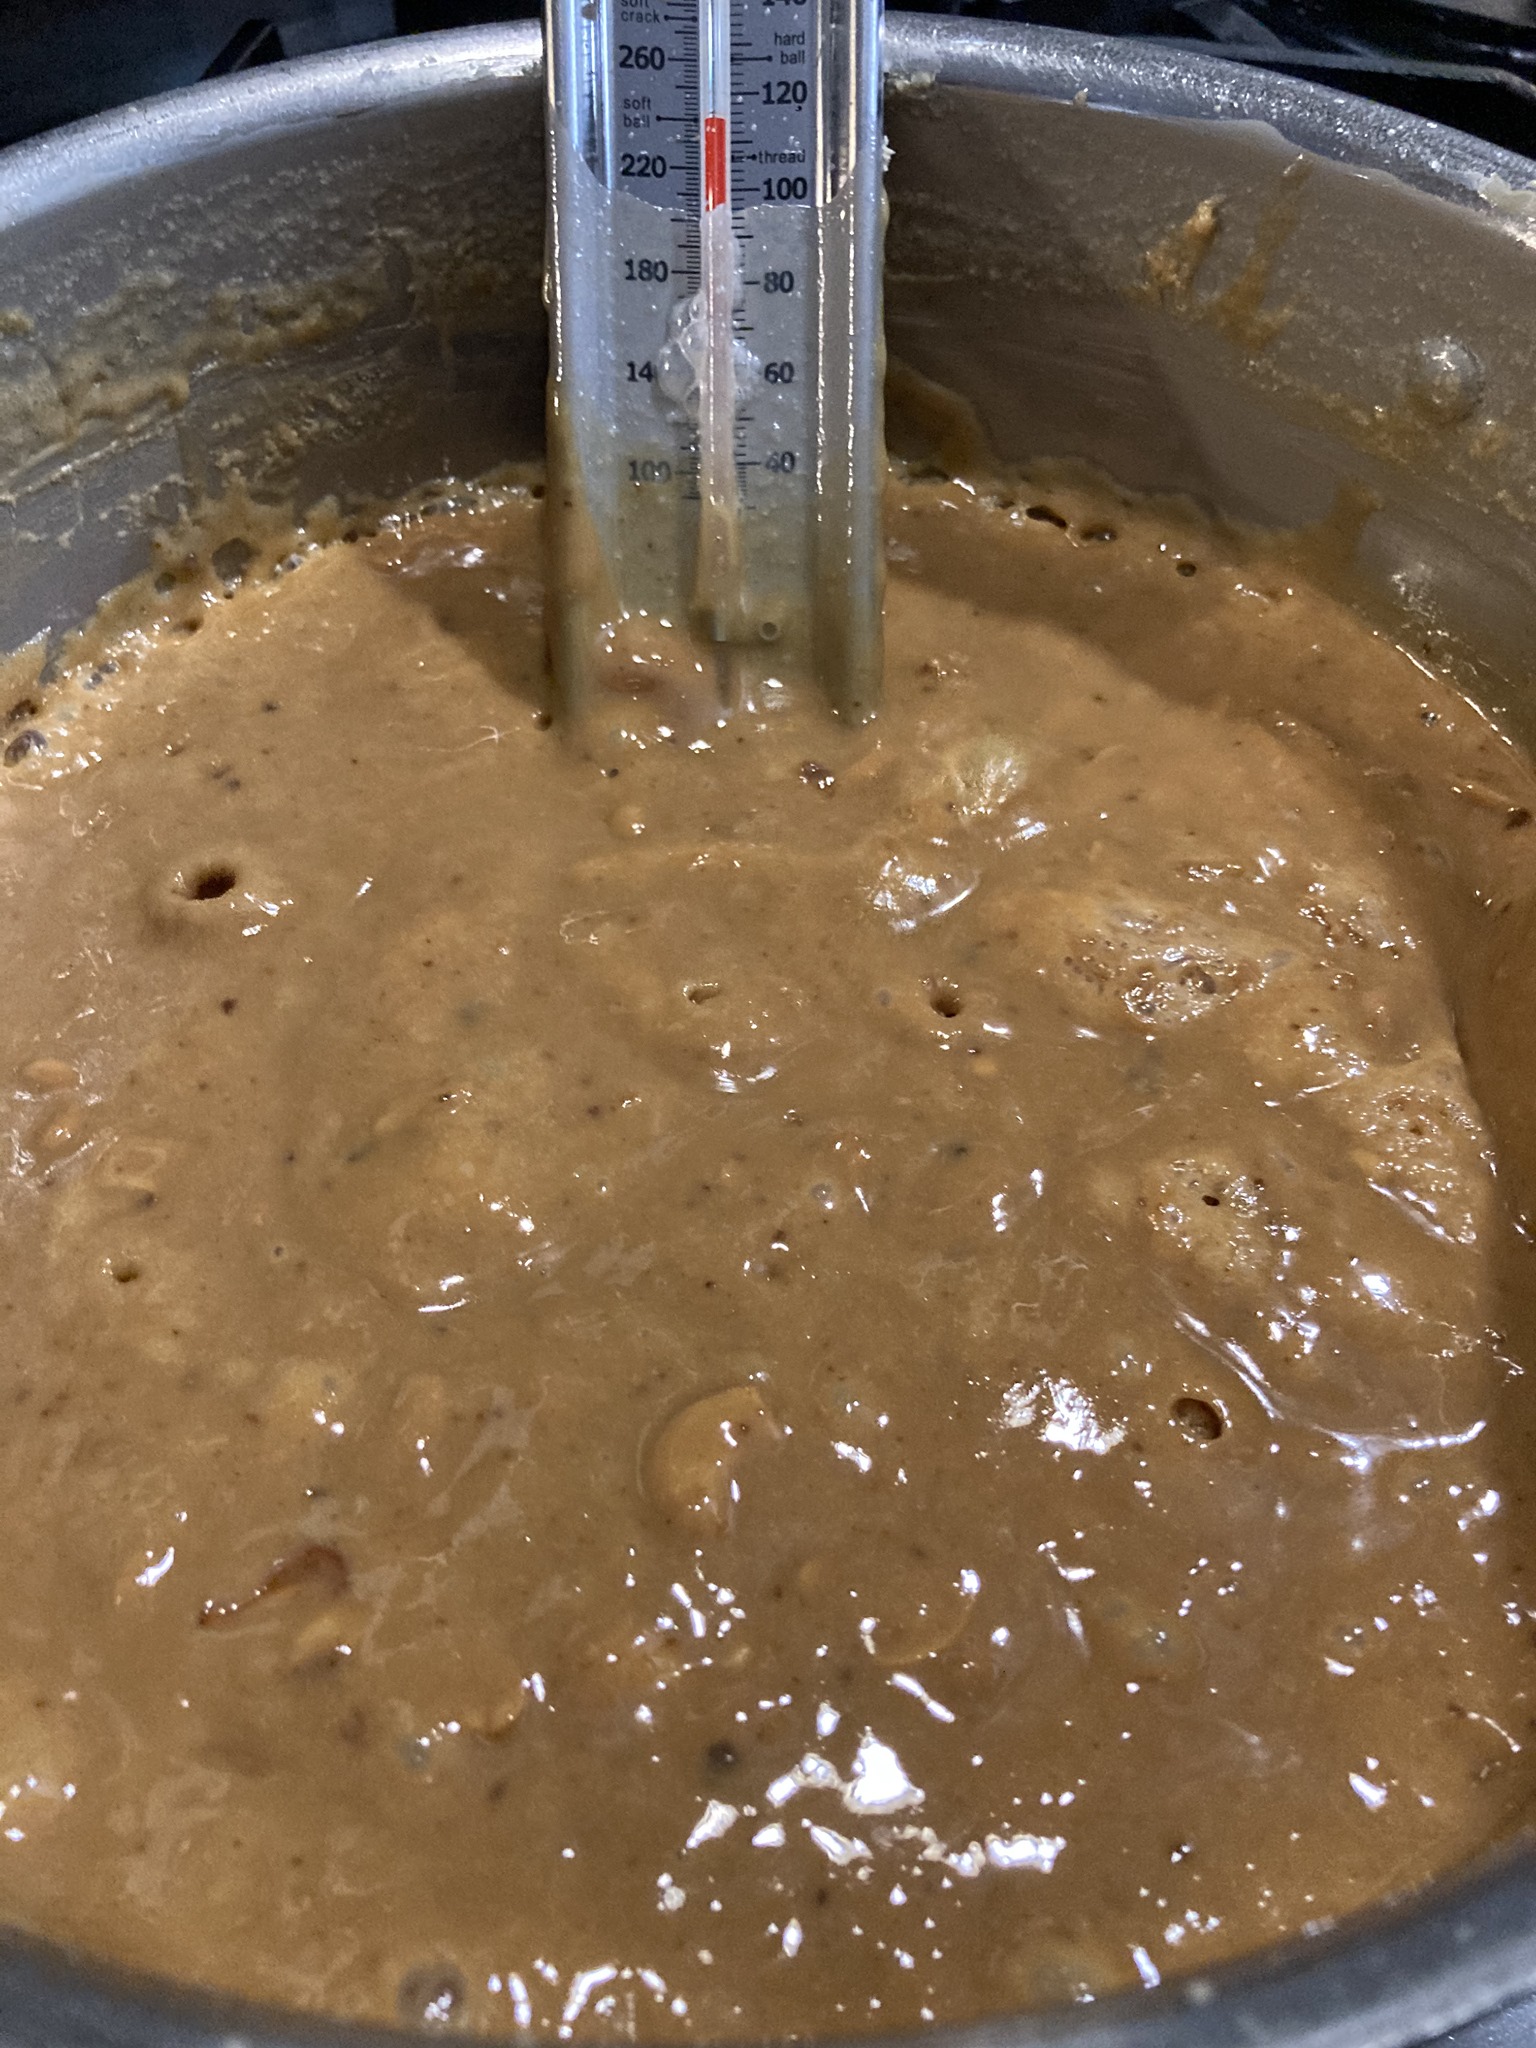
Then as it cooks down, the level drops, and by the time it reaches soft ball stage and you’ve added cashews, vanilla, and butter, it’s nice and low again. Whew! High drama in the kitchen…

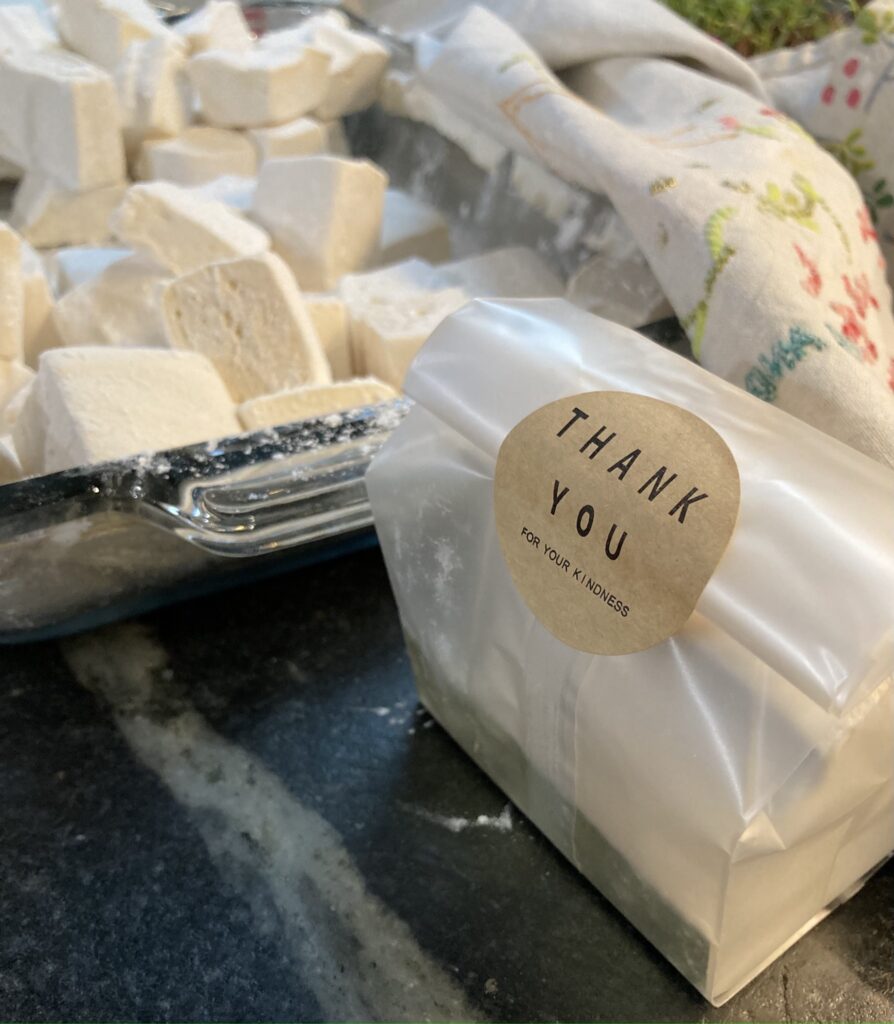
Anand just came into my office and pathetically asked, “Are you EVER going to cut the milk toffee???” No, baby, I’m just going to leave the tray of it on the counter and taunt you forever….

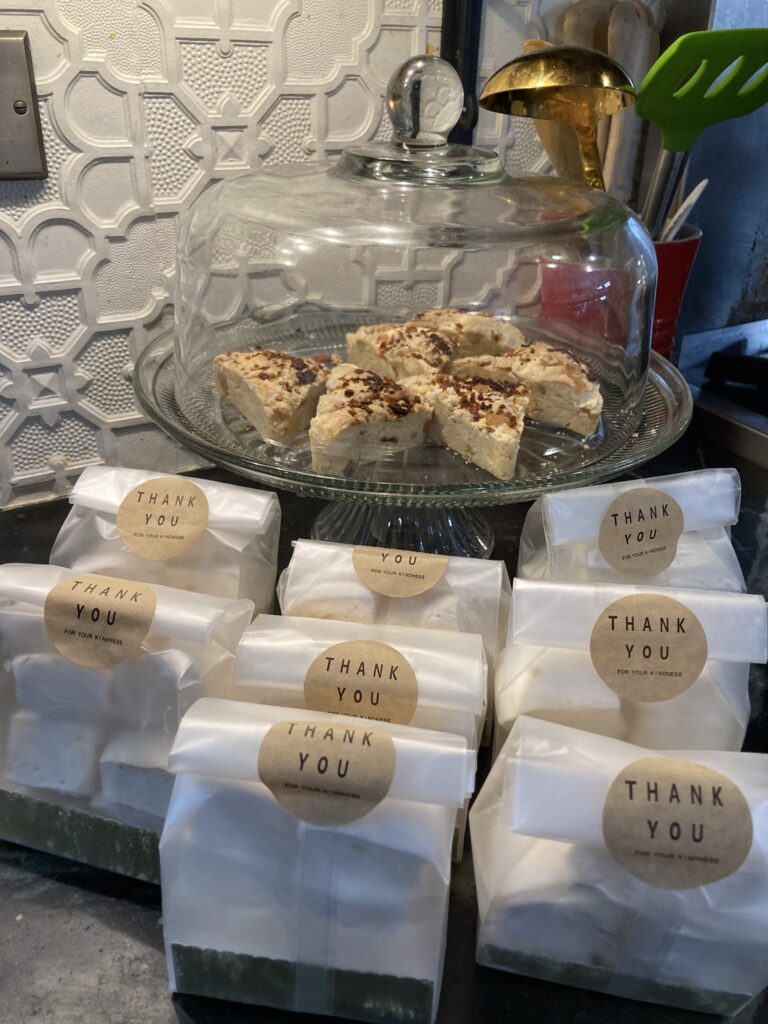
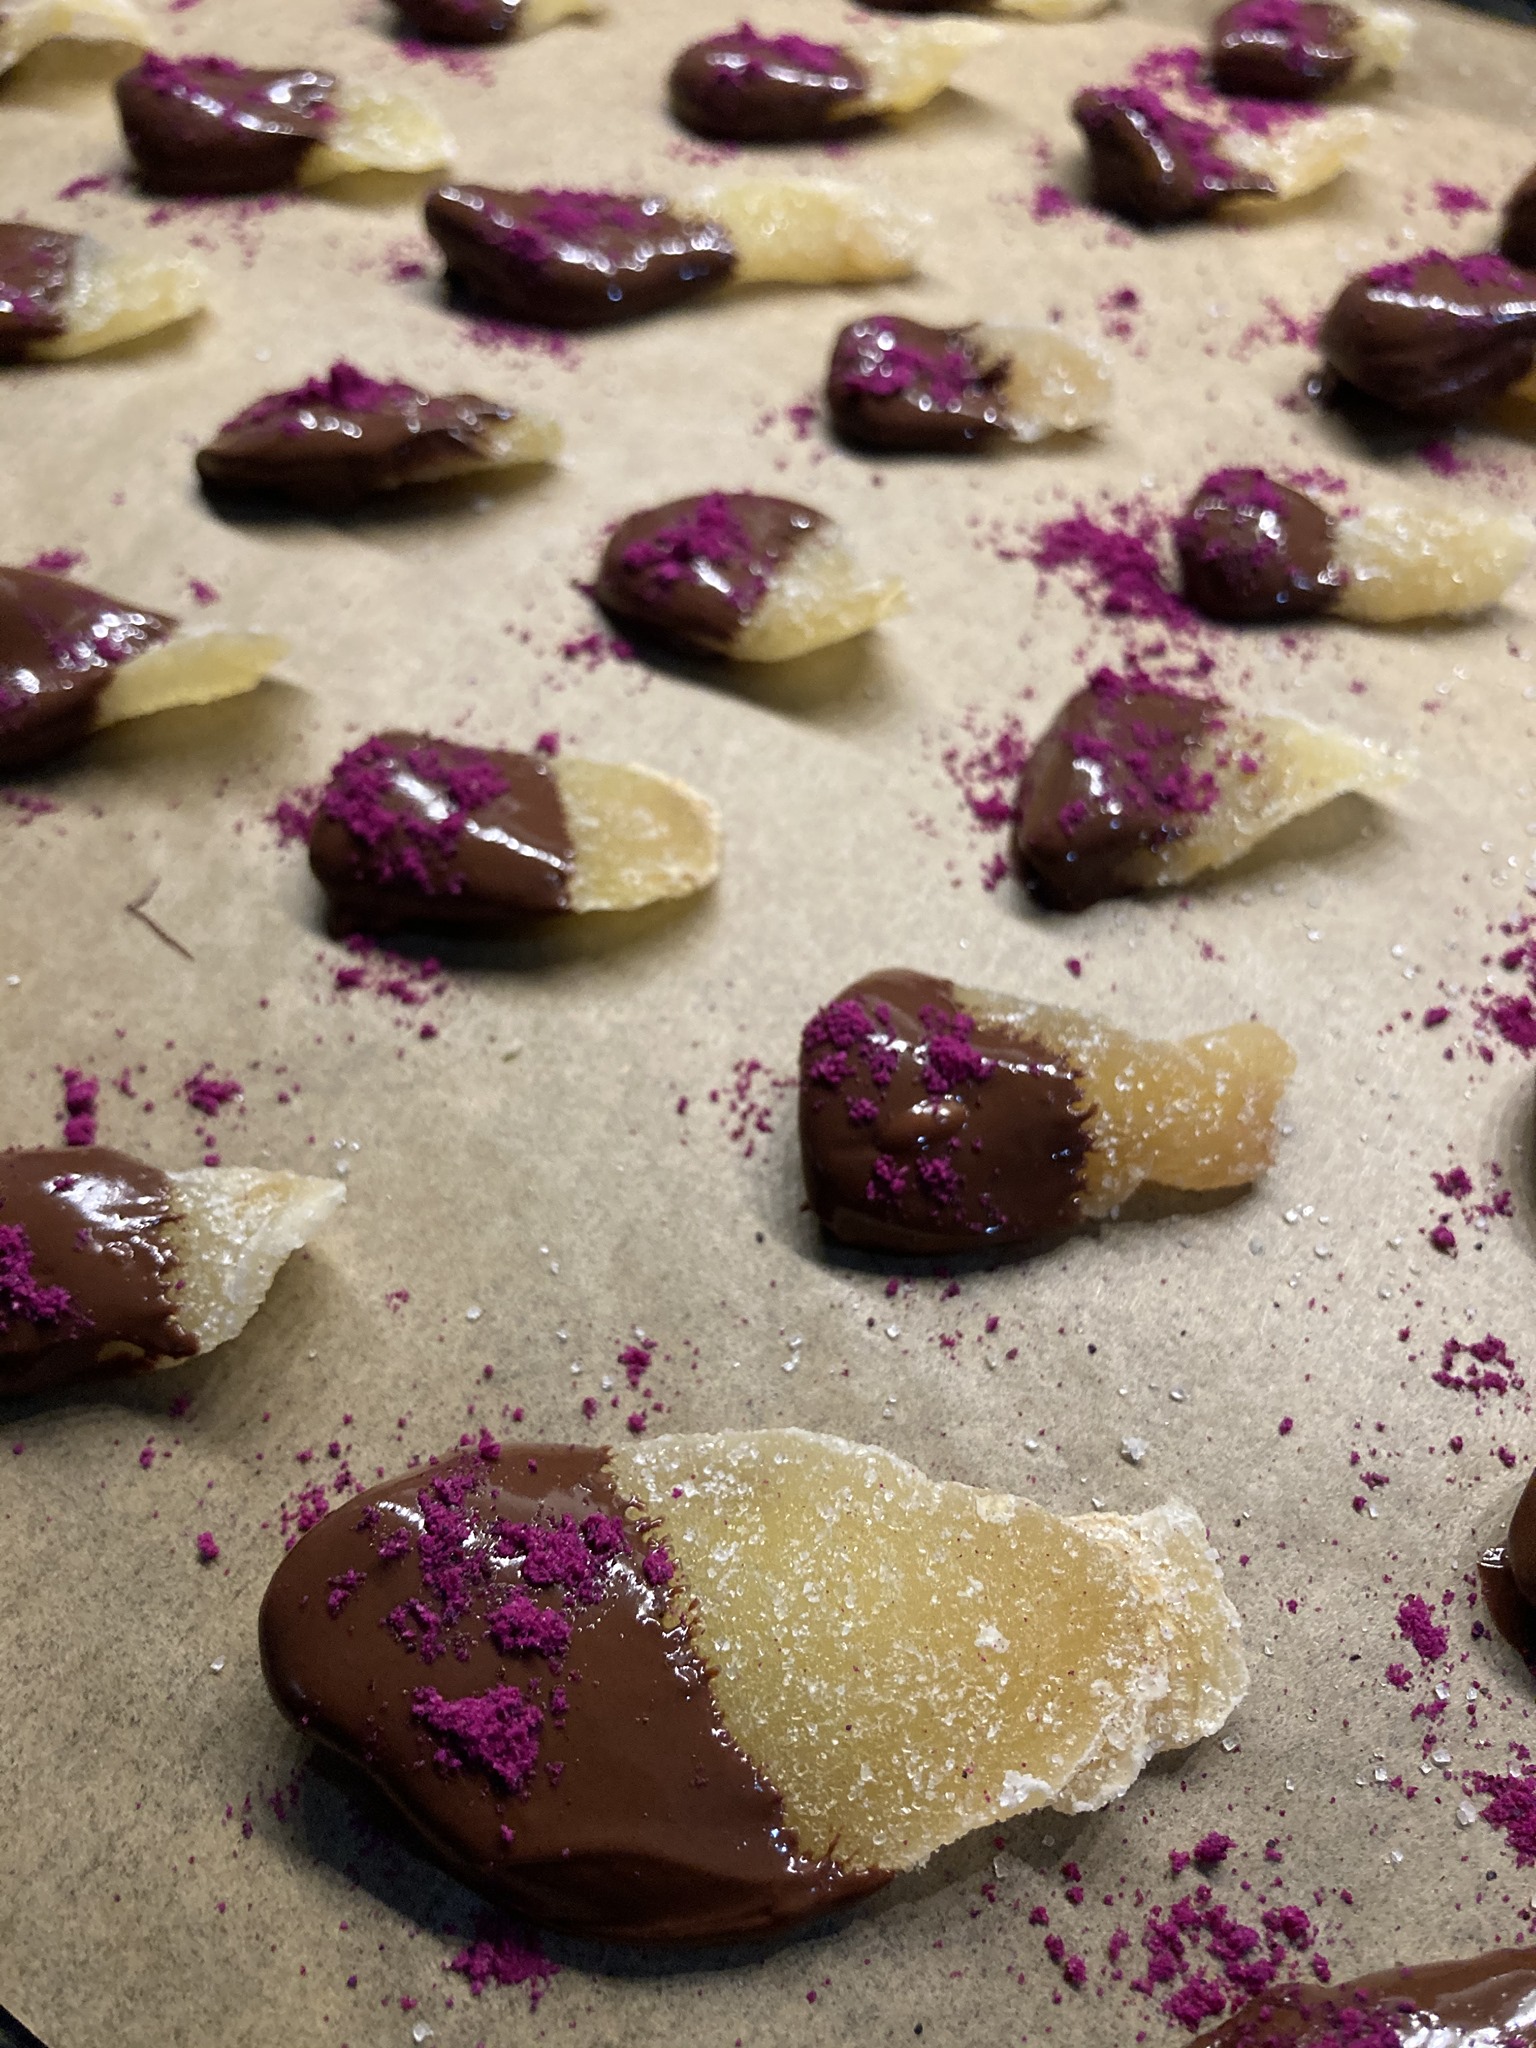
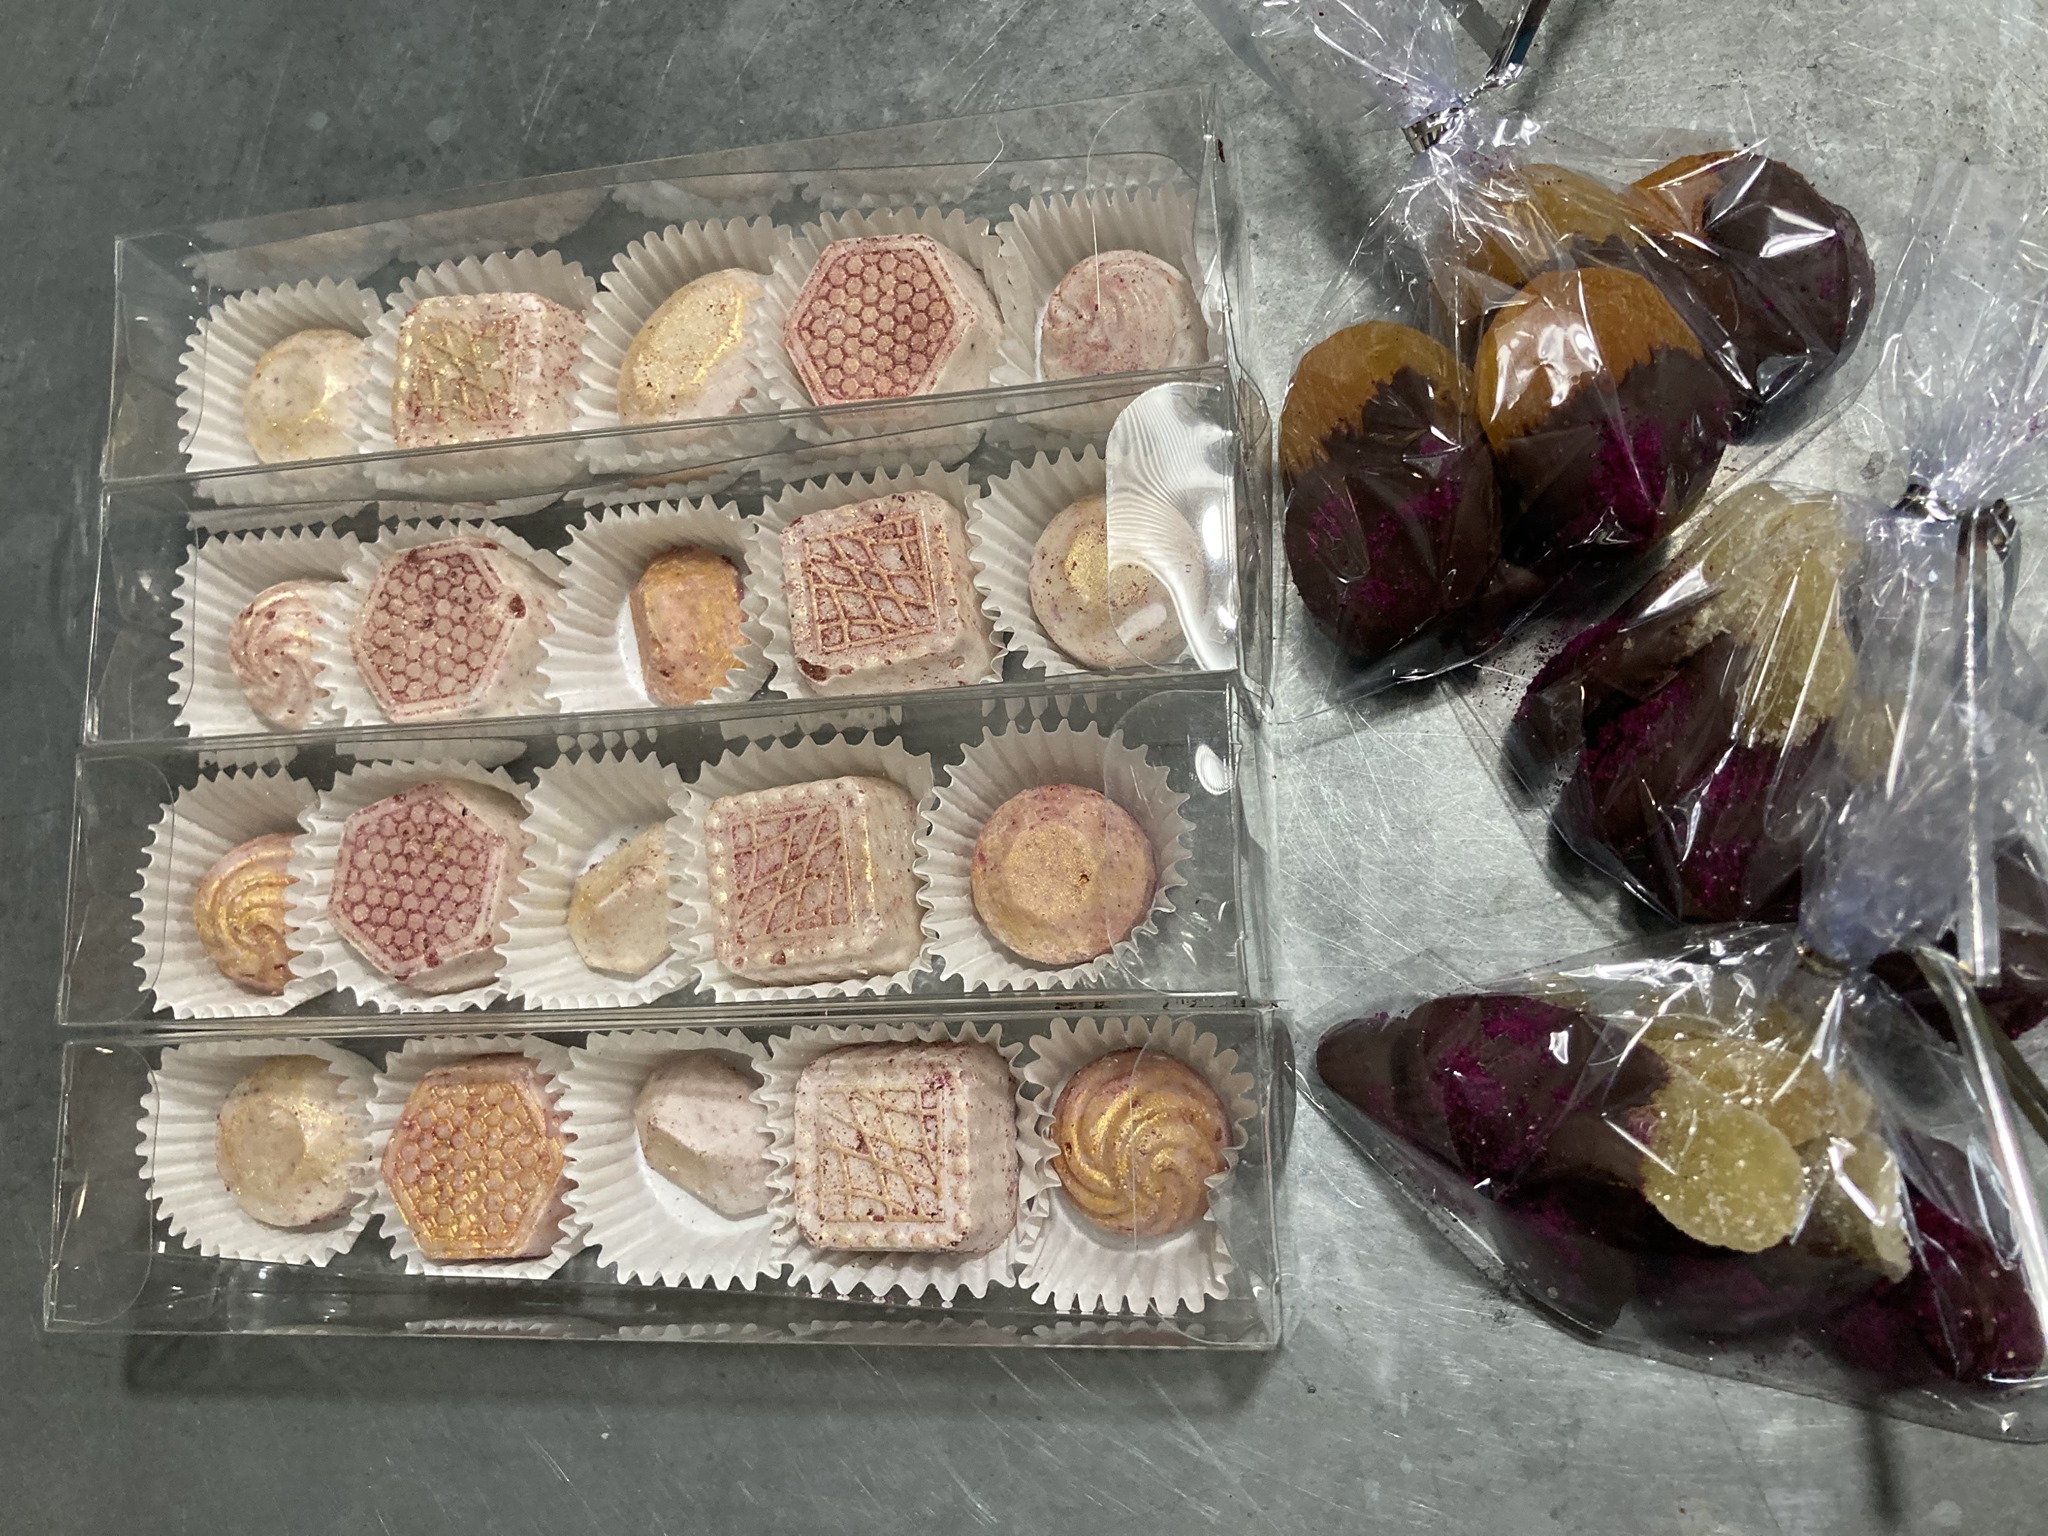
(For Valentine’s sale, link here.)

Under the Tea Towel

What’s under the tea towel? Passionfruit, lime, and honey marshmallows. 🙂 Kavi and I are agreed that we actually like straight passionfruit better, but this is nice for a change, and honey has some nutrients that are good for you, I think?

Had fun with new style of packaging for marshmallows. So cute. I’m probably still going to pack flat for ones that are going in small boxes, because they won’t fit if packaged this way. But this would be very charming in a shop display, wouldn’t it? Maybe in a year or two, we’ll have ramped up enough to try to sell in local places like Carnivore Oak Park and The Daly Bagel? It’s going to be a process, though.

Link to our Valentine’s sale here.

Getting Better at Edible Paper

I’m getting better at using the edible paper, I think — if you brush on a thin layer of icing gel to both the iced cookie and the back of the paper, it adheres pretty well without curling, esp. if you turn it upside down to dry. The edible paper doesn’t actually taste like anything, so in some sense, it’s sort of silly — my kids weren’t actually impressed with it. But fun to experiment with, and a nice decorating change. The COOKIES still taste good, anyway.

This was a ‘pick 3’ order (out of 15 options), $18 + shipping; she went for chocolate dipped crystallized ginger, chocolate dipped apricots, and a rose-vanilla cookie. I added in a few little chocolates as lagniappe — one dragonfruit and one made with the new ‘gold’ chocolate from Callebaut, which is sort of buttery/caramelly. Yum.

Kavi has now ranked her plain chocolates, and she thinks they are, best to least: ruby chocolate, gold chocolate, milk chocolate, white chocolate, and dark chocolate. I told her she’d likely enjoy dark chocolate more as she got older and her taste buds shifted, but she looked very dubious. 🙂

I think for the summer Patreon treat boxes, I might do a bees & honey theme, and use the gold chocolate in a honeycomb mold…but now I’m getting ahead of myself. First Valentine’s, then spring, the Mother’s Day, and THEN summer…

Ordering link here — if you want them shipped in time for Valentine’s Day, please order by Sunday. No guarantees after that!

Late Night Candy-Making

A little late night candy-making for our Valentine’s sale. Dried fruit dipped in chocolate is about as easy as candy-making gets, I think. And also healthy-ish? Also pictured, our trademark dragonfruit chocolates. Kavi gets excited when she sees I’ve made more — they’re her favorite.

Link here

Vegan Mango & Ginger Scones

(40 minutes, makes 16 mini scones)

When researching vegan scone recipes, I found many versions that used ground flax seeds, which seem to be used as an egg substitute — but I don’t generally have flax seeds on hand, and was hoping to avoid buying extra ingredients.

Honestly, these didn’t seem to need them! Cream scones don’t generally require eggs. The solid coconut oil happily takes the place of butter, and rich coconut milk substitutes beautifully for cream. They’re delicious, light and tender, and quite more-ish, just as they are!

4 c. flour
2 T baking powder
2 T sugar
1/4 t. salt
1/2 c. room temperature coconut oil (solid)
1 1/3 c. coconut milk
1/4 c. dried mango, chopped
1/4 c. crystallized ginger, chopped

2 T. jaggery or dark brown sugar, optional

1. Preheat oven to 425 F.

2. Whisk together flour, baking powder, sugar, and salt.

3. Chop coconut oil small and rub into the flour with your fingers until the flour looks pebbly.

4. Add coconut milk and gently combine with a silicone spatula or fork; do not overwork. Stir in mango and ginger.

5. Refrigerate dough for 15-20 minutes for better rise.

6. If using a mold, spray with oil; alternately, spray oil or add a sheet of parchment paper to a baking sheet. Fill mold with dough, pressing gently to fill. Alternately, press dough into a circle and cut into wedges, or cut out circles. Places wedges or circles about 1″ apart on sheet. Sprinkle scones with jaggery or brown sugar.

7. Bake for 14-18 minutes, until scones begin to brown. Remove from oven and serve warm. Traditionally they’d be split, and spread with butter, jam, clotted cream, curd, or whatever you like.

NOTE: Scones may be cooled and stored airtight at room temperature for several days; they can be frozen for longer storage.

Mango & Ginger Cream Scones

(25 minutes, makes 16 mini scones)

Fast, simple, classic, delicious. I find kitchen shears work best for chopping up dried mango and ginger.

3 c. flour
1 T baking powder
1 t. salt
1/4 c. sugar
1 t. vanilla
1 1/3 c. heavy cream
1/4 c. dried mango, chopped into small pieces
1/4 c. dried crystallized ginger, chopped into small pieces
2-3 T additional heavy cream, optional

a few T sugar, optional

1. Preheat oven to 425F.

2. Whisk together flour, baking powder, salt, and sugar.

3. Combine vanilla and cream, drizzle over dry ingredients, stirring gently to combine. Try not to overwork, or scones will become tough. Stir in mango and ginger.

4. If using a mold, spray with oil; alternately, spray oil or add a sheet of parchment paper to a baking sheet. Fill mold with dough, pressing gently to fill. Alternately, press dough into a circle and cut into wedges, or cut out circles. Place wedges or circles about 1″ apart on sheet.

5. Optional: brush scones with cream and sprinkle with sugar.

6. Bake for 14-15 minutes, until scones begin to brown. Remove from oven and serve warm. Traditionally they’d be split, and spread with butter, jam, clotted cream, curd, or whatever you like.

Served here with mango & passionfruit curd (recipe: https://serendibkitchen.com/2021/01/17/mango-passionfruit-curd/)

NOTE: Scones may be cooled and stored airtight at room temperature for several days; they can be frozen for longer storage.

I Really Don’t Need a Edible Rice Paper Printer

Experimented a little with edible rice paper decorations for cookies (found on Etsy). It definitely has a tendency to curl, so will need to work on it some more to learn how to do it right. And apparently you can’t refrigerate or freeze them, as the moisture will affect the color, so that means I can’t make a batch of cookies weeks in advance the way I normally might for sale.

We’ll be doing a Valentine’s Day sale (watch this space), but I really don’t know yet if I’ll be able to include these vanilla-rose sugar cookies. But still, fun experimenting, and the kids didn’t seem to mind the curling on their first-day-of-the-semester cookies. 🙂

You should be proud of me that I did not buy myself an edible rice paper printer. I don’t actually run a bakery; I really don’t need such a device!

Vanilla Chai Meringue Kisses

I made meringue kisses yesterday. I’ve been meaning to try making them for a while (I’ve mad a big meringue for a pavlova, but never little kisses), but somehow never got around to it. I finally motivated yesterday; I’m planning to stop by L!ve Cafe and drop some off for Reesheda and her staff.

Little kisses, not the prettiest; I have little patience for piping, so these are just spoon-dropped onto the parchment. But tasty. I did two kinds — straight vanilla, and vanilla chai. The chai ones, I included a little pepper, which is often used in chai, but not so typical for meringues. I like it, though — makes them not quite as simply sweet as normal. Definitely a matter of preference, though, so feel free to skip the pepper!

Vanilla Chai Meringue Kisses

(15 minutes + baking time, makes dozens)

5 egg whites
1 t. vanilla
1 t. lime juice (or lemon, or 1/2 t. cream of tartar)
1 c. sugar
1 t. cinnamon
1/4 t. ground cloves
1/4 t. ground cardamom
1/4 t. ground nutmeg

1/4 t. white pepper (optional)

1. Preheat oven to 220 F.

2. Beat egg whites on high. Add in remaining ingredients, and beat until stiff, glossy peaks form.

3. Drop by spoonfuls onto parchment-lined cookie sheets.

4. Bake for one hour, then turn off oven and allow meringues to sit for another hour, or overnight. Store in an airtight container.