Candied Blood Orange Shortbread

This particular shortbread isn’t for everyone. Because you’re including an entire caramelized slice of blood orange, that’s quite a bit of softened rind; I’d recommend this for people who don’t mind the rind in orange marmalade, for example (though this doesn’t end up bitter, as marmalade often does). I’d call this a pretty grown-up, sophisticated sort of shortbread.

It’s also something of a time commitment, since you have to plan ahead to give the candied slices a day to crystallize and dry thoroughly. But all that said, these were interesting and fun to make, and I find them delicious to eat. 🙂

Blood Orange and Jaggery Shortbread

(45 minutes + 15 minutes chilling time + 1 hr crystallizing time & 24 hrs drying time)

Ingredients:

4 blood oranges, sliced + 2 c. sugar and 2 c. water for crystallizing
3/4 pound unsalted butter at room temperature
1 c. jaggery or brown sugar
1 T vanilla
1 T blood orange extract or orange extract
3/4 t. salt
1/2 t. ground cloves

3 1/2 cups flour

Crystallize Blood Orange:

1. Add 2 c. water and 2 c. sugar to a large saucepan and bring to a boil, stirring until the sugar has completely dissolved. Turned the heat to medium-low and add the orange slices. Simmer for 45-60 minutes until rinds are slightly translucent, stirring gently occasionally.

2. Transfer slices to a cooling rack set over a large baking sheet; let sit for 24 hours until dry; dip in candied sugar if desired. (At this point, you can store them in an airtight container in the fridge for up to one month.)

Bake Shortbread:

1. Preheat the oven to 350F.

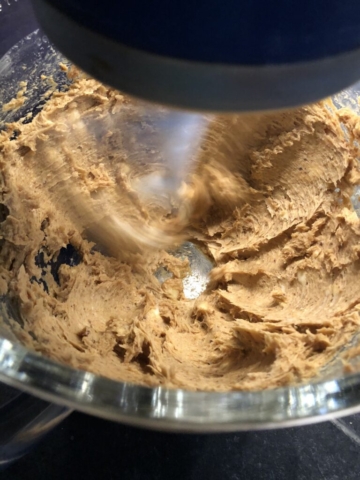
2. Cream together the butter and sugar; add the vanilla, blood orange extract, salt, and cloves. Then add flour and mix on low until dough forms.

3. Turn out dough onto floured board and shape into a firm ball. (If it’s not coming together into a dough, the heat of your hands will help.) NOTE: Can be kept chilled at this point for several days, covered in plastic wrap, and then rolled, cut, and baked fresh.

4. Firmly pat flat and roll smooth (to desired cookie height, usually about 1/2 inch). Cut out circles (about the same size as the orange slices), place on parchment-covered baking sheet, and press a blood orange slice into each cookie; chill for 15 minutes (to help hold shape).

5. Remove from fridge and bake for 15 to 20 minutes, until the edges begin to brown, then remove to wire rack to cool.

NOTE: Can be stored frozen for two months, or will keep fresh for a few weeks.

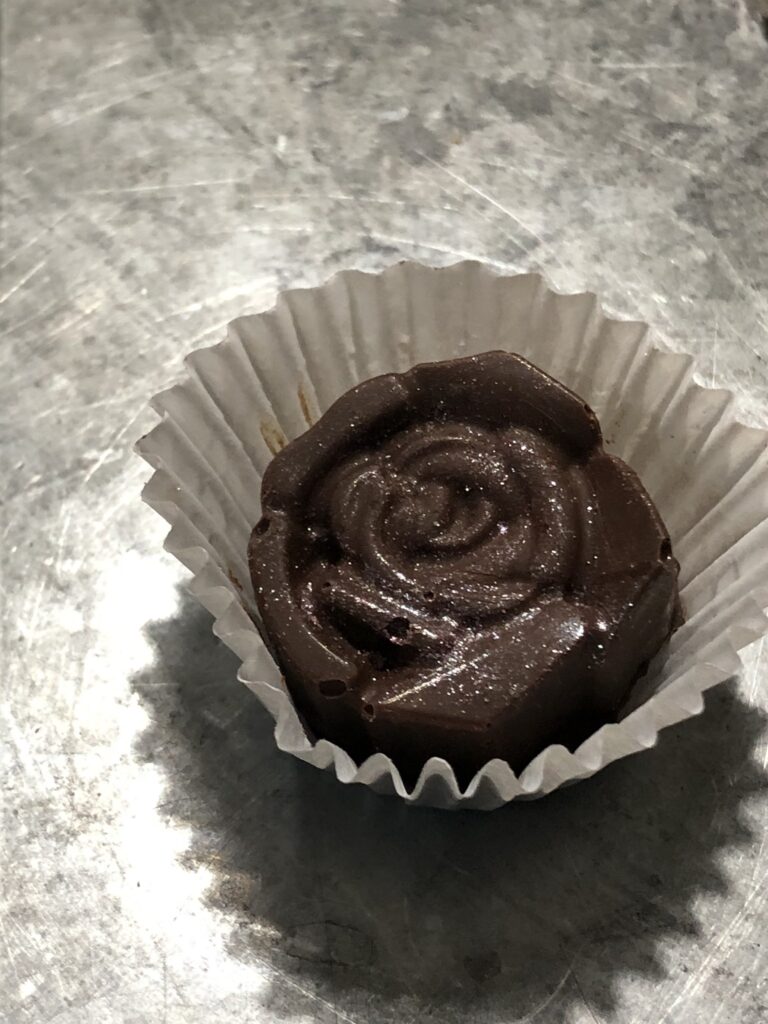
Pomegranate & Cayenne Chocolates

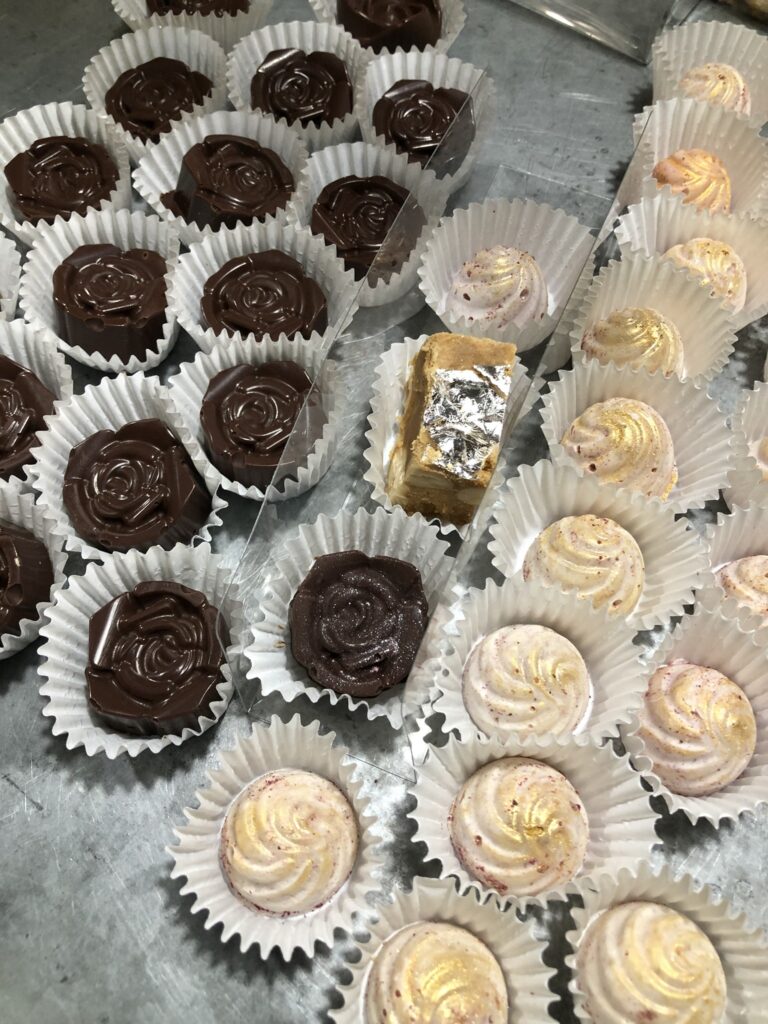
2 c. chocolate chips + 1 t. pomegranate extract + 1/4 t. cayenne. Just a hint of fruit and spice; I like it. No real recipe — melt chips in microwave at half power, add extract and spice, pour into molds.

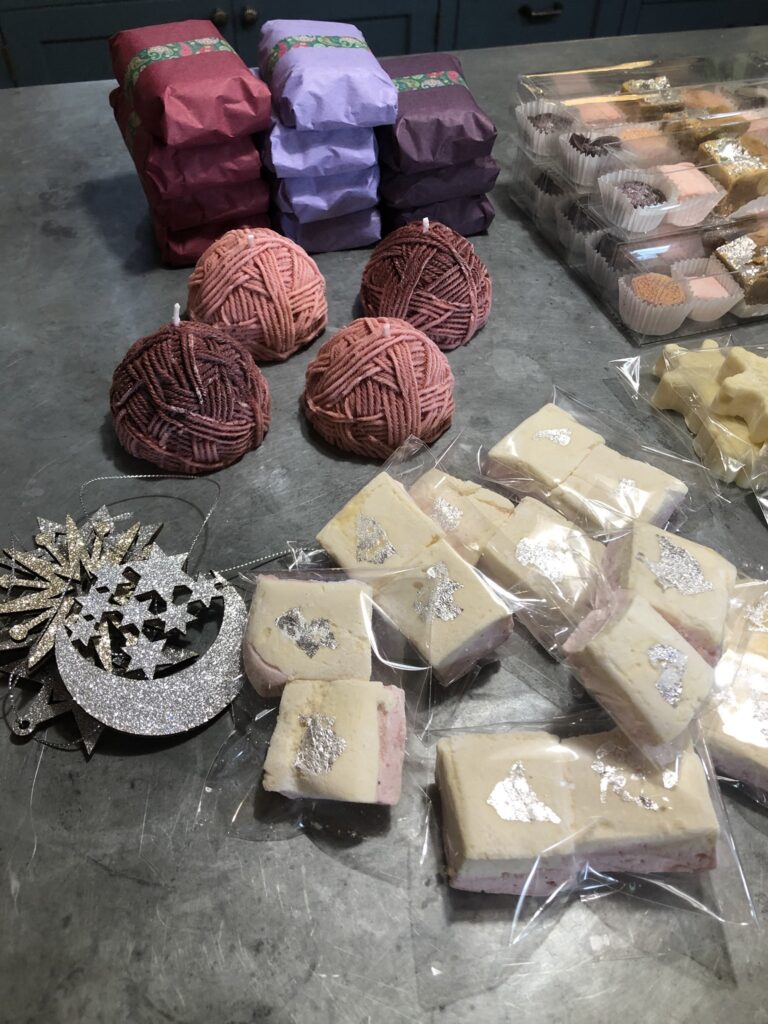
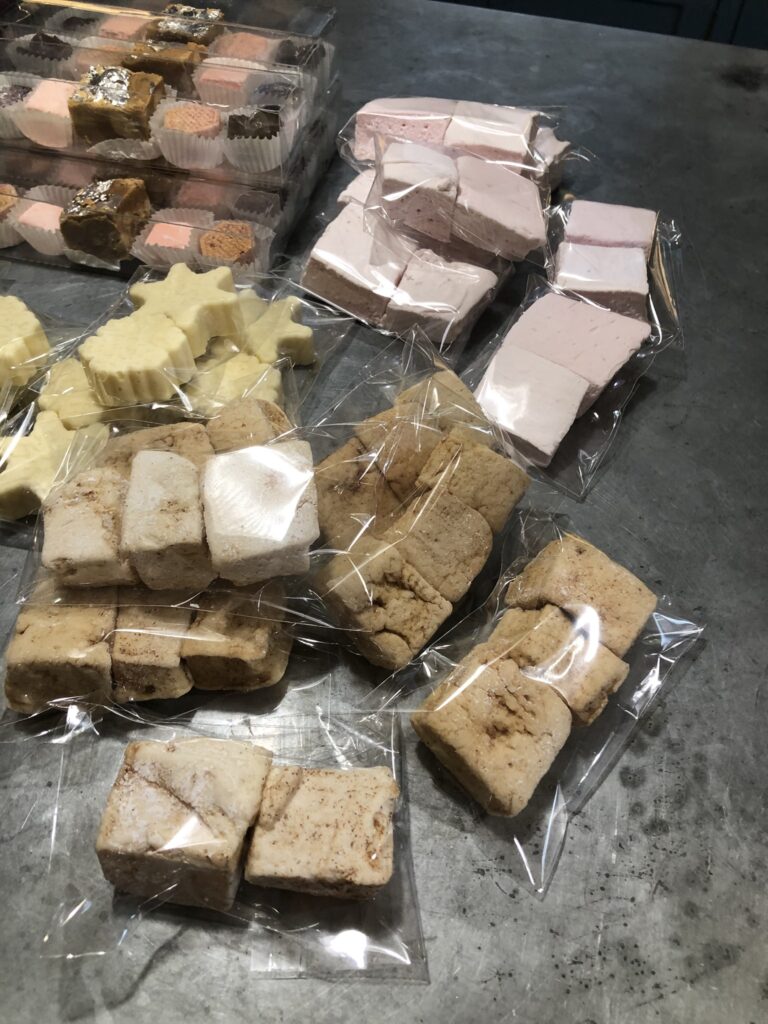
My kitchen island is sort of an explosion of sweets right now, as I’m getting ready to pack up the Patreon treat boxes — all the first tier sweets are done, and it’s just a matter of making dragon candles to go with them.

Hm — it occurs to me that some people might prefer 4 additional sweets instead of a dragon candle — Emmanuel Henderson, do you have time to ask the Patreon recipients of tier 1 about that today? I can certainly do that if they’d prefer.

What’s currently going in the box:

– dragonfruit nebulae chocolate
– blood orange taffy
– pomegranate & cayenne chocolate

– silver-gilded milk toffee

(those are the confections that would repeat if substituting)

– small dragon candle (scent: cedar leather & amber)
– knitted soap (scent: pettigrain & cassia cinnamon)
– cardamom-rose shortbread knitted textiles
– chocolate-cayenne gingerbread dragon eggs
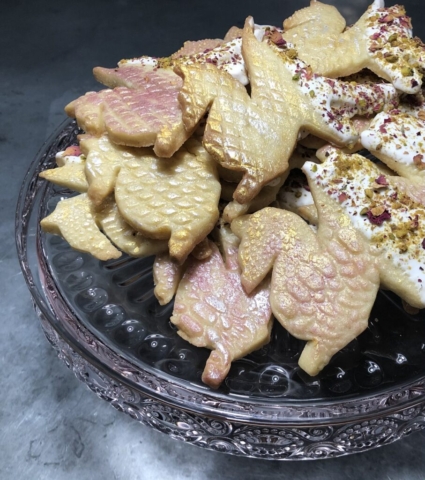
– pistachio dragon sugar cookies
– candied blood orange shortbread
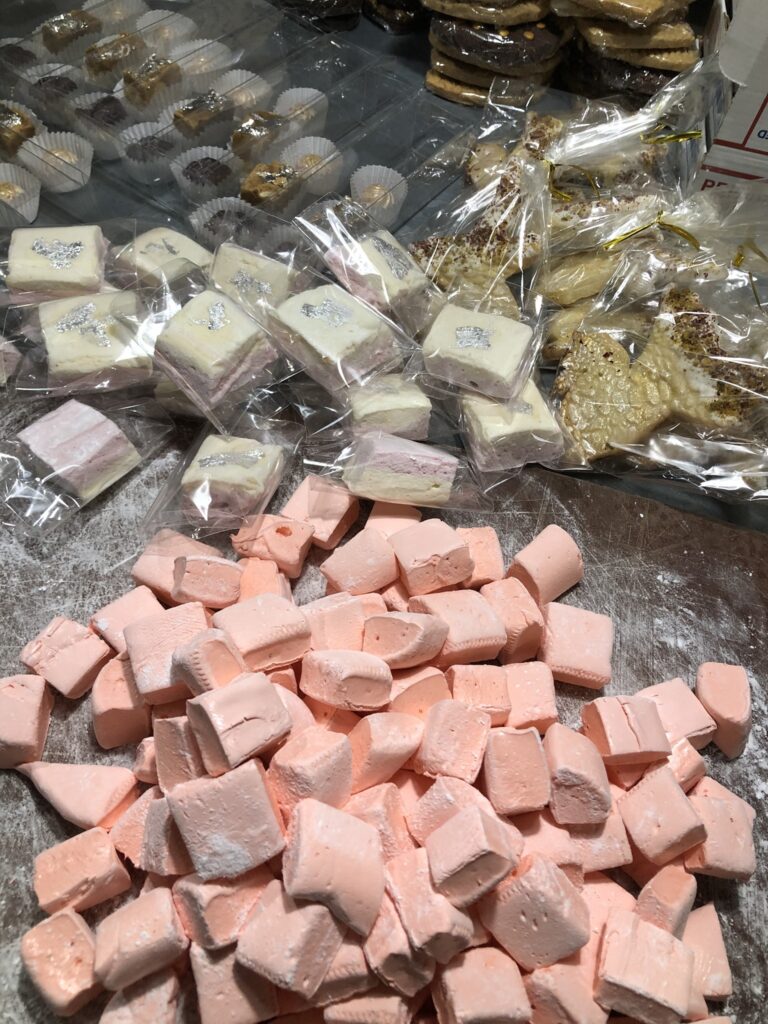
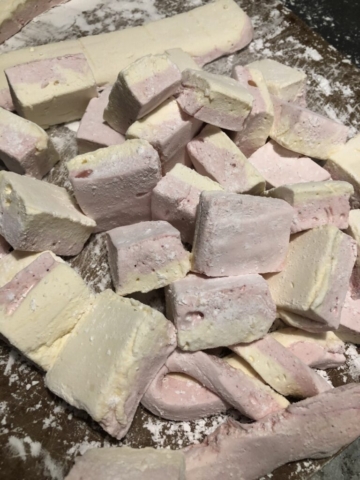
– passionfruit & dragonfruit gilt marshmallow

– mulled apple cider marshmallow

If you missed out this time, you can sign up for the March treat boxes here ($30, $10 / month): http://www.patreon.com/mohanraj

Theme will be “Unicorns in the Garden.” 🙂

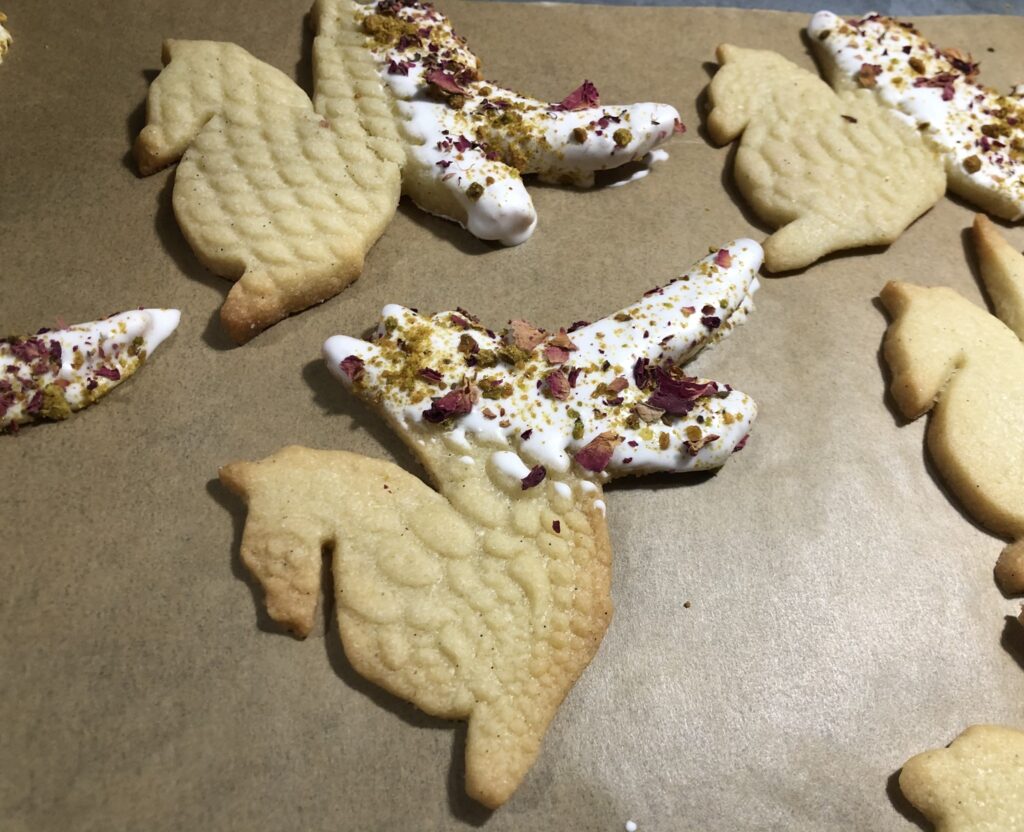
The Pistachio-Rose Dragons of Christmas

(makes 20-30 cookies, depending on size)

Delicate and fragrant, I imagine these are the cookies that dragons would enjoy with an afternoon cup of spiced tea.

When making sugar cookies, I generally double the recipe, and if I’m not having a big party, freeze half the dough for another day. If at any time, your dough seems to be getting too soft to work with; chill it for 10 minutes, and it should firm up. (For basic but delicious sugar cookies, just leave out the pistachio and rose.)

FOR COOKIES:
1 c. unsalted butter, room temperature
1 cup granulated sugar
1 large egg
seeds scraped from 1/2 vanilla bean (or 1 1/2 t. extract)
1 t. pistachio extract
a few drops rose essence (or 1 t. rose water)
2.5 c. all-purpose flour

1/2 t. salt

FOR ICING:
3 egg whites (about 3 oz.)
1 t. vanilla extract
1 t. pistachio extract

4 c. confectioners’ sugar

FOR DECORATING:
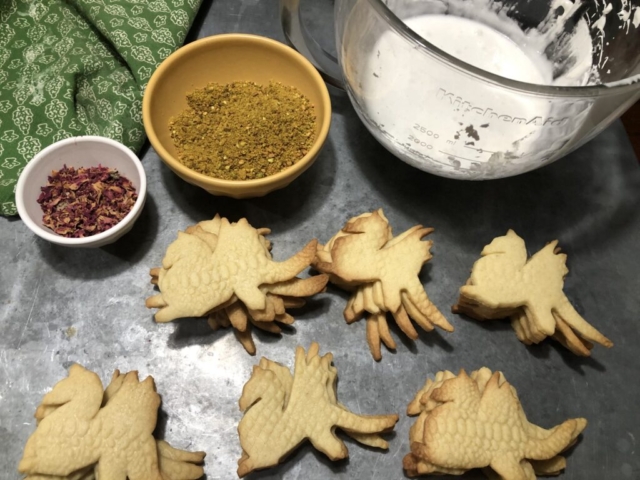
1/2 c. pistachios, chopped fine
1/4 c. dried rose petals, crumbled fine

pink, gold, silver luster dust + a little alcohol or extract for dissolving

MAKE SUGAR COOKIES:

1. Using the paddle attachment, cream the butter and sugar together in the bowl of an electric mixer on low to medium speed, scraping down the sides as needed until well mixed, about one minute. (Over-mixing will make the cookies fluffy and more likely to spread.)

2. Mix in eggs, scraping down bowl as needed. Add vanilla (either scraped seeds or liquid extract), pistachio, and rose, and mix in.

3. Sift together flour, baking powder and salt; add mixture to the bowl. Mix on low speed until batter clumps together into a dough; avoid overmixing.

4. Roll the dough out on parchment paper, cover with parchment paper or plastic wrap, and chill in the fridge for at least one hour.

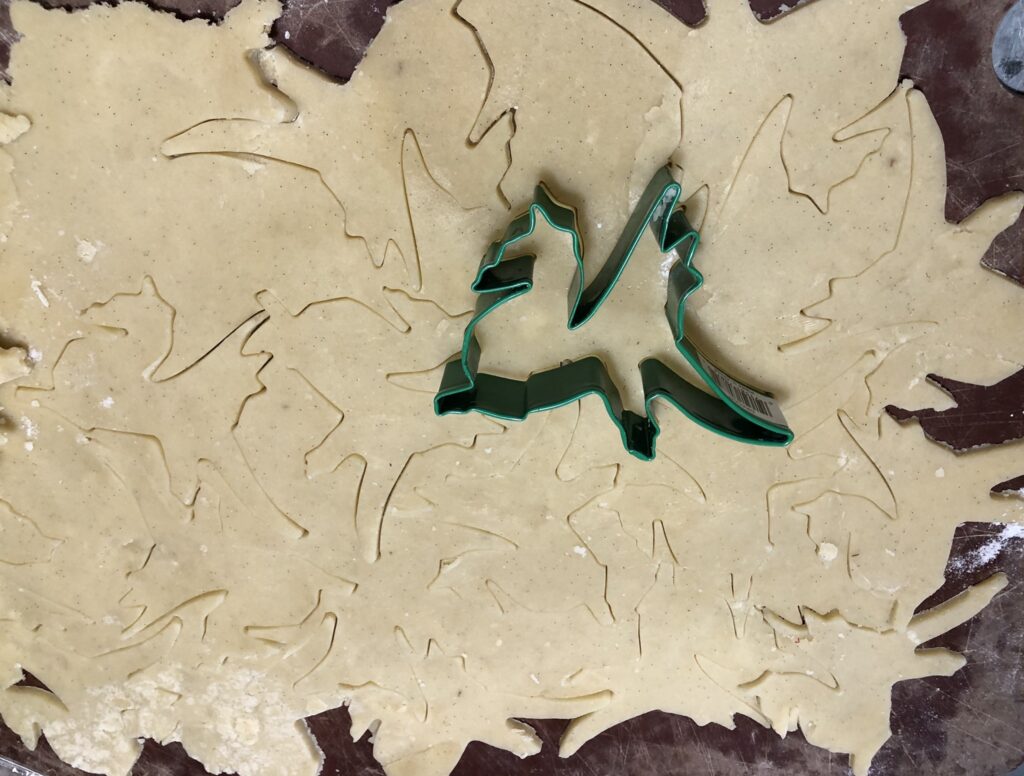
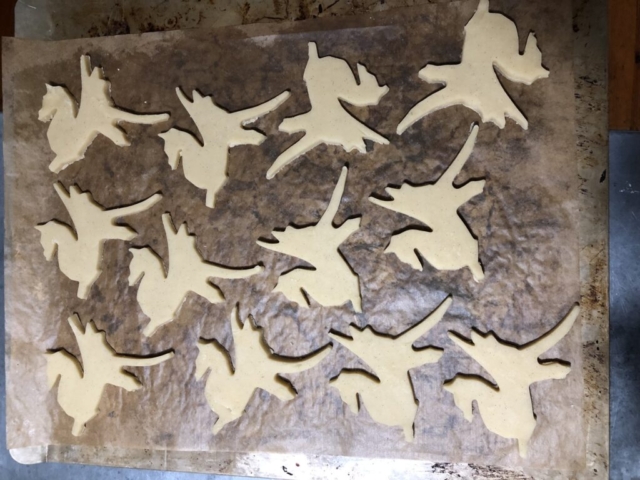
5. Start oven preheating to 350F, and cut out cookie shapes. Place on parchment paper-lined baking sheet and chill in fridge for at least 10 minutes. Roll scraps and repeat until all the dough is used up.

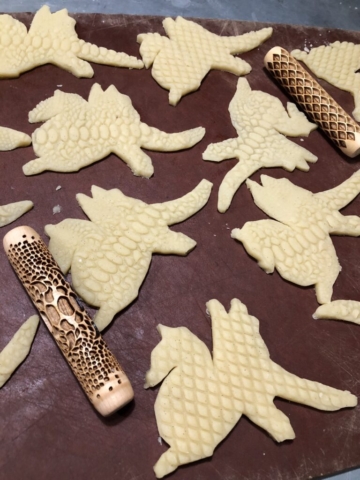
6. Use embossers to add texture to cookies — it works better if the dough is chilled; otherwise the cookies will likely spread.

7. Bake cookies for 10-12 minutes, until edges become golden brown. Let cool to room temperature before decorating.

(Can be made ahead and stored covered in the fridge for a few days, or frozen for up to two months.)

MAKE ROYAL ICING:

1. In large bowl, combine egg whites, vanilla, and pistachio extract, and beat on high speed until frothy.

2. Add confectioners’ sugar gradually; mix on low speed until sugar is incorporated and mixture is shiny; turn speed up to high and beat until mixture forms stiff, glossy peaks. (About 5-7 minutes). (If using food coloring, add now.) It’s now at piping consistency, if you’d like to pipe your cookies.

(Can be stored in fridge for up to three days.)

DECORATE:

1. Add a little hot water to the royal icing and stir, until icing is at dipping consistency. (Dipping a fork in and pulling it out will help you assess that; icing should flow, but leave some clinging to the fork.) If you accidentally dilute it too much, add a little confectioners’ sugar to bring it back to the right consistency.

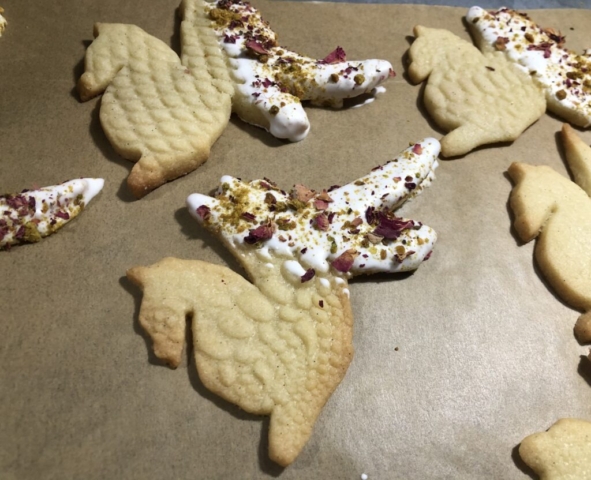
2. Dip half of each cookie in icing, scraping off excess and base of cookie. Sprinkle with crushed pistachio and crumbled rose petals.

3. Mix luster dust with a bit of extract (or use a ready-made luster brush), and brush on the un-iced portion of the cookies.

That’s it! Enjoy!

TOOLS I USED:

Hide Embosser: https://www.etsy.com/…/dragon-hide-alligator-scales…

Scales Embosser:

https://www.etsy.com/…/scales-embossed-texture-wood…

Dragon Cookie Cutter: https://smile.amazon.com/gp/product/B01DNHTZ84

Edible Glitter Paint:

https://smile.amazon.com/gp/product/B07T6XDMS9

The pink luster dust, I think I picked up at Michael’s. 🙂

Playing With Dragons

Cranberry sauce done, playing with final touches on decorating the dragons. I think I like the pink & gold effect best on these, though a frosty white ice dragon is also good. 🙂

Spicy sausage & cornbread stuffing next.

Confirming Deliciousness

I think these really have to be called “The Pistachio-Rose Dragons of Christmas” — love the festive Christmas colors. 🙂

Will post recipe once the icing has dried and I’ve had a chance to taste a finished one and confirm deliciousness.

Only Few Were Bloody

I’m sorry, I keep promising you blood orange shortbread, and I keep not delivering, but in my defense, I forgot that I was making a double batch, and I only have two wire racks, so I had to wait 24 hrs for one batch to dry, before I could candy the other batch (which is drying now). Shortbread tomorrow, I’m pretty sure. 🙂

There’s a lot of variation in the blood orange colors, I have to say. Only a few were really bloody….

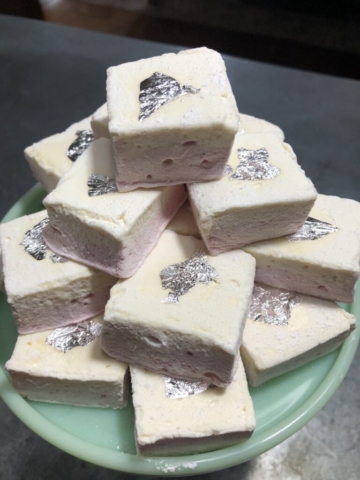
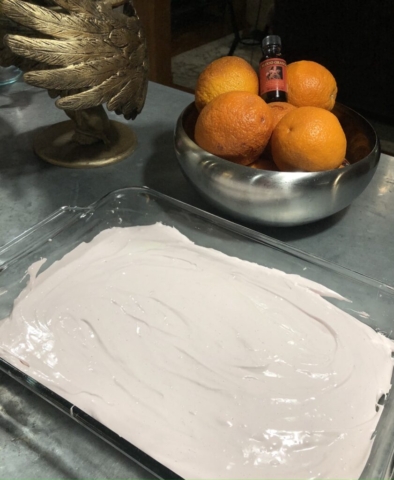
Dragon’s Passion Marshmallows (Dragonfruit & Passionfruit)

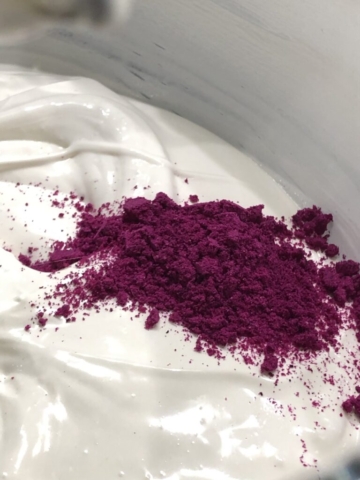
Amma always made pink and white marshmallows for Christmas; adding passionfruit makes them even more delicious. The dragonfruit powder adds only a hint of flavor, but is a great way to get natural pink coloring to your marshmallows.

3 packages unflavored gelatin
1/2 c. passionfruit puree
1/2 c. water
1 1/2 cups granulated sugar
1 cup corn syrup
1/4 teaspoon salt
1 tsp. powdered dragonfruit
powdered (confectioner’s) sugar
butter (for greasing the pan)

edible silver flake, optional

1. Add passionfruit puree and gelatin to the bowl of stand mixer (whisk attachment). Stir briefly to combine.

(NOTE: If you don’t have a stand mixer, you can make marshmallows in a large bowl with a hand mixer — you just have to be willing to hold and beat it for 12 minutes. Prep the pan and spatula for the marshmallows ahead of time.)

2. In a small saucepan (a bigger one will be heavy and hard to hold steadily at a later stage) combine water, granulated sugar, corn syrup, and salt. Cover and cook over medium high heat for 4 minutes. Uncover and cook until the mixture reaches soft ball stage (240 degrees if you have a candy thermometer), approximately 8 minutes. Once the mixture reaches this temperature, immediately remove from heat; if it continues, it will swiftly turn into hard candy.

3. Turn mixer on low speed and, while running, slowly pour the sugar syrup down the side of the bowl into the gelatin mixture. (Be very careful with the sugar syrup, as it is scaldingly hot and will burn you badly if it gets on your skin.) Once you’ve added all of the syrup, increase the speed to high.

4. Continue to whip until the mixture becomes very thick and is lukewarm, approximately 12 minutes.

5. While it’s whipping, butter a large 9 x 12 pan and dust with powdered sugar. Prepare an oiled spatula.

6. Pour half the mixture into the prepared pan, spreading it evenly (and swiftly) with an oiled spatula.

7. Quickly add dragonfruit powder to the mixer bowl and mix for a minute to combine; pour pink mixture into the prepared pan, spreading it evenly (and swiftly) with an oiled spatula.

8. Dust the top with enough of the remaining powdered sugar to lightly cover. Reserve the rest for later. Allow the marshmallows to sit uncovered for at least 4 hours and up to overnight.

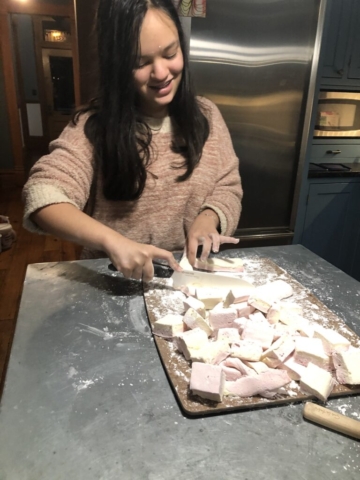
9. Turn onto a board, cut into squares and dust all sides of each marshmallow with the remaining powdered sugar, using additional if necessary.

10. Decorate with edible silver flake, if desired (moisten top of powdered marshmallow with a bit of water so flake will stick). It won’t add any flavor, but is nicely festive. May be stored in an airtight container for up to 3 weeks, or frozen.