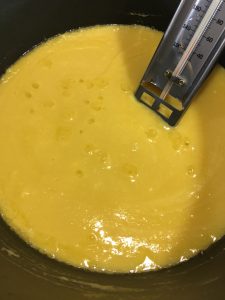
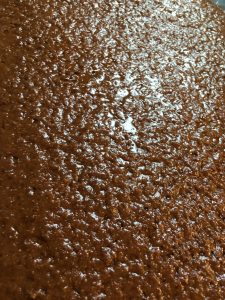
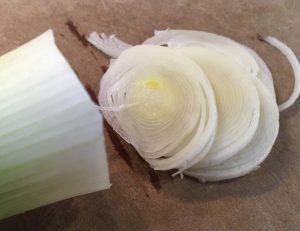
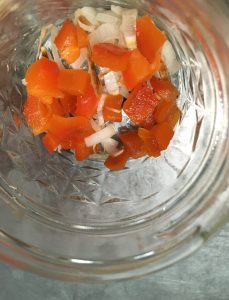
Vegetarian Passionfruit Marshmallow Fluff
Vegetarian Marshmallows with Agar-Agar & Egg White
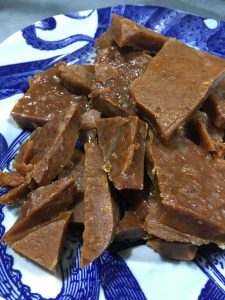
I’d deem these barely acceptable. They taste right, if a bit dense and chewy, and they toast up. The biggest problem with them is that they’re quite sticky, so a huge pain to cut up into neat squares. Your best bet with them would be to abandon neatness, chop off pieces, and then toast them up over a fire, where you don’t care so much about the neat aspect. They brown beautifully, melt in your mouth afterwards, and I’m sure would be delectable in a s’more.
NOTE: The egg whites won’t be cooked, so you may want to use pasteurized egg whites for food safety.
NOTE 2: Recommend not trying to make these on a high-humidity or raining day, as the moisture in the air will affect setting properties.
(45 minutes + cooling time & 15 minutes powdering time, makes 36)
4 egg whites, divided
2 t. powdered agar-agar
1 1/2 c. granulated sugar
1 c. light corn syrup
1/4 t. salt
1/2 c. water
powdered (confectioner’s) sugar
butter (for greasing the pan)
food coloring (optional)
chocolate chips (optional)
sprinkles (optional)
1. Place two egg whites in bowl of stand mixer (whisk attachment); add agar-agar. Stir briefly to combine.
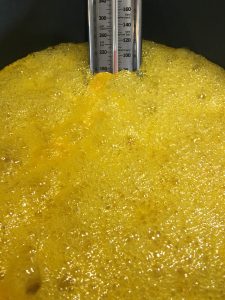
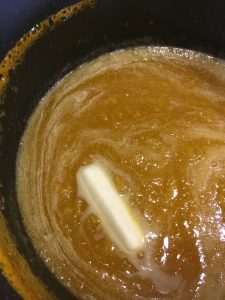
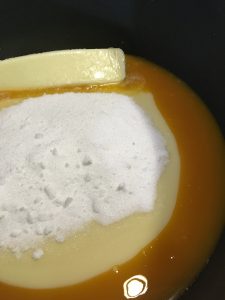
2. In a small saucepan (a bigger one will be heavy and hard to hold steadily at a later stage) combine water, granulated sugar, corn syrup, and salt. Cover and cook over medium high heat for 4 minutes. Uncover and cook until the mixture reaches soft ball stage (240 degrees if you have a candy thermometer), approximately 12 minutes. Once the mixture reaches this temperature, immediately remove from heat; if it continues, it will swiftly turn into hard candy.
3. Turn mixer on low speed and, while running, slowly pour the sugar syrup down the side of the bowl into the gelatin mixture. (Be very careful with the sugar syrup, as it is scaldingly hot and will burn you badly if it gets on your skin.) Once you’ve added all of the syrup, increase the speed to high.
4. Continue to whip until the mixture becomes very thick and is lukewarm, approximately 12 minutes. Add food coloring, if using for the whole batch, during this stage. (For bicolor marshmallows, you can pour half out, spreading flat. Then color remainder in mixer bowl and whip to mix, then pour out second half on top.). Add two more egg whites and whip another 3-4 minutes; volume should increase.
5. While it’s whipping, butter a large 9 x 12 pan and dust with powdered sugar (you don’t need the sugar here for gelatin marshmallows, but the agar ones are stickier). Prepare an oiled spatula.
6. Pour the mixture into the prepared pan, spreading it evenly (and swiftly) with oiled spatula.
7. Dust the top with enough of the powdered sugar to lightly cover. Reserve the rest for later. Allow the marshmallows to sit uncovered for at least 4 hours and up to overnight.
8. Turn the marshmallows out onto a cutting board and cut. As you’re cutting, lightly dust all sides of each marshmallow with the remaining powdered sugar, using additional if necessary. These are more perishable than gelatin marshmallows, due to the egg whites, so best used within a few days.
Honeyed Pistachio, Rosewater, & Lime Shortbread
3/4 pound unsalted butter at room temperature
3/4 c. sugar
1/4 c. honey
2 T lime juice
1 T lime zest
1 T rosewater
1 teaspoon pure vanilla extract
1/4 t. pistachio extract
3/4 t. kosher salt
3 1/2 cups flour
1/2 c. chopped pistachios
1/4 c. dried edible rose petals
powdered sugar, edible rose petals for decorating
1. Preheat the oven to 350F.
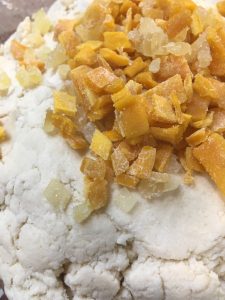
2. Cream together the butter, sugar, and honey; add the lime juice, lime zest, rosewater, vanilla, and pistachio extract. Add salt and mix, then add flour and mix on low until dough forms. Stir in pistachios and rose petals.
3. Turn out dough onto floured board and roll to 1/2″ thick. Cover in plastic and chill for 30 minutes. NOTE: Can be kept chilled at this point for several days, covered in plastic wrap, and then rolled, cut, and baked fresh for maximum scent and fresh taste on serving.
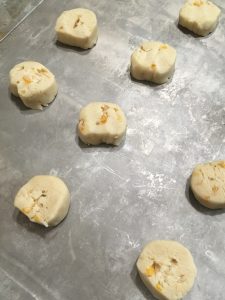
4. Remove from fridge and cut with cookie cutter (or roll into log and cut slices). Chill individual cookies again for 10 more minutes (to reduce spreading). Place cookies on an ungreased baking sheet (I like the insulated ones for even baking).
5. Bake for 15 to 20 minutes, until the edges begin to brown, then remove to wire rack to cool.
6. Sprinkle with powdered sugar and rose petals to decorate. Delicious with tea!
OPTIONAL: Some people like to use a royal icing on their shortbread at this stage, which I admit, may be even prettier, esp. sprinkled with additional rose petals and chopped cashews. But I tried it, and I feel that a sweet icing actually detracts from the subtly fragrant buttery glory of the shortbread. If you must, then try adding a teaspoon of lime juice to the icing, which will enhance the overall flavors.
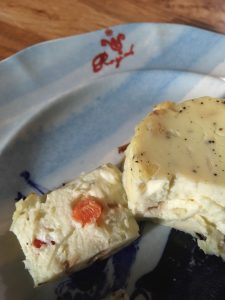
Broccoli-Cheddar Sous Vide Egg Bites
Strawberry-Rhubarb Pie
Strawberries from the farm share, rhubarb from the garden, 1/2 c. flour, 1 c. sugar, bake @ 400 for 35-40 minutes. Happy 4th!
Keto ‘Naan’
Made coconut flour keto ‘naan’, out of curiosity. It’s not naan, but it’s good! A little odd, and definitely soft — you have to be careful flipping it, or it will tear / mush. The texture isn’t really bread-like — closer to injera, maybe.
But I actually kind of love the sweetness of the coconut with a tangy pork curry. If you’re looking for a gluten-free (or higher-fiber) desi bread-like option, this is a good one; I might even make it again myself.
Sri Lankan Spinach-Egg Sous Vide, take one
Sous Vide Ham-and-Cheese Eggs
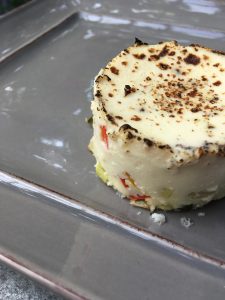
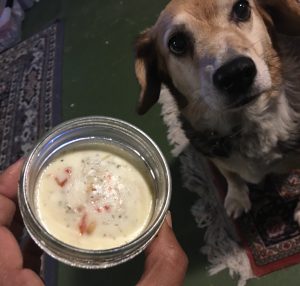
A is for Anovo sous vide eggs. This worked really well. Make as if for omelette, put in canning jar, submerge and cook @ 172F for one hour.
Yum — this is a straight ham-and-cheddar that I’m hoping the kids will like. Didn’t really measure!
Made three other varieties too. I think this is going to become a weekend staple, prepping for the week; have ordered some 4 oz. jars because the assortment I had on hand were all bigger. I’m going to work on developing a Sri Lankan-ish recipe for it.
This is a good base recipe, if you want an actual recipe.
Desi-Spiced Carrot Bread
Our farmshare is producing quite a lot of carrots at the moment, so I’ve turned to quick bread. The nice thing about it is that you can make a double or even quadruple batch, and it takes just about as long to make, and then you have lots to freeze for a hungry day or give away. This quick bread is a pretty healthy option for breakfast or to tuck into a kids’ lunchbox, though I’ll note that my kids did complain about the cranberries. Know your audience, and skip or substitute as desired!
I really love it with a limey glaze; I think the tartness is the perfect complement to the sweetness of the bread. But you can certainly leave the lime juice out if you prefer.
1 c. shredded carrots (easiest in food processor)
2 large eggs
1/2 c. vegetable oil
1/2 c. Greek yogurt or sour cream
1/2 c. grated coconut (not sweetened!)
1/2 c. chopped cashews (roasted/salted is fine)
1/2 c. dried cranberries (I like the tartness, but sultanas would be more traditional for desi flavors, and really, any dried fruit would do
1/4 c. chopped crystallized ginger
1 t. vanilla
1 1/2 c. flour
3/4 brown sugar
1 t. baking powder
1/4 t. baking soda
1/2 t. fine salt
1 t. cinnamon
1/4 t. cloves
1/4 t. nutmeg
Glaze (optional):
1/2 c. powdered sugar
1 1/2 T whole-milk yogurt
1-2 T lime juice
1. Preheat oven to 350. Spray baking pan with Baker’s Joy (or butter and flour the pan). You can use various pans: mini-muffin, muffin, mini-loaf, loaf; just adjust the timing appropriately.
2. In a large bowl, combine the carrots, eggs, oil, yogurt / sour cream, coconut, cashews, dried fruit, ginger, and vanilla.
3. In another bowl, mix together the flour, sugar, baking powder, baking soda, salt, cinnamon, cloves, and nutmeg.
4. Add dry to wet and stir with a wooden spoon until just combined. (Don’t beat too long or too vigorously.)
5. Pour the batter into the pan(s) and bake at 350 until done (test with toothpick):
Mini-muffins: 15 minutes
Muffins or mini loaves: 20-25 minutes
Loaf pan: 45-55 minutes
6. Turn onto a rack and let cool.
7. Glaze (optional): stir together the glaze ingredients and drizzle over the top of the bread. Enjoy!
(Once cooled, may be frozen for up to six months.)