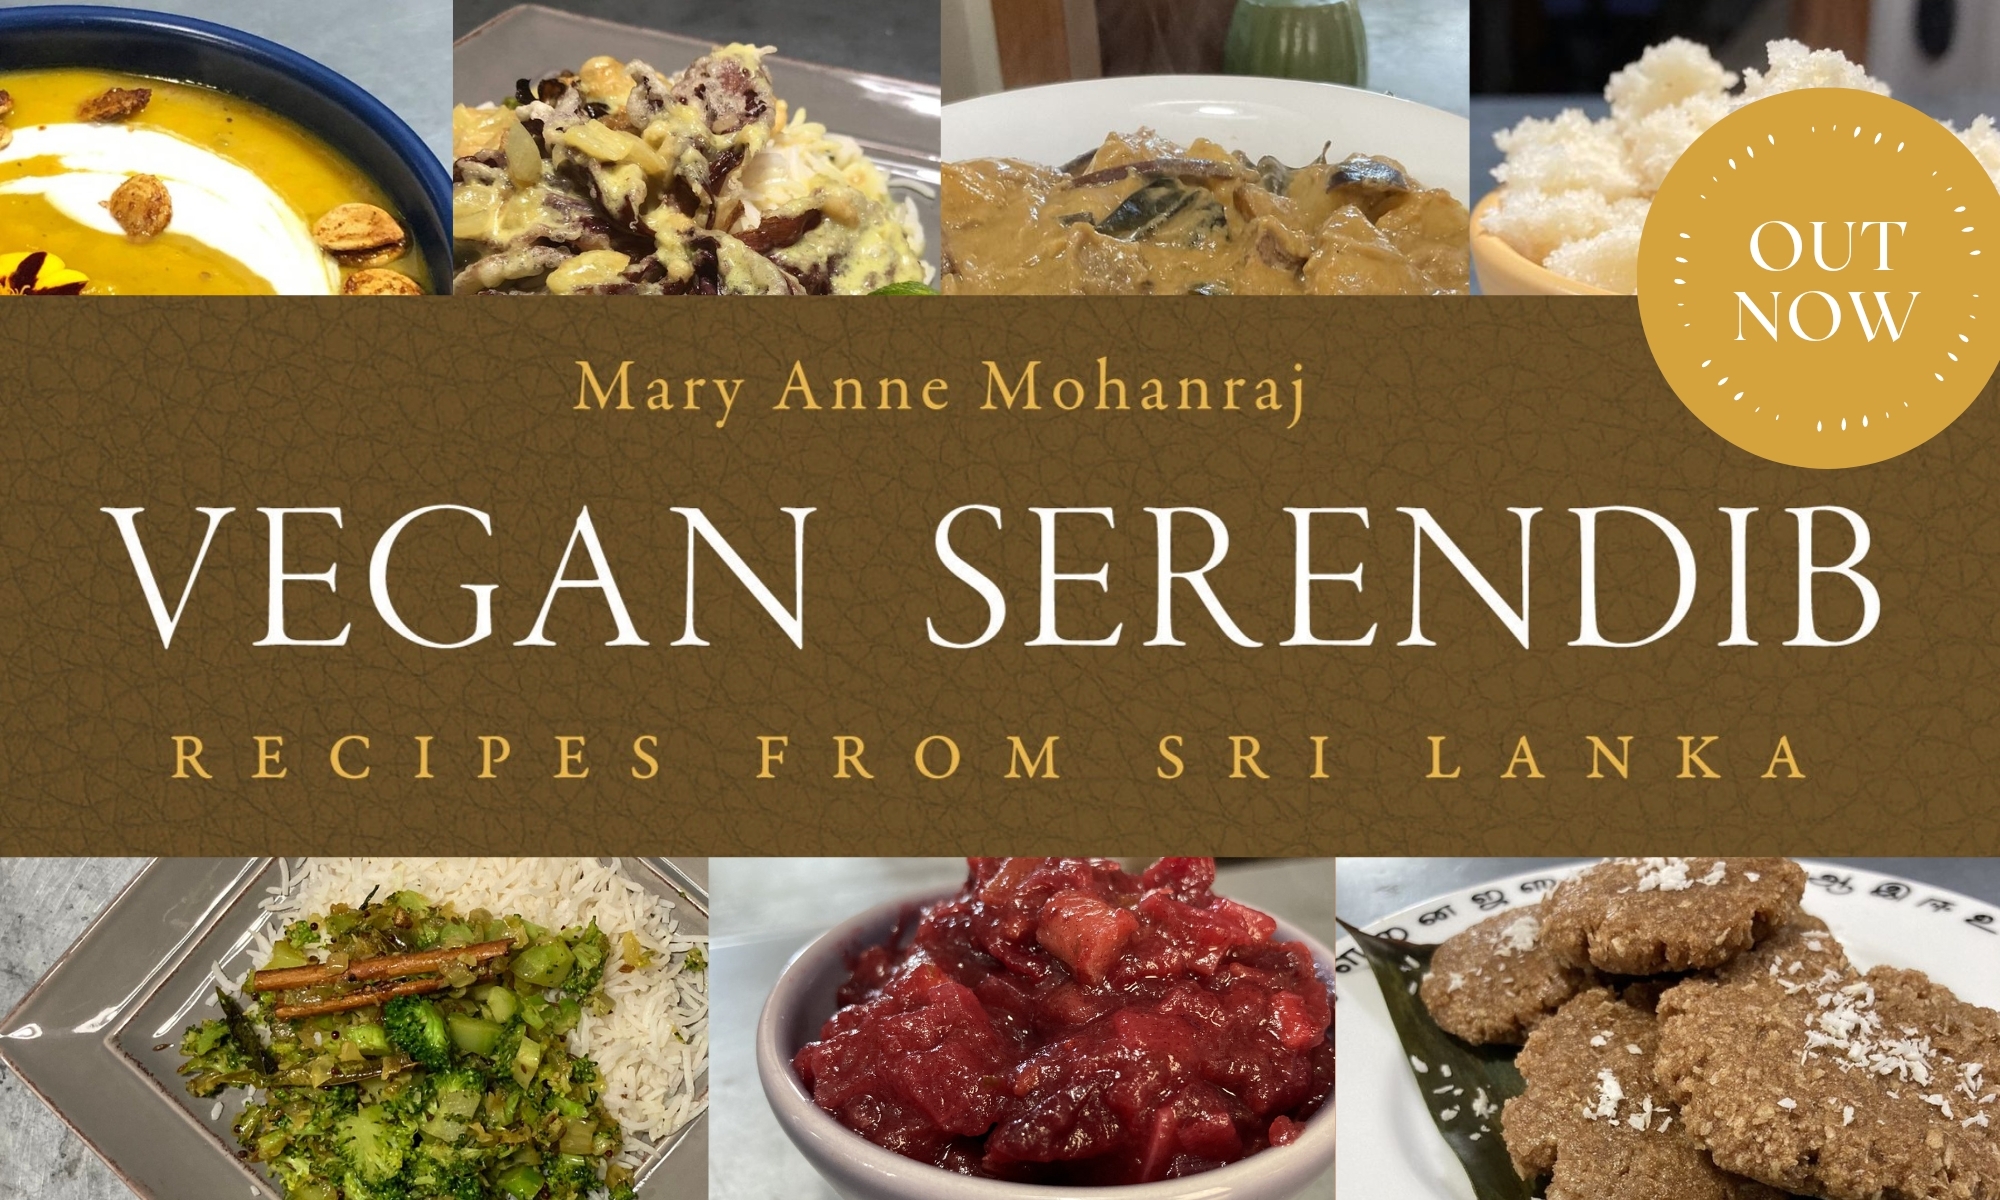
Beef Curry + Carrot Curry + Shirataki ‘Rice’

This may be the most iconic flavor combo of my childhood — beef curry with carrot curry on rice. I think my mom made it close to weekly, and the two flavors go perfectly together — the savory spice of the beef with the sweetness of the carrots cooked in coconut milk.

When I eat it, part of me is twelve years old again, sitting at the kitchen table at dinnertime with my little sisters, reading a book. (I was a terrible conversationalist at family dinner. Mostly still am.)

(Not pictured with actual rice — was trying out shirataki.  Shirataki, marketed here as ‘Miracle Rice’ would be an okay substitute for noodles, I think.   It basically has no tooth, though, so if I were desperate for no-carb, almost no-calorie, rice-like thing, I might have some, but I definitely like rice + quinoa better for a lower-carb than plain white rice option.  Or if I really felt like I wanted a big bed of white ‘something’ to put under curry?  I am more than a little weirded out by the almost-no-calorie food concept, though.)


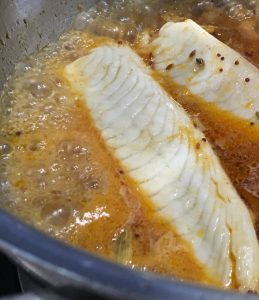
Tilapia with Quinoa & Rice

Five minute dinner — well, mostly because of leftovers and accompaniments. I had some rice + quinoa leftover from yesterday, and a little kale salad, and of course, I try to keep myself stocked with coconut sambol and seeni sambol in jars in the fridge.

So all I had to do was throw a tablespoon of butter in a hot pan, add a few tilapia filets, grind salt and pepper over them, flip them over a few minutes later, grind a little more salt and pepper on the other side, and when it was cooked through, serve with the rest of the food. Delish. The tilapia, seeni sambol, and rice/quinoa combo by itself would have been great — the other elements added pleasant fresher notes.


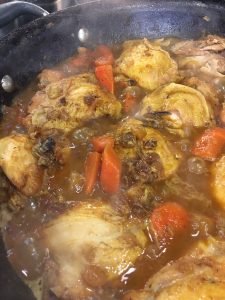
Spicy Chicken with Carrots and Sultanas

(2 hours, serves 6)

This came out SO GOOD. I adapted this from an America’s Test Kitchen Moroccan tagine recipe, amping up the chili powder to my taste, reducing the sweetness, increasing the tang, and switching out sultanas for apricots. The result is somewhere halfway between Sri Lankan and Moroccan food, and absolutely delicious served over couscous. My daughter loved the chicken (though she is not yet a couscous fan). It only has about 30 minutes of active cooking; after that, you’re mostly just letting it simmer while your home fills up with incredible aroma. Clementines for dessert finish this meal off nicely!

4 pounds bone-in chicken thighs
salt and pepper
2 T olive oil
1 large onion, diced small
peel from half a lemon, cut into strips
1 t. chili powder
1/2 t. cumin powder
1/2 t. ginger powder
1/2 t. garlic powder
1/2 t. ground coriander
1/2 t. ground cinnamon
2 c. chicken broth
2 carrots, peeled and cut into diagonal chunks
1 c. sultanas
3 T lemon juice

1. Pat chicken dry and season with salt and pepper (about 1 t. each). Heat oil in extra-large frying pan or Dutch oven over medium-high heat. Add half of chicken and cook until well-browned, about five minutes per side; transfer to large plate. Repeat process with second half of chicken. Pour off all but one tablespoon of fat from the pan.

2. Add onion and lemon to pan and cook, stirring, for about five minutes. Stir in spices and cook a minute or two ore, then add broth, scraping up any browned bits. (If you wanted to add a cup of white wine here, it wouldn’t hurt.)

3. Add chicken to pan along with any accumulated juices and bring to a simmer. Reduce hat to medium, cover, and cook twenty minutes.

4. Stir in carrots, return to simmer, and then re-cover and cook on medium-low for another 40 minutes, until carrots are cooked through.

5. Transfer chicken to a bowl tented with aluminum foil and let rest while finishing your sauce. Skim off any excess oil. Discard the lemon peel, stir in the sultanas, and cook about five minutes. Add lemon juice and return the chicken and any juices to pan, simmering a few minutes more to combine. Serve hot over couscous or rice.

Leeks Fried with Chili

(50 minutes, serves 8)

This accompaniment offers a little extra heat and onion-y zing to a plate of rice and curry.

4 medium leeks
1/4 cup oil
1/2 rounded tsp turmeric
1 1/2 rounded tsp chili powder
1 rounded tsp salt

1. Rinse dirt off outside of leeks. Discard any tough or withered leaves, but do use the green portions as well as the white.

2. With a sharp knife, slice the leeks thinly across the stalk, making thin rings / chiffonade; when you’re slicing the green leaves, make a tight bundle in your hands for easier slicing.

3. Wash the sliced leeks very thoroughly. The soil trapped between the leaves won’t actually taste particularly bad, but the grittiness is unpleasant. I recommend not simply running the sliced leeks under a colander—rather, put them in a large bowl of water and wash them vigorously, changing the water at least three times. This is labor-intensive, but well worth it.

4/ Heat oil in a large saucepan and add the leeks. Sauté, stirring for 5 minutes, then add the remaining ingredients and stir until well blended.

5. Cover and cook over low heat for 30 minutes, stirring occasionally. The leeks will reduce in volume. Uncover and cook, stirring, until liquid evaporates and leeks appear slightly oily. Serve hot.


Sri Lankan Roasted Beets

(1 hr 15 min., serves 4)

1 lb. beets, peeled and cubed into bite-size pieces
2-3 T vegetable oil
1 t. salt
1 t. pepper
1 t. coriander seed
1/2 t. cumin seed
1/2 t. black mustard seed
2 T coconut milk
3-5 minced green chilies
1-2 T lime juice

1. Preheat oven to 350. Toss beets in oil, salt, and pepper, and spread flat on a foil-lined baking sheet. Bake 45 minutes.

2. Add coriander seed, cumin seed, and black mustard seed, and bake an additional 15 minutes, until beets are soft and slightly crispy.

3. Combine coconut milk, green chilies, and lime juice in a large bowl, stirring to blend. Add beets and toss until combined. Season to taste with salt and pepper; serve hot with rice or bread. (Pictured here with beef and potato curry and chili leeks.)

Hoppers / Appam

If I had to pick the perfect Sri Lankan meal, this would be it. There’s nothing like breaking off a crisp piece of hopper, dipping it into broken egg, and scooping up some curry and a bit of seeni sambol. Delectable.

These rice flour pancakes have a unique shape; fermented batter is swirled in a special small hemispherical pan, so you end up with a soft, spongy center, and lacey, crispy sides — that contrast is the true glory of the hopper. Typically you’d make one egg hopper per person, plus another plain hopper or two, and maybe a sweet hopper to finish up.

If you don’t have a hopper pan, you can make hoppers in a regular frying pan; you just won’t get quite as much of the crispy sides. It’s a little time-consuming to make hoppers, since each one must be individually steamed for a few minutes, but with practice, you can have four hopper pans going on a stove at once. I’d recommend starting with just one pan at a time, though! Serve with curry and seeni sambol.

2 cups South Asian white or red   rice flour (or a mix of rice and wheat flour)
1 tsp sugar
pinch of baking powder
1/2 tsp salt
2 cups coconut milk
eggs for egg hoppers
extra coconut milk and jaggery for sweet hoppers

1. Mix first five ingredients thoroughly in a large bowl, cover, and set in a warm, turned-off oven to ferment overnight. (In a cold climate, fermentation may not occur without a little help—I turn my oven on to 250 degrees, and when it’s reached temperature, turn it off and put the covered bowl in the oven to stay warm.)

2. Mix again, adding water if necessary to make a quite thin, pourable batter.

3. Heat pan (grease if not non-stick) on medium, and when it’s hot, pour about 1/3 cup batter into the center. Pick up the pan immediately and swirl the batter around, coating the cooking surface. The sides of the hopper should end up with holes in them: thin, lacy, and crisp – if the batter is coating the pan more thickly, mix in some hot water to thin it down. Cover and let cook for 2-4 minutes — you’ll know it’s ready when the sides have started to brown and the center is thoroughly cooked. A silicone spatula will help with getting the hopper out of the pan.

4. For egg hoppers, after swirling, crack an egg in the center before covering. The egg will cook as the hopper does, finishing in about 3-4 minutes.


5. For sweet hoppers, after swirling, add a tablespoon of coconut milk and a teaspoon of jaggery to the center of the pan, then cook as usual.

If you don’t use all the batter right away, you can store it in the fridge, but it will keep rising, so make sure there’s some room in your storage container for that, and then you’ll want to thin it back down to pouring consistency with another 1/4 – 1/2 c. of water before use.

NOTE:  If you use instant hopper mix, I found that a packet (about 3 cups of mix) used 2 cans of coconut milk plus 2 – 2 1/2 cups of water.

Tangy Peppered Beef Stew

(2 hours, serves 8)

This is very similar to a traditional British beef stew, but the Sri Lankan version adds vinegar and peppercorns for a distinctly different flavor. I love to chew on the peppercorns for a bit of sharp bite, and will sometimes add even more peppercorns to the pot.

3 lbs beef chuck, cubed, large pieces of fat removed
2 cups beef stock
2 TBL ghee or vegetable oil
2-inch piece cinnamon stick
8 cloves
40 peppercorns
1-2 tsp salt
2 cups vinegar
3 medium onions, peeled and cut in eighths
2-3 large potatoes, peeled and cut in large pieces
4 carrots, cut in large pieces

1. In a large stew pan, heat the oil on high, add the meat and brown on all sides (avoid crowding the pan, as that will cause it to steam instead of browning—do the meat in two batches if necessary).

2. When nicely browned, pour in beef stock and a sufficient quantity of the water to cover the meat. Add the cinnamon, cloves, peppercorns, salt, and vinegar. Bring to a boil, then cover, turn down heat to low, and let simmer for 30 minutes.

3. Add the vegetables, turn the heat to high long enough for the stew to come to boil, then turn it back down to low and continue to cook, uncovered, until the meat is tender and the vegetables are cooked through, about an hour. You’re aiming for the sauce being reduced to a thick gravy, so add water or cook the liquid off as needed. Serve hot, with hearty white bread or rice.

Fusion Food: Tamales with Beef Curry

I was a little frustrated yesterday when I steamed a dozen frozen tamales (handmade by a local mom) for a potluck we were hosting, and discovered after steaming them that we were out of tomatillo sauce.  I’d sworn we had at least half a bottle left in the fridge, but no, there was no tomatillo sauce to be had for love or money.  I was craving that tangy flavor, and I knew that my tamales would be a little sad and dry without it.  But then I had a flash of what I swear is brilliance — I had a little beef curry left, and it was also beautifully tangy.  Could I possibly combine it with the tamales?

Dear reader, the answer is yes.  Chicken tamales pair fabulously with a tangy slow-cooked, meat falling off the bone beef curry, topped with a generous dollop of sour cream.  Guess I know what I’m having for my next few meals…

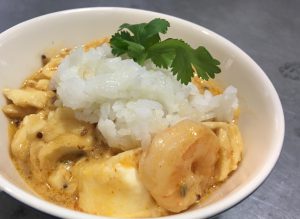
Curried Seafood Stew

(30 minutes, serves 4)

Creamy, tangy, richly-spiced, with just a little heat; I was aiming for something my daughter would love.  Of course, feel free to amp up the chili powder or toss in some chopped Thai green chilies for a spicier version!  Use whatever seafood you have on hand — I pulled some frozen tilapia and shrimp out to toss into this.

1 onion, chopped
1/4 c. oil or ghee
1 T ginger, grated
3 cloves garlic, chopped
1 t. mustard seed
1 t. cumin seed
1/2 t. fennel seed
1/2 t. methi seed
3 cloves
3 cardamom pods
1 stick cinnamon
1/2 t. chili powder
1/2 t. Sri Lankan curry powder
1 stalk curry leaves
2 pounds seafood, cleaned
1 can coconut milk
1 T lime juice
coriander for garnish

1. Saute onions in oil or ghee with ginger, garlic, spices, and curry leaves until onions are golden-translucent, about ten minutes.

2. Add seafood and coconut milk. Bring to a boil, stirring, then turn down heat to medium and cook another ten minutes or so, until seafood is cooked through.


3. Continue cooking until stew is desired thickness. Add lime juice and stir in, then cook a minute or two more. Serve hot with fresh rice and chopped coriander.


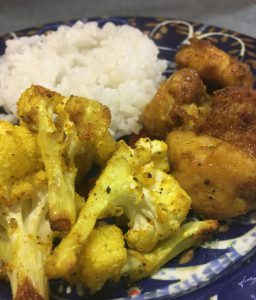
Ginger-Garlic Chicken and Cauliflower with Rice

(30 minutes, serves 4)

The goal for this dinner was to make the spicing very simple, make something the kids would happily eat, and have it all ready in thirty minutes, for an easy weeknight meal.  Success on all counts!

The flavors are honestly a little too similar for what I’d consider ideal — normally, I’d cook either the chicken or the cauliflower, and serve it with a contrasting curry.  But when you’re tired and want dinner on the table quick, this’ll do nicely.  If you have the energy to chop up some cucumbers and tomatoes, they’d add a nice crunch and contrast.  You could stir them into a bit of yogurt for creaminess too.

1 lb. boneless, skinless chicken thighs
1 head cauliflower
1 c. white rice
2 t. onion powder
2 t. ground ginger
2 t. garlic powder
2 t. salt + a pinch
2 t. turmeric
2 t. pepper
vegetable oil for frying & roasting (about 1/2 c.)

1. Pre-heat oven to 400.  Cut chicken into bite-size pieces, mix with 1 t. each of the spices, set aside in a bowl.

2.  Cut cauliflower into bite-size pieces, mix with 1 t. each of the spices, along with 1/4 c. of vegetable oil.  Spread on a foil-lined baking tray and put in oven to roast.  Set timer for 20 minutes (or 25 if you prefer them entirely soft).

3.  Start rice:  Add 1 c. rice to 2 c. water, with a pinch of salt, in a sauce pan.  Turn to high.

4.  In a frying pan, add remaining oil and heat on high for a few minutes.  When the rice starts bubbling, turn to simmer and cover.  (Set a timer for 15 minutes.)

5.  Add chicken to frying pan and brown nicely on high, stirring occasionally.  When it’s browned well, turn heat down to medium and continue stirring for another 3-5 minutes, until chicken pieces are cooked through.  Drain excess oil.  (I do this by setting the pan on a tilt on the edge of the stove, scooting the chicken up to the higher edge.  Leave it alone for a few minutes, so the oil collects, then use a paper towel to sop up the excess oil, and dispose of the paper towel.)

6.  When the timer goes off for the rice, give it a stir, and then leave it for a few more minutes to finish cooking.  (My friend Kat and I disagree about this — she thinks my rice is undercooked this way, but it seems perfect to me.  Your mileage may vary — you can leave it to sit covered another 5-10 minutes if you like.)

When the timer goes off for the cauliflower, serve with rice and chicken, hot.